
Milky Way photography – and astrophotography in general – is one of the most exciting things you can do with a camera. At least in my opinion. There's something magical about gazing up at the stars in a crystal clear, dark night sky. The ability of digital cameras to capture so much detail that our eyes cannot see is even more amazing. Press the image review button and a photo of the Milky Way pops up onto the camera's LCD screen in all its glory. However, there's still work to be done. Post-processing will really make Milky Way images sing. The computer is where the rest of the magic happens.
I think it was Ansel Adams who said something like, “Half the image is created in camera…the other half is created in the darkroom.” That was true ‘back in the day' and remains just as true now. The primary difference is that our “darkroom” isn't so dark any more. And doesn't involve all those chemicals. Now we push pixels around on a computer screen to create an image to match our creative vision. It's a vital part of the image-making process…and it's a lot of fun.
This article will take a look at how to use Adobe Lightroom to post-process Milky Way images. It's not the only way to do it; it may not even be the best way. It is, however, how I like to edit my Milky Way images. It is an ever-evolving process that will change from time to time, but the ultimate goal remains the same: to create the best Milky Way image possible given the equipment and software that is available.
The Location
The location for this shoot was Folly Beach in Charleston, South Carolina. I was in Charleston for the Create Photography Retreat. By the way, click on that link to learn more about it. It's an awesome photography conference that you'll want to consider attending next year. This was my second year at the Retreat – the first was as an attendee; this year as a presenter.
It all started innocently enough. Someone inquired about going out to do some astrophotography during the Retreat. (Not to mention any names…Robert). It snowballed to over 60 people interested in doing this. It was on! Time to do some planning and nail down a good location. As always, PhotoPills was invaluable for figuring out where and what time we would see the Galactic Core. Even more invaluable was the local knowledge, and the special access that was secured for us to use the county park. Thanks again, Linda!
A group of us met at Folly Beach at 3:00 AM. Although it was super early, and most of us had barely slept, there was still excitement in the air. Many folks were trying this type of photography for the first time. The southeastern sky was quite dark looking out over the Atlantic Ocean. That's very important when shooting the Milky Way. Although Charleston is in an area with lots of light pollution, we were looking into a very dark area. Check out this article for planning and shooting your Milky Way images. This was such a great experience, and I think everyone came away with amazing images of the Milky Way…and memories to last a lifetime.
Thanks, Robert, for getting this rolling!
The Image
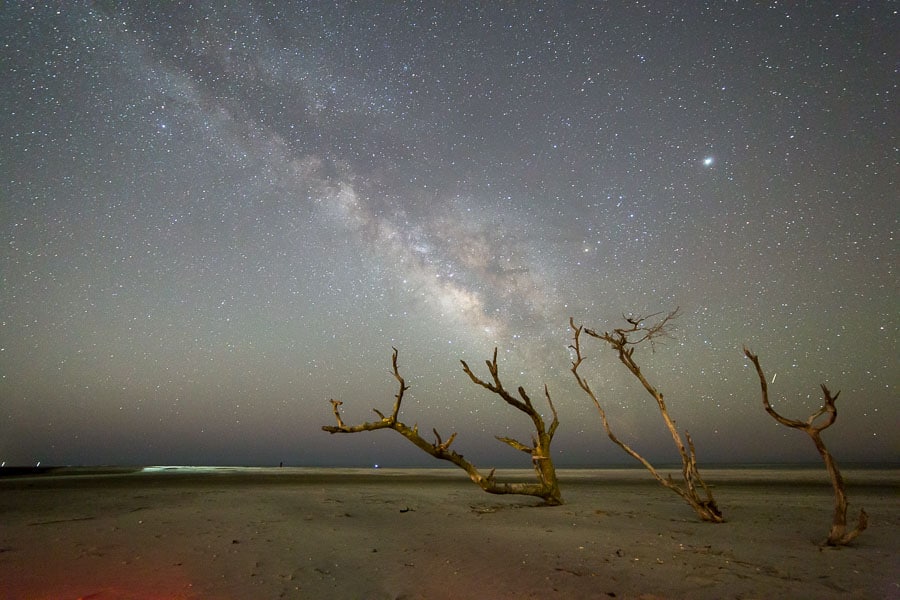
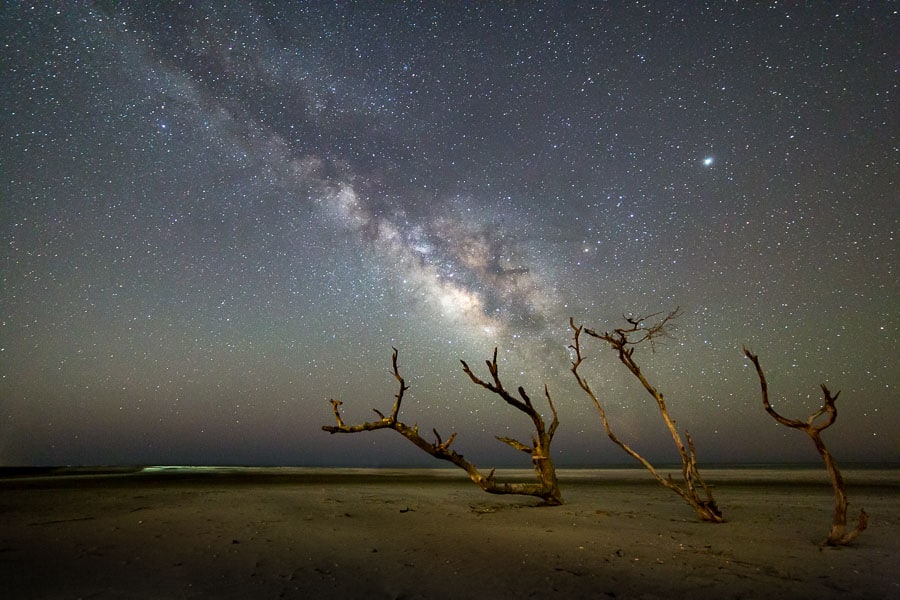
This was my first experience shooting the Milky Way from the coast. The beach did offer some interesting foreground elements, but it required a bit of work to find them in the dark. My plan of scouting this area in the daytime before the shoot fell through.
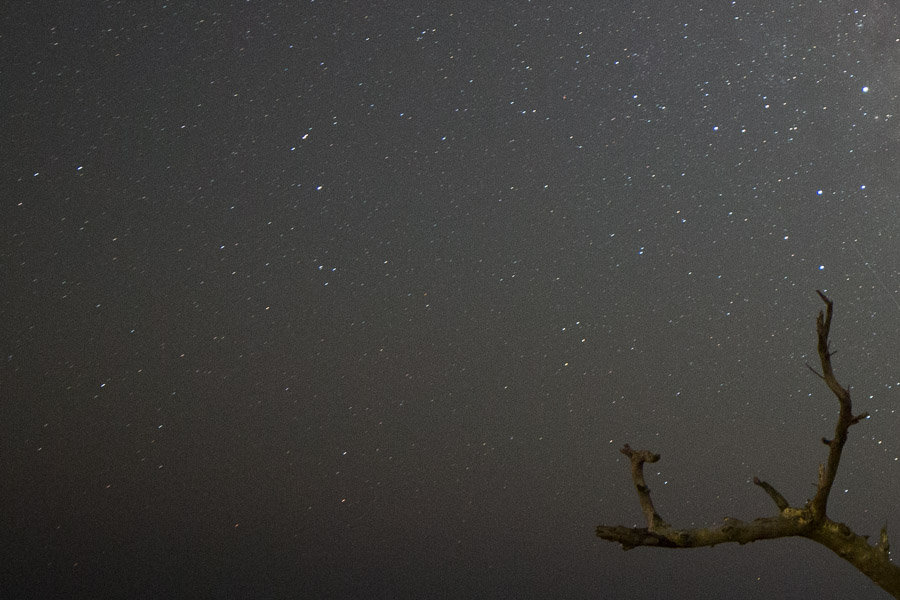
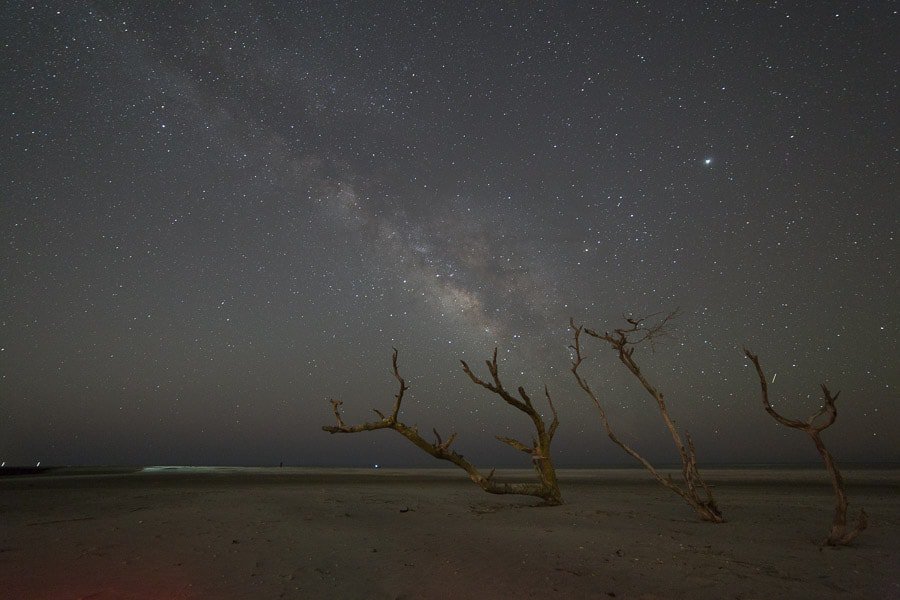
As you can see, the unedited image looks flat and has a fair amount of vignetting, making the corners dark. This image was captured using a Canon 5D Mark III with Rokinon 14 mm f/2.8 lens. Aperture was set wide open (f/2.8), with a shutter speed of 25 seconds, and ISO set at 3200. The Rokinon lenses are a great alternative to the more expensive big-name brands for shooting astrophotography.

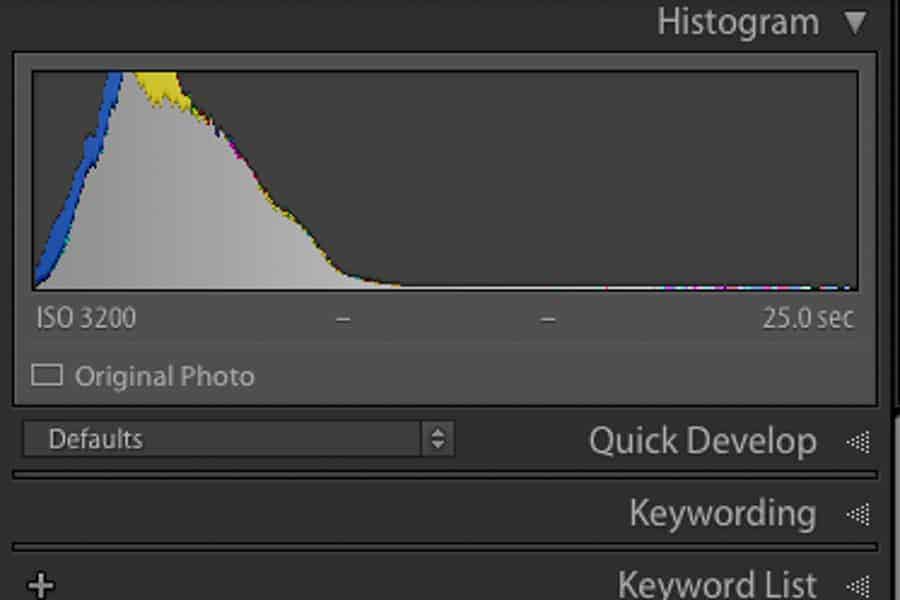
The most important things to look at in a Milky Way image is if it is acceptably sharp and that it has a proper exposure to bring out details in the Galactic Core. This image is sharp to my eye. There is a bit of star ‘trailing', especially around the edges, but it's not all that noticeable without zooming into the image. Using a shorter shutter speed would have helped, but I would have had to raise the ISO, making the image noisier than it already is. The exposure is a tad bit dark, with the peak of the histogram pushed to the left. However, it is not smashed against the left side, where it would be considered underexposed.
White Balance
The white balance will have the biggest impact on how the overall Milky Way image looks. It is also largely a matter of personal preference. I have found that I prefer my night photographs to be just slightly on the bluish side of the color temperature spectrum. For my tastes, I typically set a white balance Kelvin temperature of 3,800 when shooting. This seems to create images close to neutral to slight blue. However, there are times that I forget to set the white balance, or even if I do, it still needs to be adjusted in Lightroom. That's not a problem, especially if you shoot in RAW format. Oh yeah, you definitely do want to shoot in RAW. That will preserve much more of the image data for you to work with in post.
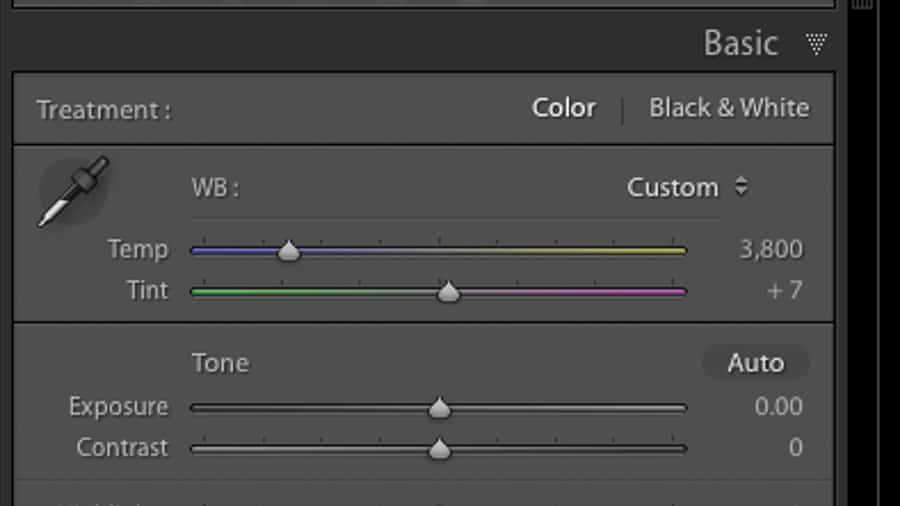
Experiment with the different white balance settings in Lightroom to see what you like. The Daylight or Cloudy settings will make the image more yellowish-orange; Tungsten is very blue; and Fluorescent is more purple. Find the one that looks best to your eyes.
Lens Corrections
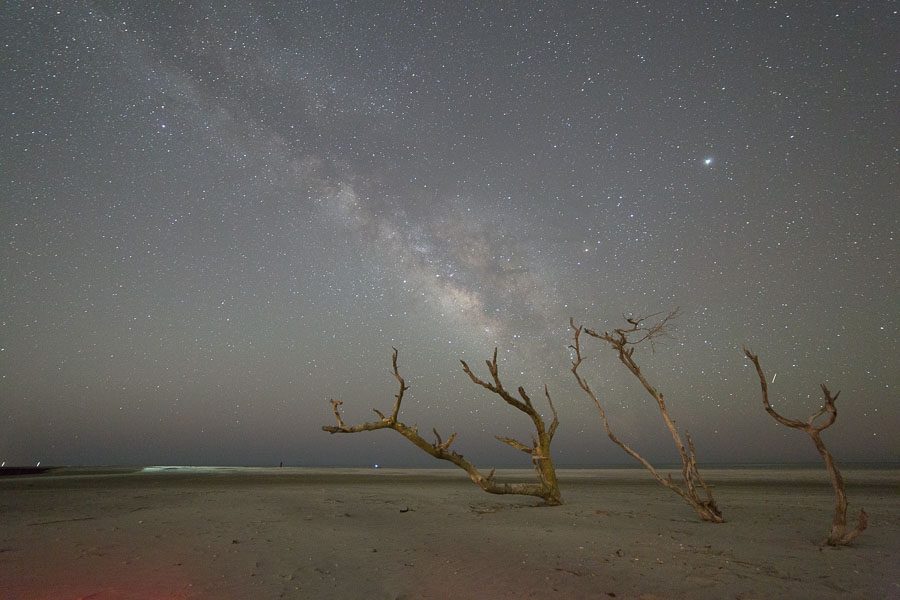
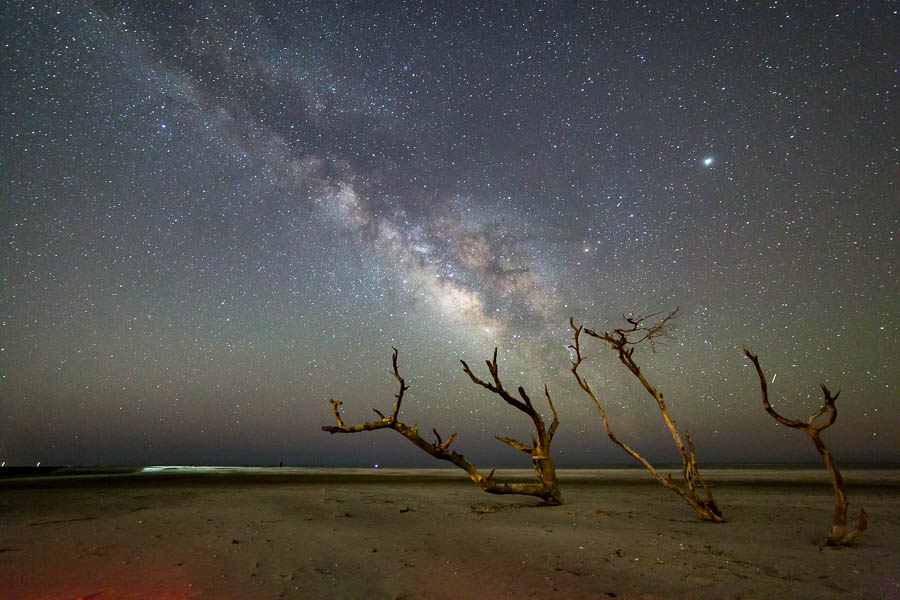
This will vary depending on the lens you are using, but this is the general process for correcting for lens vignetting. As indicated before, the lens I'm using does have quite a bit of vignetting, so I want to take care of that right away. I clicked on the Lens Corrections panel in the Develop module, then checked the Enable Profile Corrections box. Since the lens is not automatically recognized by Lightroom, I selected Rokinon from the dropdown box in the Lens Profile menu. It was still not quite what I wanted, so I adjusted the Vignetting slider to a value of 150 to remove a bit more of the dark edges and corners.
Exposure
This image still looks a bit dark, so I bumped the exposure by nearly one stop. This will look too bright, but will be brought back down by adding contrast to the image. Ideally, you would want to shoot at a slightly brighter exposure in-camera. Bringing up the exposure in Lightroom adds noise to the photo, but it's still manageable.
Contrast
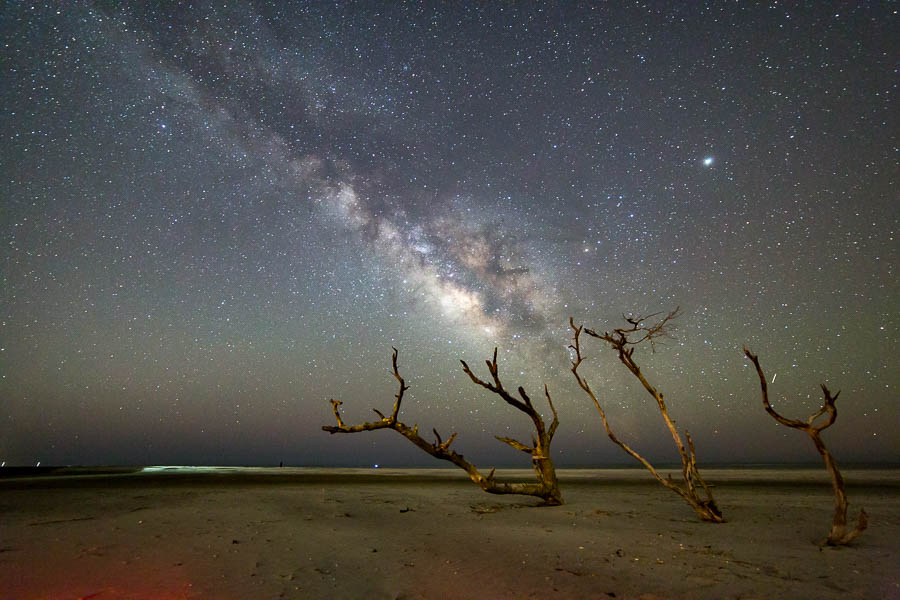
Adding contrast will really make the Milky Way pop. There are a few ways to add contrast to the image, but I typically utilize the Contrast, Whites, and Blacks sliders. The goal with these adjustments is to accentuate the lighter and darker parts of the image – particularly in the sky – to make the Milky Way stand out more. There is no single recipe that is “right” here. Play with the sliders to achieve the look that you want and that brings out more of the detail in the Galactic Core.
Highlights & Shadows
You may not need to make adjustments to the highlights and shadows, but I wanted to drop the tone of the Milky Way cloud a bit and add a little more light in the shadow areas of the foreground. The difference is subtle, and that's the key. Make small changes and build upon them a little at a time.
Noise Reduction
At this point, the image is looking a bit noisy after bumping up the exposure and shadows sliders. The noise reduction feature in Lightroom has been greatly improved over the last few iterations, and is generally all I use when I do want to reduce the appearance of grain in an image. Be sure not to go too far with this, though, as it will effect the detail. For this image, the Noise Reduction slider was adjusted to 25.
Dehaze
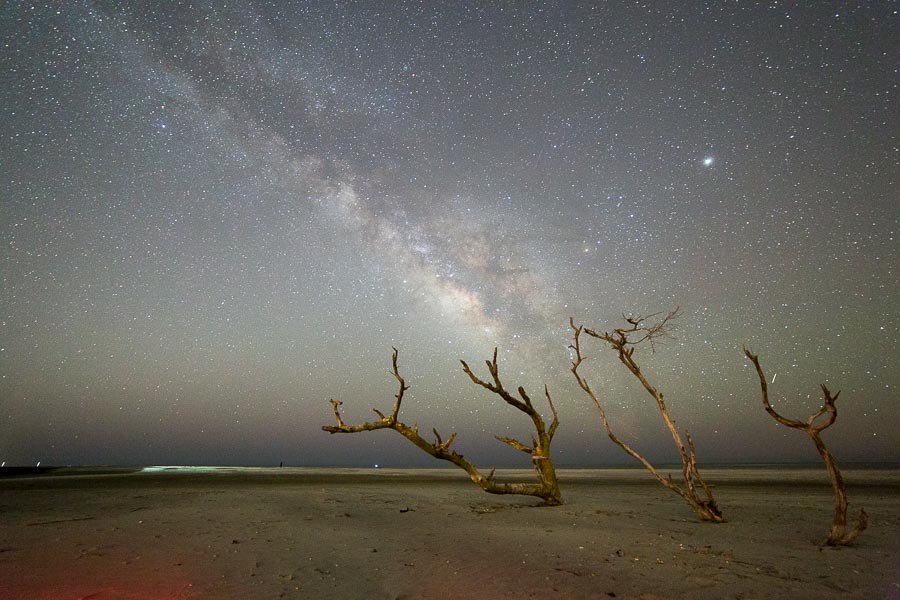
This is the unsung hero of Milky Way image processing. It's really intended to reduce haze in the atmosphere (hence the name), but does a great job of increasing contrast and making the Milky Way really pop. You can see the dramatic effect it has in the image below, with the slider adjusted to +50. It is tempting to max out the slider for this setting, but try to keep things looking a bit more natural.
Adjustment Brush
For some of my Milky Way images, I use adjustment brushes to further accentuate details in the Milky Way core. This is done by using two separate brushes – one with a Whites adjustment and one with a Blacks adjustment. For this image, I used adjustments of +25 and -25 for the Whites and Blacks, respectively. Using the Mask Overlay setting allows you to see where you have brushed on the adjustments.


Other Fixes
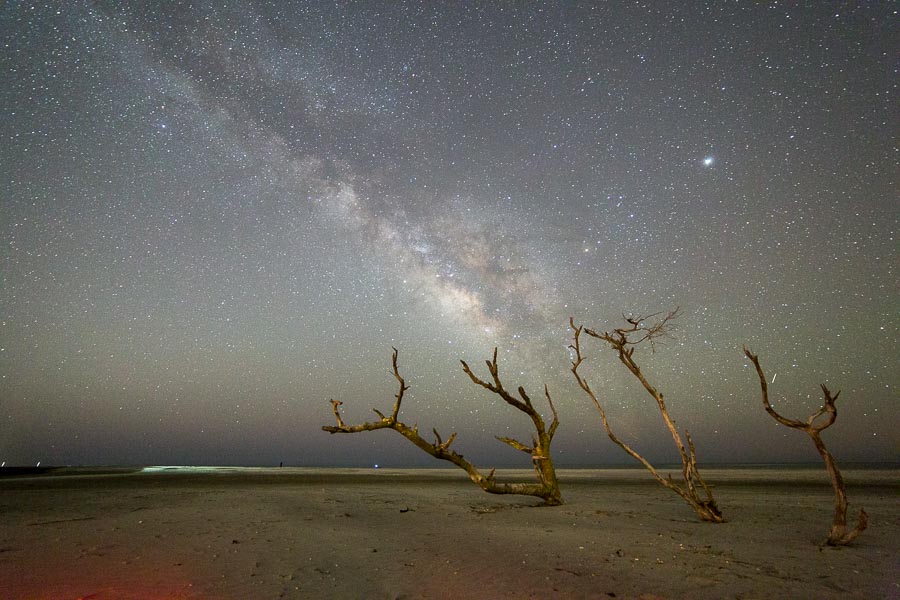
These are things to finish up the image and will vary depending on your photo. For my image, there was some stray red light intruding into the foreground at the bottom of the image. It's a bit distracting, so I wanted to get rid of it. I accomplished this using the Gradient Tool and dropping the exposure and saturation on only that part of the image. Then an adjustment brush was used to brush back in some of the yellowish color of the sand. It's a quick fix, and not perfect, but still does the trick.
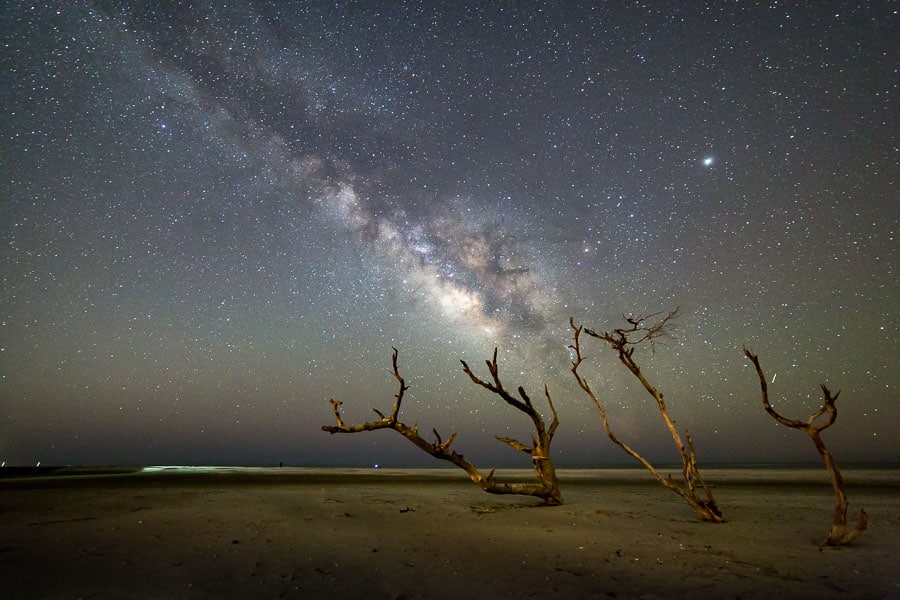
There were also a few lights on the horizon and a plane on the right side of the image to get rid of. I used the Spot Removal tool for this. More complicated cloning would probably require Photoshop, but Lightroom was sufficient for this image.
Conclusion
There are usually many lessons learned in the editing process of Milky Way images, specifically what could have been done differently when capturing the image. Number one is to pay close attention to the histogram. Be sure to shove that peak off the left side and get it toward the middle as much as possible. The image will look way too bright when reviewing it on the LCD in the dark, but it will probably look normal on the computer. Shooting a little bright and bringing the exposure down in post is better than the alternative for maintaining a clean image.
I hope this article is helpful for showing how Lightroom can be used to create a Milky Way image. There are certainly many different ways to do this in Lightroom, as well as other editing programs. Find a workflow that works well for you and produces results that you like. I'm continually tweaking my process and each image is a little bit different. Please feel free to reach out with any questions you have or to share tips you have found helpful in editing your own Milky Way images.
Just wanted to say thanks for all the info. I have a canon rebel 3. Using 18 to 55 mm lens. Also have E F S 55 to 250 lens. Love doing night shots. Just figured out my manuel settings are much better than any auto setting I used to always use. So now I want to actually learn how to do this consistently. Instead of beginners luck. Thanks
Thanks for reading and glad you enjoyed the article. Good luck with your shooting!
Thanks for the stellar article, Rusty. I never get tired of looking at your Milky Way images!
Thanks, John! I appreciate the comment.
Very informative article, Rusty. Thank you and here’s hoping I can make my attempts much better. By the way, I spend a week every October on Folly Beach and would love to try this. How did you get permission to be at the park after sundown? Is October any good for night shooting there? Mikki
We needed special access since we had such a large group. I’m not sure if an individual could do this, but you might try contacting the parks department to find out what you can do.
October is getting late in the season, but Milky Way is still possible. The core would be visible for a couple of hours from about 8-10PM; just make sure it’s close to the New Moon. Should be around October 10th. Try the PhotoPills app for planning this.
Good luck and thanks for reading!
Great, comprehensive walkthrough. The Dehaze slider was an absolute godsend for all astrophotography when it was introduced!
I agree…love the Dehaze slider! Thanks for reading!
Great piece Rusty, got to agree dehaze is the popper ! Occasionally I try the built in presets in Lightroom as that can help on occasions. Keep an eye on me website as I shall put a couple up and don’t be too critical as I’m only a beginner
When adding Dehaze does it add a lot of noise