
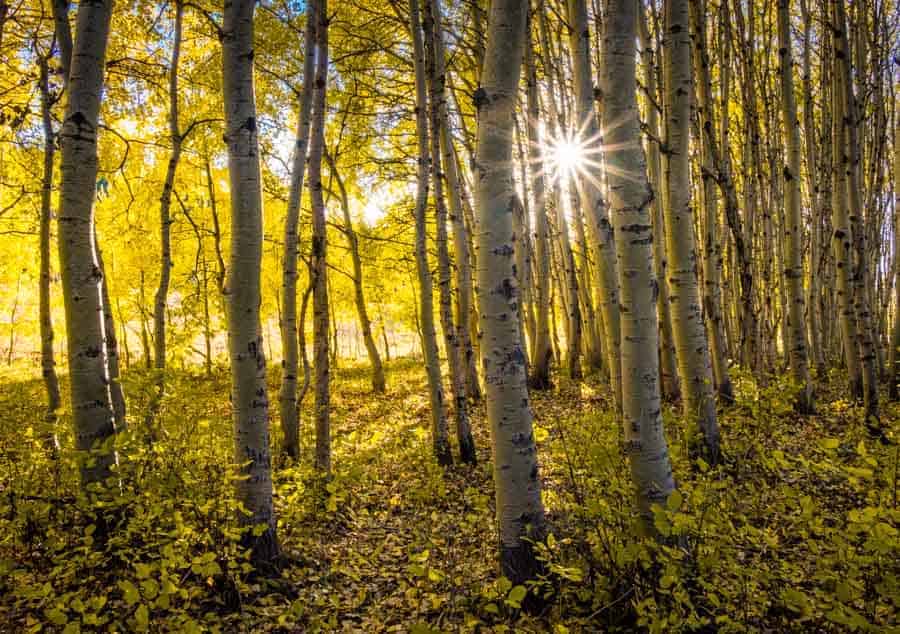
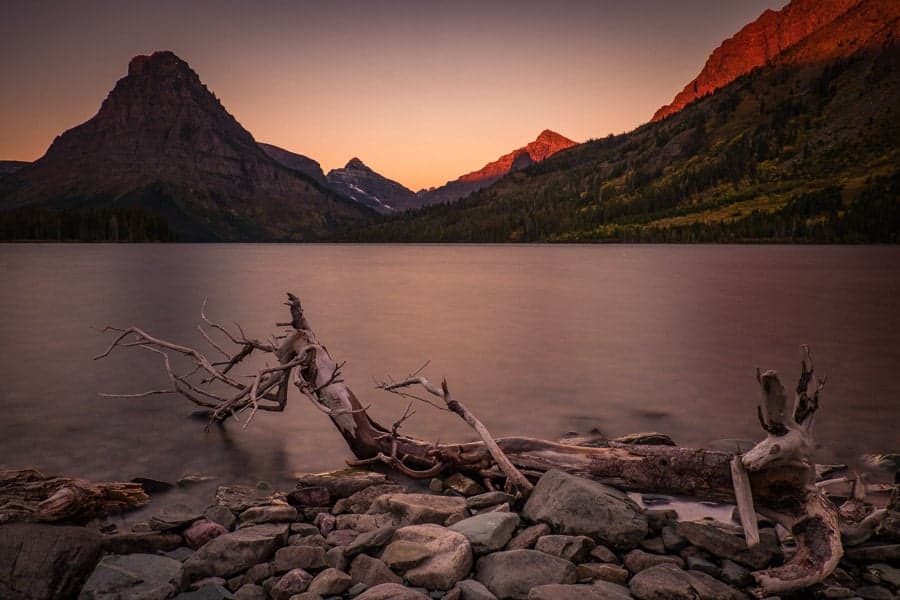
A couple weeks ago I attended the free Improve Photography workshop in Glacier National Park with 25 Improve Photography readers and Jim Harmer. Kevin Jordan was there and wrote an awesome guide last week. I also attended the Zion National Park workshop last year, but I was much better prepared this time and have loaded my camera bag with a lot more since Zion. Since I had so much new gear in my bag, I thought I would write up a mini review of every single thing in my bag and explain why I took it and how I used it. I hope this is helpful for future workshop attendees and everyone else heading out on a photography adventure. As an initial matter, my camera bag for this trip was the Tamrac Anvil Slim 15. It was an awesome bag, but I am including it in a big backpack review article coming up so I will refrain from discussing it more here. Now, on to what I put in that bag.
1. Laptop
I carry a laptop with me on every trip for three reasons. First, I like to stay in touch with the world at least somewhat. Unfortunately, that did not happen on this trip as the KOA's wifi was horrendous and did not allow for more than a few seconds of connectivity from my cabin. The second reason is I like to be able to import all my images each day in case something were to happen to my SD cards. Finally, I want to be able to see and maybe even edit my images if there is any down time. I was able to import all my images while at Glacier, but did not have enough time to edit any as we were out shooting or hiking the whole time.
I am not going to review my specific laptop because it is terrible for running Lightroom and Photoshop! If you are looking for a new laptop, check out this guide.
2. Fuji X-T1
After a long time debating the switch to a full frame, I followed Jim Harmer into the Fuji world. I love it and have 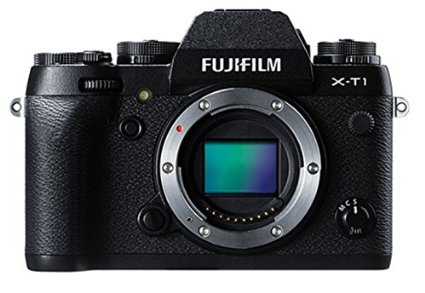 been very pleased working with the X-T1. It was great for a trip like this where I spent a lot of time hiking and did not have to haul all that extra weight with a bigger camera and lenses. Jim has written plenty about Fuji so I will refer you to his words.
3. Fujinon 18-135 Lens
I bought this lens with my X-T1 and it has performed well enough that I haven't invested in much else really. I really want the 10-24 mm wide-angle lens, but I have been waiting for Fuji to release a new version that is weather resistant. On this trip, I was glad I waited as my camera took a fall into the lake, fully submersing the lens, and it came out working just fine. Not having the wide angle was a bit of a bummer in glacier as it is made for wide angles. I had to shoot a lot of panoramas, which was a pain because the high dynamic ranges required a lot of bracketing. With all the blending and stitching I have to do, I have not had time to edit more than a few images from the trip so a wide angle lens would have helped considerably on this trip.
4. Fujinon 27 mm Lens
I had no use for this lens on this trip as I use it more for a street or family vacation lens, but I brought it with me because it is so small and light and would have been better than nothing had something happened to my 18-135. There are a lot of reasons I love this pancake lens, but landscape photography is not one of them. See my full review of this lens here.
5. Lensbaby Composer Edge 50
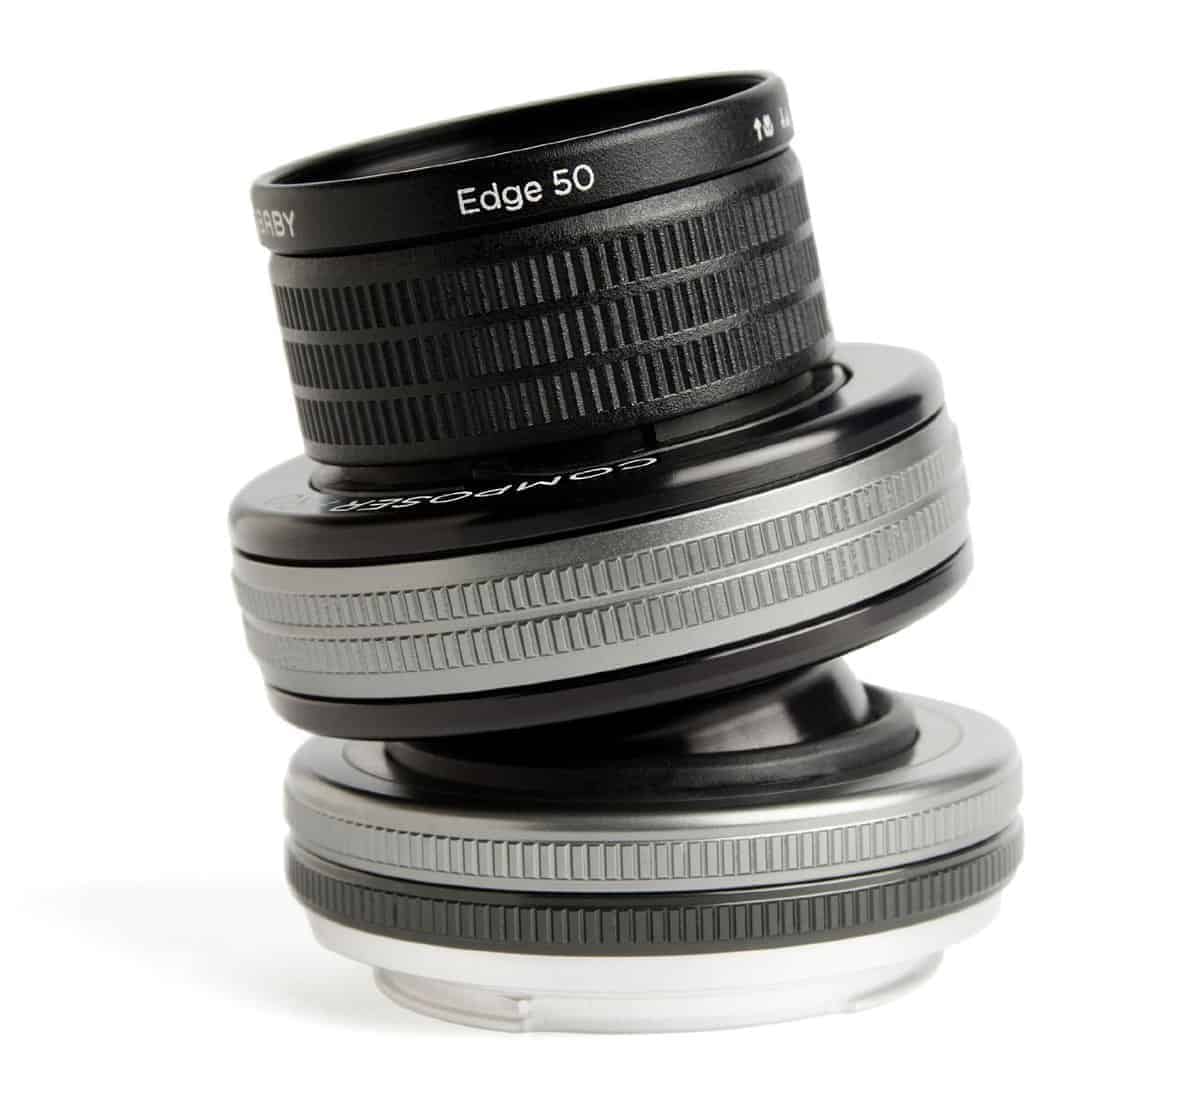
I have had a lot of fun reviewing this lens and have had some good results shooting landscapes with it so I thought I would bring it with me. In the end, I never took it out of my bag on this trip. I am kind of disappointed with myself because I know there were many occasions I could have used this lens, especially with the amazing fall color. It takes some training to get your eye to see the creative shots you can capture with this lens. I am working on a full review now that I hope to publish soon.
6. Oben CT3561 Tripod with Oben BE-117T Head
I think this is a perfect travel tripod. It is very compact and light, but still a lot sturdier than other travel tripods I have seen. It was great on this trip as I was flying on very small planes and would have been forced to check a bigger tripod. It was also great for hiking all day and added very little weight to my bag. It was easy to use and much sturdier than some of the popular travel tripods I have seen that are similar in size and weight.You can see my full review of this set up here.
7. Lenspen DSLR Pro Kit
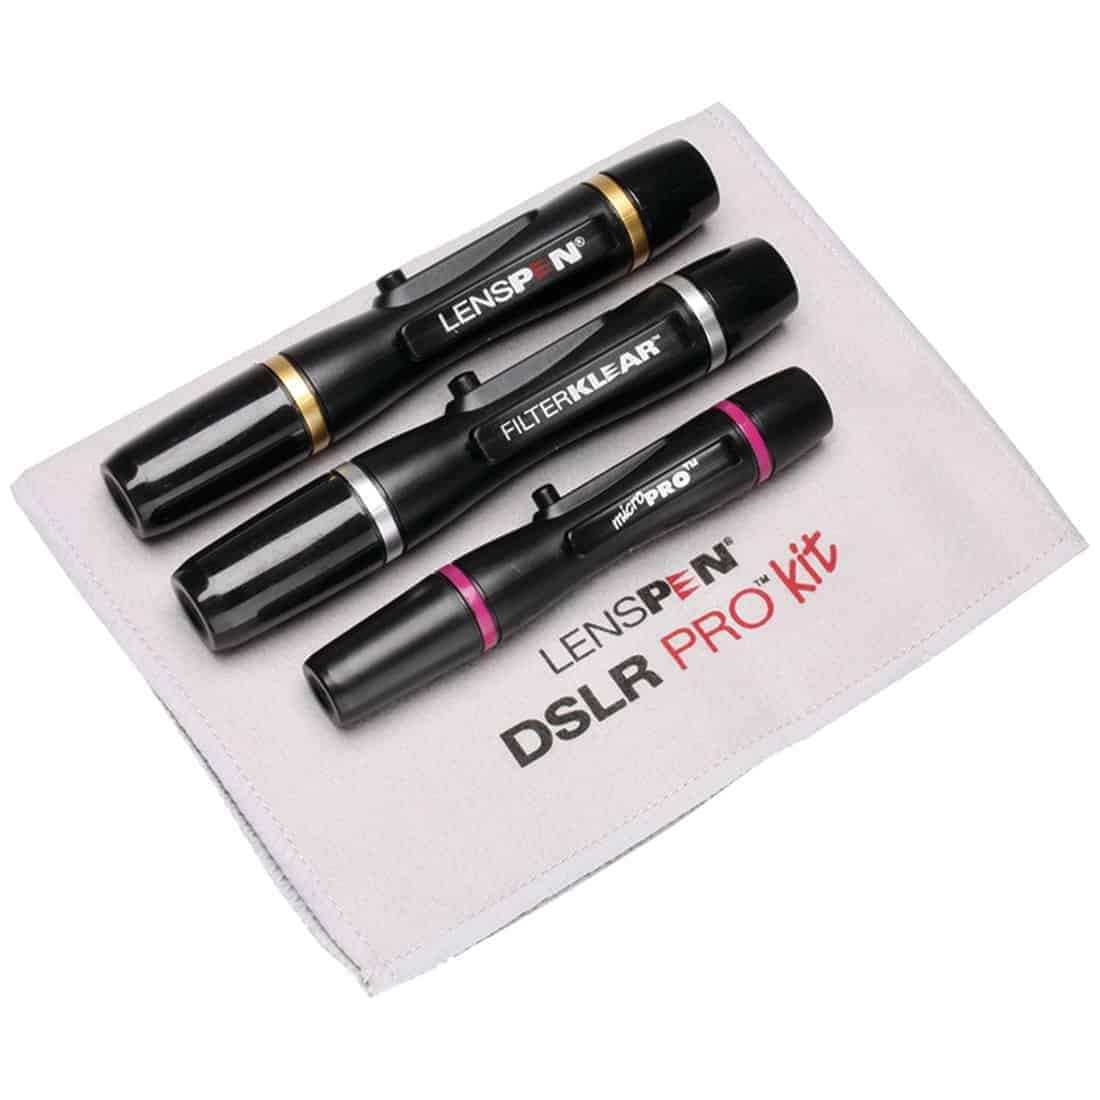
My first time using this kit was at Glacier. I have always used cloths or Pec Pads in the past, but I wanted to try something different on this trip. I really enjoyed using the Lenspen for its convenience. This kit came with three different pens, but I mainly just used the lens pen. It was great because it fit my pocket or I could attach it to my bag for easy access. It has a brush on one side that pops out and is great for removing dust or objects from your lens. The other side of the pen has a pad that does a great job of removing any smears that are on your lens. My only issue was it would leave some carbon residue that you had to make sure to brush off after you were done. Overall, I was really pleased with how the Lenspen performed on this trip. With all the wind, I used it at least once or twice in each location and it kept my lens clean with minimal effort.
8. Vallerret Gloves
In the past, I have generally not used gloves on photography outings as it is annoying to take gloves on and off while using a camera. When I heard about the Vallerret gloves, I knew I had to give them a try as they are specifically designed for photography.
These gloves were seriously awesome. I get a lot of gear in the mail at times and my wife usually does not even notice it, but even she was really impressed when these gloves came. She wanted to try them on, and then she went on about how they were such great quality. I whole-heartedly agree with her. These gloves have everything you could want with great attention to detail. The gloves are designed to fit very snug to ensure warmth and maximum use of your hands. The gloves also have extra grip added to the palms and fingers to make it much safer to handle your camera without fear of it slipping out of your grip
The tips of the pointer fingers and thumbs have little slits so you can pop those fingers out and in for easy use. These worked really well as I could get my fingers in and out to use as needed. The only issue I encountered was using a touch screen with the Triggertrap as the tops of the glove would hit the screen before my finger. After a few annoying experiences, I learned I could just pull back harder on the glove to keep it bent away from the screen while I used my phone.
I loved these gloves and will appreciate them much more when I get to a real cold-weathered shoot this winter!
9. Leofoto L Bracket
For years I ignored the advice of Jim and others about getting an L bracket. It wasn't that hard to shoot vertical and I did not want to waste money on a bracket that could only fit one camera and would add weight and size. Before the trip to Glacier, I finally broke down and decided to test this bracket from Leofoto, mainly because of its awesome price. At less than $20, it was well worth giving it a try. I was surprised when I received the bracket that it was all metal and fit my camera perfectly snug. It was much higher quality than I expected for that price. I was able to access everything without removing the plate, although the battery cover took a little finagling from time to time. Moreover, it adds almost no weight and only a little size. The whole plate acts as a tripod plate so you can attach it anywhere to the tripod. It was so so so convenient to use on this trip and I never had to mess with my tripod to get it to the one position where I could shoot completely vertical. This was such a game changer, I will never go back to not using an L Bracket on any camera I own. If you have not purchased one yet, you need to order one now!
One extra thing about this plate that I discovered late in the trip was an extra thread on the outside of the L Bracket. This was very exciting for me because it meant I could attach my Peak Design clip to the L bracket and still take full advantage of being able to clip my camera wherever I please.
10. Extra Quick Release Plates
About a year ago, I was hiking and pulled out my tripod and camera only to discover neither had a plate attached to them. Ever since that occurrence, I make sure to travel with extra quick release plates so I always have them in case I remove the plate from my camera and tripod for any reason. On this trip, I had an L Bracket on my camera the whole time so it never became an issue.
11. Extra Wasabi Batteries
Extra batteries are a must, especially with a mirrorless system. I went through about 1.5 batteries a day on this trip. I always have 2-3 extra batteries in my bag just in case. I followed Jim's recommendation (I think he recommended it on a podcast a long time ago) and purchased Wasabi batteries and they have worked great. I cannot tell any real difference between them and the Fuji batteries that came with my camera. Since you can pick up a couple extra batteries for around $20, you would be crazy not to have plenty of spares going to an amazing location like Glacier.
12. Luzid Filters
I wrote a full review of the Luzid filters recently here. I really like these filters and have been more impressed with them since I wrote my initial review as I have continued to use them. They have completely replaced my set of Hoya and Tiffen filters I used to use. On this trip, I made extensive use of the ND16/CPL combination for waterfalls and the ND1000 for the lakes. Even with boring skies, I had a lot of fun shooting 2-5 minute exposures of the lakes to get that super smooth glass look where the lakes were actually really choppy. Many others were shooting 30 second exposures and could not overcome how choppy the waters were. I really think this trip would have been a bust if I did not have these filters as there were only a few occasions where I wasn't using one of them.
11. Extra Memory Cards
I have a super fast Lexar 64 GB memory card I use most of the time, but I always carry a bunch of extras with me just in case. It is especially nice on a big trip like this so I do not have to delete anything off the memory card before I get home. It also proved helpful on this trip as I tried importing images during a short break and did not have time to finish before we headed back out so I had to use a back-up memory card on that outing.
12. Triggertrap Remote
I heard a podcast a long time ago where Nick and Jim discussed the Triggertrap remote so I decided I would get one to try for this trip. I loved the Triggertrap and used it frequently as many of our sunrise, sunset and night shoots required exposures longer than 30 seconds, especially with how often I used the ND1000 filter.
Anyone who has used a remote is used to the whole routine of pushing and locking the button and then keeping an eye on the time so you know when you have to release the button and stop the exposure. The Triggertrap puts an end to that. Since it hooks up to your phone, it allows you to actually set the time for the exposure and then relax, knowing it will stop when it is supposed to. This was especially nice when I was shooting 3-5 minute exposures at Avalanche Lake. Instead of trying to balance on a few rotten logs, I could set the Triggertrap up and then escape to shore and walk around and eat breakfast (granola bars) while I waiting for the exposure to finish.
The Triggertrap also has some really cool extra features. There are a handful of cable release modes. You can use 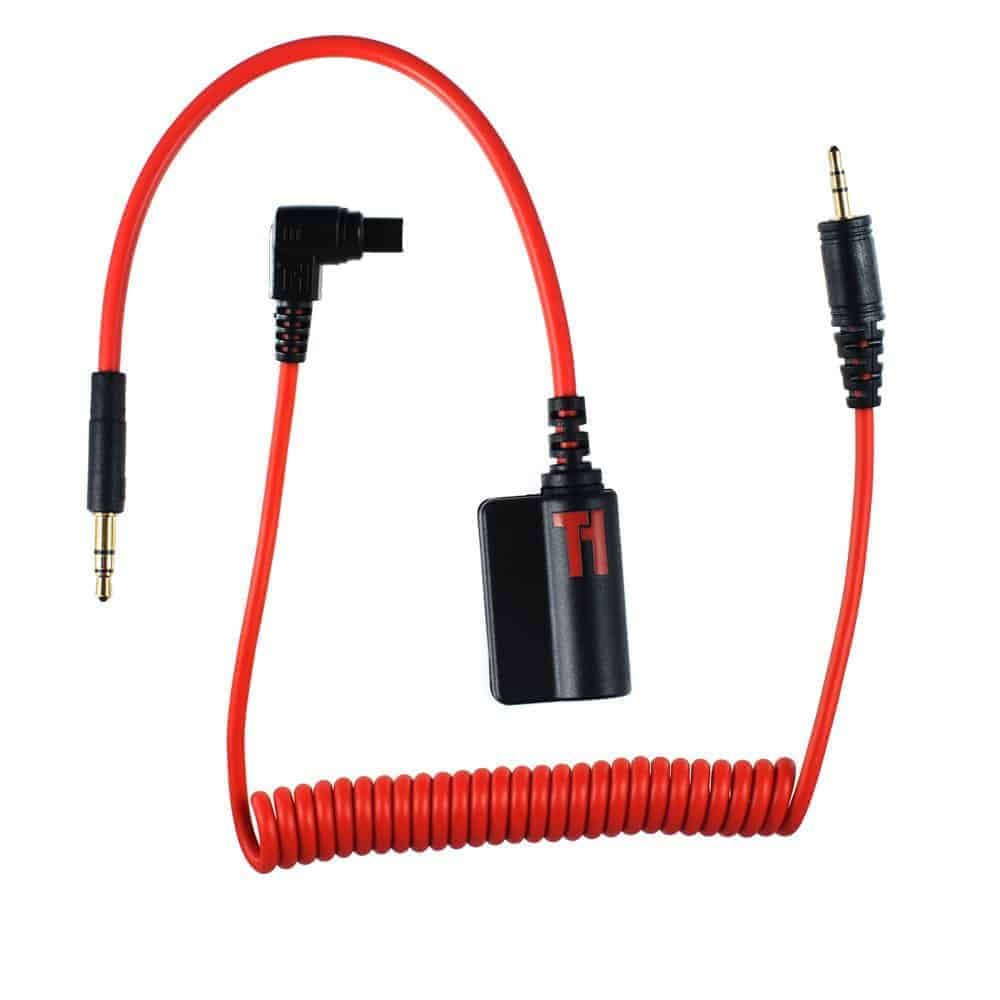 just a simple mode where you push the button to trigger the shutter. There is a quick release mode where you touch the button and the shutter releases when let go of the button. There is a mode where the exposure starts when you press the button and stops when you let go, like a normal remote. There is a mode where the exposure starts when you tap the button and stops when you tap it again. The timed release mode is the one I used almost exclusively as it allows you to set your exposure time. Finally, there is a self time mode that allows you to pick whatever time you want rather than just 2 or 10 seconds before the shutter trips.
While all those modes are great, the Trigger Trap really separates itself by offering several timelapse and sensor modes. You have your traditional timelapse, advanced timelapse, timewarp, distancelapse, star trail and bramping modes that all offer different ways to collect your timelapse. On this trip, I used the distancelapse mode while we were driving on the Going to the Sun Road. This road offers amazing views, mountains, glaciers and waterfalls so I thought it would be fun to do a timelapse of the drive. The only problem with a traditional timelapse is that your speed changes a lot during the drive. Because of this, I used the distancelapse and set my camera to take an exposure every 75 meters. This meant we did not have to worry about having 10 images of the same tree if we got stuck behind a slow tour bus!
The Triggertrap also has sensor modes where you can trip the shutter by clapping or making other sounds, by vibration, by motion or by facial recognition.
Finally, the Triggertrap allows you to do long exposure HDR by taking multiple exposures at whatever exposure you set. This is another really cool feature for doing long exposures during sunrise or sunset or any other condition with a high dynamic range.
Overall, I really loved the Triggertrap. By using your phone, it unlocks so much potential and allows you to conveniently get whatever results you want. The only negative thing for me also came from using your phone-a necessary evil I guess, but it was not always convenient to have my phone tethered to my camera and also could have been a disaster during the sunrise shoot where my phone died after apparently not charging the night before. Luckily, I had prepared for just such a situation.
13. Lynca Remote
Having never used the Triggertrap, I was not entirely comfortable going to Glacier National Park without also taking my old traditional remote. My concerns were quickly set aside as using the Triggertrap was so much easier than this traditional remote where you can only trigger the shutter, lock the button and then unlock when you want the exposure ended. I was glad I had the back up, however, when my phone died at Two Medicine Lake during the sunrise and I had to finish the shoot with this remote.
Since you can find a cheap remote like this for around $10, this remote is a must have if you are not ready to jump into a more advanced option like the Triggertrap; however, after having used the Triggertrap, this remote has been relegated to a deep pocket in my camera bag to only be used in case of emergency.
14. Peak Design Capture Pro Camera Clip
My wife bought me this clip years ago and I loved it. It is so nice when hiking to be able to just throw your camera on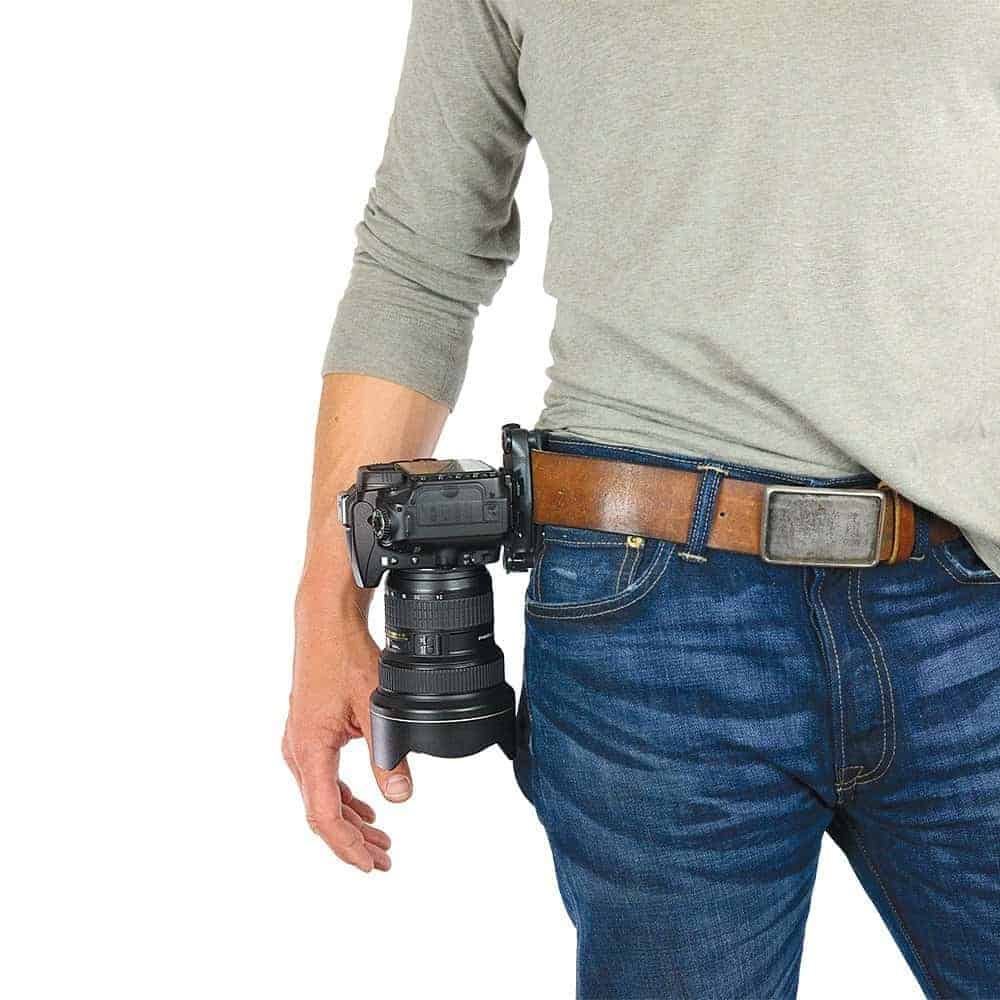 your belt or backpack strap and have it easily accessible without having a strap around your neck. Before long, I encountered a problem with the tripod plate that connects your camera to the clip. After a few hours of hiking, it would get loose and the camera could fall if not re-tightened. This was a big issue for me so I stopped using it for a while. Not too long ago, I had the idea of tightening it with a hex key rather than the hand tightening mechanism. I have tested that a number of times and the camera has not come loose again. As such, I am back to using and loving my Peak Design Clip. Peak Design has the clip available,
15. Extra Hex Keys
My Oben tripod came with an awesome tripod that holds two different hex keys to a tripod leg. That is awesome as I always have the right tool on me when I need to tighten anything on my tripod. I also carry an extra one in my bag in case I do not have my tripod and need to tighten or remove a plate from my camera.
16. Vallerret Cloths
Even with the Lens Pen system, I still wanted to have a couple cloths on me in case my lens got wet. These cloths worked great and I used them a number of times. Most notably, I used them at Virginia Falls to shield my lens from the water and wipe the lens dry between each exposure.
17. Vallerret Beanie
I went for the trifecta from Vallerret by using their gray beanie as well. There is nothing special about the beanie, but it fit well, was comfortable and was also warm. It was also nice that it comes in gray as you can use it to fake a graduated ND filter as Jim as explained here.
18. IST Diving Boots
After watching all of Nick Page's posts and videos using his NRS neoprene socks to shoot in cold rivers, I knew I 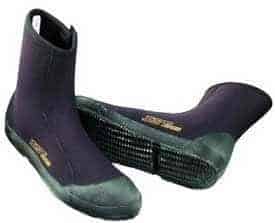 wanted a pair. I just wasn't ready to shell out the money for a pair and I was not excited about having to wear them inside my shoes and then be stuck with wet shoes for the rest of the day. Then, I remembered I had diving boots from when my wife and I took scuba classes. While they weren't high calf and wouldn't actually keep my feet dry, I knew they would keep my feet warm while I was in the water and the hard soles would allow me to wear them without my shoes. Plus they were small enough to fold into a compartment in my bag, so I thought I would give them a try. I used them the first night to get into the middle of a river to shoot a waterfall. They performed really well. I had plenty of grip to walk on the rocks and my feet stayed warm. After I was done, I dried my feet off with a rag I brought and then put dry socks and shoes on. The only downfall was the boots took about 30 hours to completely dry out so I had to keep them in a plastic bag if I wanted to take them with me.
19. Seychelle Straw and Bottle
I have been using the bottles and straws from Seychelle for about 15 years and they are awesome. They have a filter so you can drink water from any source and it comes out clear, odorless and free of bad taste. I really enjoy using these when I go hiking (except in Vegas, where there is no water) so I do not have to pack any water. On this trip I drank out of multiple rivers and lakes and enjoyed the ice cold water without getting sick. These bottle typically retail for $35, but they are offering a deal of $25 for Improve Photography readers. Simply call 208-861-1846 and mention you saw the review on Improve Photography.
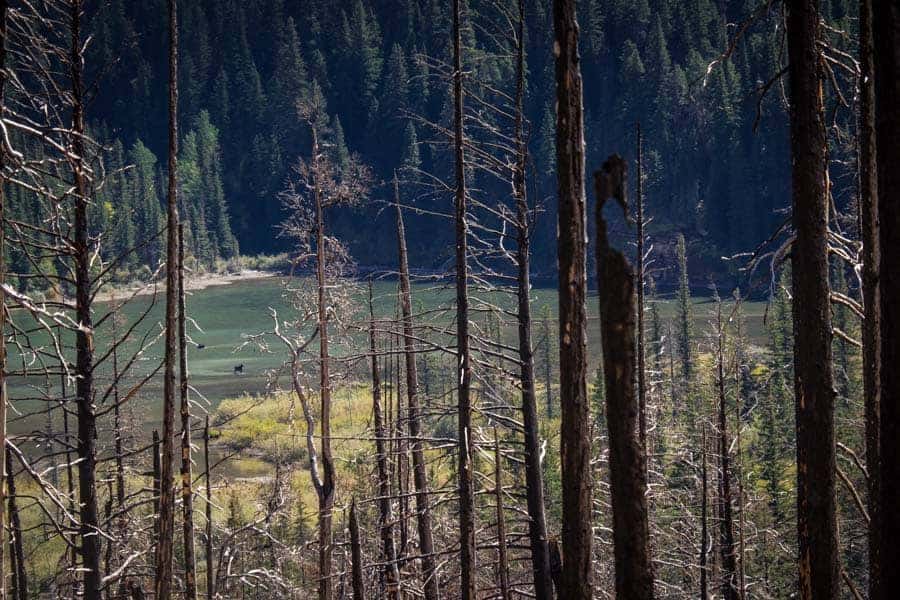
I have had these binoculars forever and rarely use them, but they are good quality. I brought them on this trip to spot wildlife. I used them once when I was hiking out of Virginia Falls. I saw what looked like two big rocks out in the lake, but one of the rocks looked weird shaped so I used the binoculars and confirmed the rocks were actually moose! If I would have had a few hours to kill, I would have hiked down to the lake to photograph the moose.
21. Abie Strap
You can see my review of 18 straps here, including the Abie Strap that I took to Glacier. I chose to take the Abie Strap because it was still connected to my camera and because it is really comfortable and I like the look. In the end, I did not use the strap at all because my camera was always attached to my tripod.
22. OP Tech Rain Cover
I bought this cover years ago. It is super cheap, but I figure it will do the job when I need it. I have not yet needed it. Generally, if it is raining hard enough that I need a cover, there is nothing worth shooting, but it is so small and easily crammed into the corner of my camera bag, I will keep bringing it so I have it ready when the occasion comes.
23. Tactical Flashlight
My dad bought me this flashlight and it is great because it is small, heavy duty and can zoom in and out. I used it a few times on this trip when I did not want to get my head lamp out. It is always great for light painting, but the moon was so bright on this trip, we did not need to do any light painting. Regardless, it is a good idea to always have some kind of flashlight in your bag (with extra batteries).
24. Headlamp
Like a flashlight, I always have a headlamp in my bag so that I can keep my hands free while being out at night. My small Dorcy one I have works fine, but I would recommend the one Jim has. It takes AA batteries which is nice, and it put out enough light that I never had to use mine if I was hiking anywhere close to Jim.
That is it. Everything in my bag. I hope you found it useful. Please feel free to ask any additional questions you may have about anything in this article.
I like your content and the YouTube videos – but there are over 10 ads on this page which is ridiculous.
It’s a blog got to make some money with ads. LOL. Nice to see the mirrorless to lighten the load up. Was looking into the belt clip. Did it work good while hiking?
Curtis, I really like the belt clip for hiking. The only thing is you have to make sure to tighten it with the tool rather than by hand.
I’ve been wondering about that. Been using two black rapid slings for a little while now. I tend to hike with a 150-500mm lens and the slings do well. What would be the advantage of the clip over sling when hiking, both with a small lens and a monster?
Nathan, I have heard great things about the black rapid slings, but have never used them so I can’t compare the two. There are a couple things I like about the clip for hiking. I can put it on my belt or on the front strap of my bag and don’t have to worry about it bouncing around at all. I will say that if you have a a heavy set-up, you are not going to want all that weight hanging from your belt. I like that it is really quick and easy to access and, because I use a tripod most of the time, I don’t have to deal with a strap getting in the way. The attachment plate for the clip fits my tripod fine so it is easy to use. For me, I don’t use it all the time, but it is a nice accessory to have when I want easy access to my camera, but don’t want to use a strap.
Thanks. Good to know. I also use it with a 50mm prime a lot and was interesting. Before I switched to the D750 this year, I looked at the Fuji line. Those are tiny cameras. I thought my D3300 was small. Being 6’3″, I find that the weight isn’t an issue, but I could see where it would be with others, especially since my Sigma telephoto is 6 lbs of camera lens. Of course, being able to capture closeups of humming birds at 30 yards freehand does help.
I bought a belt clip for my camera. It’s great just so long as you don’t want to wear a coat. Makes you look and feel like a right nerd to wear it on the outside of a coat and can’t get to your camera if you buy a coat big enough to go over the camera.
Thanks for the comment Sue. Living in Vegas, i don’t find wearing a coat to be much of a problem!