
When it comes to portrait photography, it is very important that we pay attention to what the shadows are doing in the photo. Shadows must be flattering for the model and they cannot be distracting to the viewer. If you are reading this post, then hopefully you have already started to see that these little things make a big difference.
Flattering Light
Creating shadows that are flattering to the model will take a few shots to see what lighting style looks the best on them. (In this post, I won't go into detail about lighting styles. However, you can download this handy PDF of basic lighting styles.)
If you are interested in learning more about flash photography and the many different things you can do with it, then I would suggest you take a gander at the lighting class we offer at photoclasses.com. Adding light will make a difference to your photos, no doubt, but it needs to be a positive difference.
Distracting Shadows
Apart from having hard light on your model's face, the most distracting shadow that can be found in a portrait shot is the one cast by the model onto the wall behind them. It instantly becomes a really dark blob behind them that is trying to steal attention away from what should be your focal point – the model. As a portrait photographer, we should never simply accept the default light/shadows that show up in the photo. Our models want to look great in front of the camera and our careful and skilled control of the light will help make that happen.
Here is what it looks like to have shadow cast onto the wall behind the model.

Shadowed Wall

Fixed – Shadowed Wall
The reason that the shadow shows up on the wall behind your model is because they are either too close to the wall or the direction of the light is angled in such a way to show the shadow.
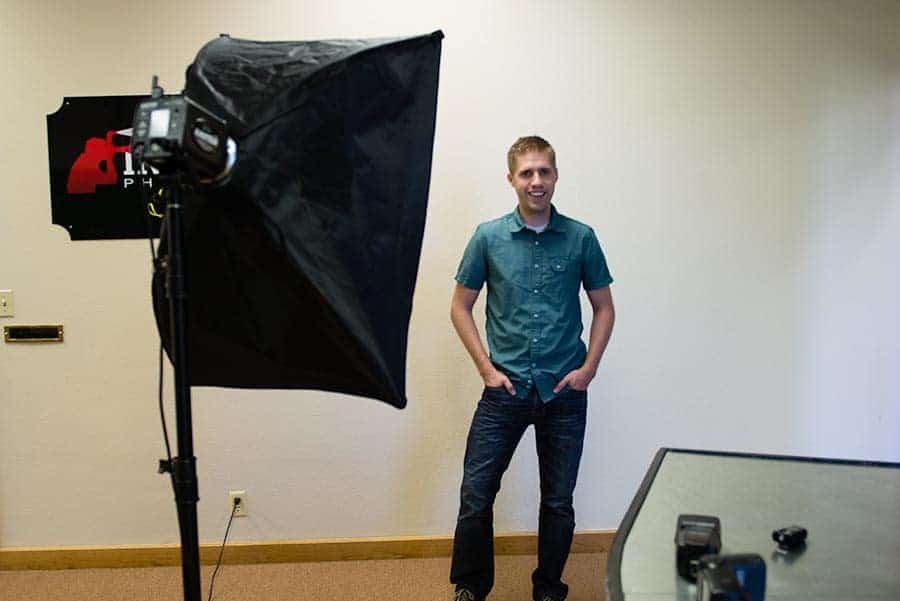
Typical setup to achieve Shadowed Wall
Here's a few tricks you can try to help remove or at least reduce what we will now call the “Shadowed Wall Effect.”
1. Move the model away from the wall.
2. Add in fill light for your background. This could be a second light, reflector, or anything that will put light on the background.
3. Change your lighting style position. Try to get the shadows to go downward (Butterfly lighting) and minimize the shadow that reaches the wall.
4. Remove the model. Just take a photo of the wall and label the photo, “The Invisible Man.”
There is an incredible amount about lighting that we can learn and apply in our photography. The most important thing to take away from this is that we should never settle for poor lighting or distracting shadows. We are in control of the light and all it takes is a little bit of experimenting and moving things around to get something that is actually quite nice.
It’s 1:30 P.M., I just come back to my computer, I was taken pics of my self, not self portraits, because I can afford a model, besides at this time of the nite, nobody works, but I want to get better. And guess what, There were the big shadow of mine. No comments. I look into YouTube, and I found your post. I will follow your class, tomorrow nite, and I will let you know how it works, but, I will thank you for your suggestions.
Rc
Hi
I’m somewhat new to manual photography and having issues with lighting (of course).
Last night I was shooting with one model and the ambient lights of Christmas tree. I used very slow shutter speed, middle wide aperture and ISO 100. I was using two strobe lights. The ambient lighting was beautiful and subject lit well. The problem was the shadows on the wall.
I tried everything to get rid them.
I turned the lights at every angle including straight up to ceiling. Powered lights from high to low. Turned house lights on and off.
Model and tree from 3 feet to 5 feet away from wall.
Turned off strobes and used my Metz 64 AF-1 digital with fill.
I did the whole process over again, angling the flash, lowering power, using fill.
Used spot and matrix metering.
As I said, I’m a new photographer. I don’t know what to try next. HELP!
Thanks for your consideration.
What if you are only using the flash on your camera at a event?
Very useful work. Thanks.
Really great article. Thanks for taking the time to explain things in such great detail in a way that is easy to understand!