
When I go hiking I always carry my DSLR and sometimes other cameras like a compact camera, a GoPro or a drone. Since I was hiking a lot in the last years I made some experiences some good and some bad, something that works great and some things I tend to forget. To help you to do not make some mistakes and get great shots I made a list with 17 tips that will help you to have a good time while hiking with your camera. Spoiler: Most of them are related to a good planning.
1 Check your gear
First you should check your gear. I do this in the evening before I go to sleep. This means you should check if your batteries (and extra batteries) are charged, if your camera has a memory card (or two) and if they are empty or have enough place. If you have a memory card case, check if your replacement cards are in there and empty.
This can also mean that you check your gear if you need to do software updates, especially if you have a drone. I personally never came in this situation but a few years ago a friend of mine where not able to us his drone because the drone wanted to make a software update in the middle of nowhere.
2 Pack light
You have to keep in mind that you have to carry everything you put in your backpack with you all day. It is therefore important that you pack light. If you have a light camera system (like micro four thirds), good for you. If you go hiking a lot you should consider investing in light gear. This does not mean you have to buy everything light and new but if you have to replace certain parts, keep an eye on light options. A good example is a tele converter. As you can read in this article, I am a huge fan of my tele converter. It is a good option to extend your lens without carrying a lot of extra weight with you. You are going to be mad about every pound you've packed too much on longer hikes. And sometimes this does mean you have to leave something at home, which brings me to the next point.
3 Pack right gear
Think about what you'll see on the hike. Are you going to see interesting wildlife and can you photograph it? Are there some nice places for drones or are drones on the hike prohibited? Do you need a heavy 24-70mm f2.8 Lens or can you take a compact camera instead?
Most of the time you need less things than you think. On normal hikes I most time have only my Canon Crop DSLR with a 10-20mm wide angle lens my Canon G7x with me and most time this is a very solid setup. Keep in mind that you have to be close to wildlife to make good photos. I also made this mistake, brought a heavy zoom lens and the animals where too far away so that I could not get a good photo. Keep also in mind that when you bring two lenses you have to change them if you need different angles. If you want to focus on wildlife you maybe should only bring a tele lens.
This also contains to do a bit of planning and research. On most of the hikes you are not the first person that does this with a camera. Check some photo platforms like Instagram, 500px or Flickr if there was someone before you and what photos he made so you know a bit better, what you can expect to photograph.
4 Tripod
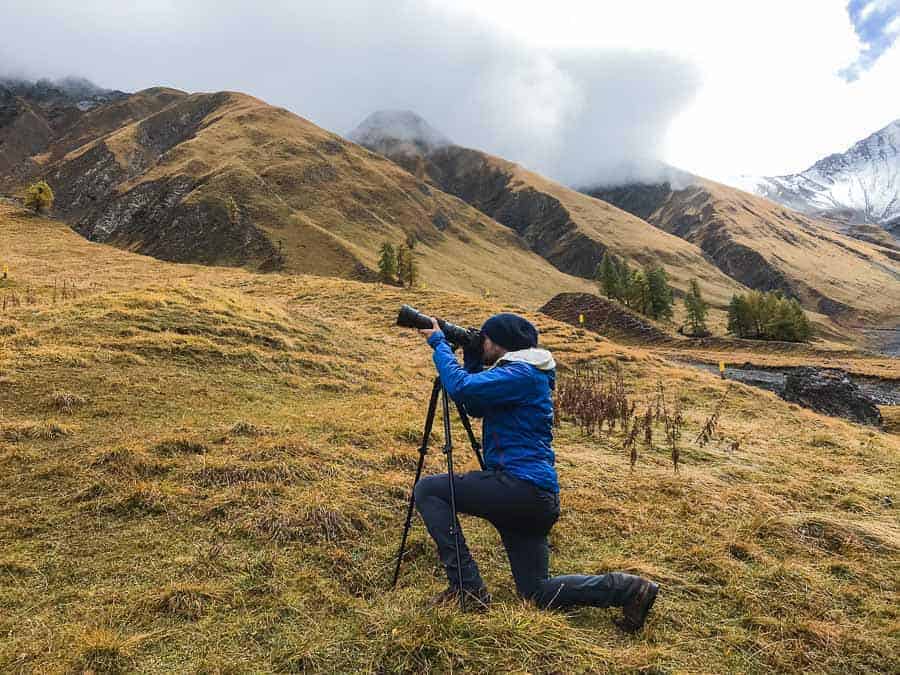
Be sure you need your tripod really. I carried my tripod a lot with me and never used it. It was a heavy metal tripod, not a lightweight carbon one. If you go hiking during the day you may not need your tripod. Also if you want to photograph wildlife you are often fine with a monopod. Another good option is a travel tripod or gorilla pod. They are not as good as a normal tripod but they can be really solid. My travel tripod can carry my DSLR with a 70-200mm f2.8 lens and I can still do some filming.
My tip: think first if you really need your tripod, most time you will not, or bring a light one.
5 Plan your day
This includes something from point 3. You can safe some weight if you plan your day. As I mentioned in point 3 you may not need all your lenses. Or you realize that you are not allowed to something for example drones. This means also to check if you can get some inspiration form people that have visited that place before. Check some popular photos and think if you can do they better or find another angle to make an interesting picture that you do not see regularly. I went so some places and realized afterwards, that I took the same boring photo like everyone without knowing it before.
6 Check regulations
Network coverage in hiking areas is usually not particularly good. Most time you are a bit away from the civilisation and you cannot rely on that you can search everything in the internet. This means you have to check regulations before you go. Are there no-drone-zones, are you allowed to leave the paths or is there a restriction for tripods. I had a few times the situation that I was somewhere without network coverage and I was not sure if there was a no-drone-zone. Did not let the drone fly but at home I realised it was fine to fly there and I missed a great photo.
If you can, download an offline map. Most times this is the easiest way to check something. If you cannot download an offline map, you may can safe it as a PDF. If this is not a good option you can also do a screenshot on your mobile phone and you have a kind an offline map in your photos.
7 Keep place for basics
If you pack your photo gear in your backpack keep in mind that you have also to have to bring other things than your photo gear, like food, water and clothes. I have been in that situation that I had to pack everything in another, bigger, backpack and in the hurry I forgot my favourite lens. So keep in mind that you also need some space in your backpack for other thinks than photo gear.
8 Make a packing list
It is easier if you have a packing list. I made a packing list over the years and it is very solid. Since I have completed the list I was never in the situation that I forgot something at home. Here are some Points from the list, which may help you:
- Water
- Food
- Muesli Bar
- Camera
- Wide angle Lens
- Compact Camera
- GoPro
- Drone (with controller)
- Extra batteries
- Sweater
- Jacked
- Rain jacked
- Hat
- Sunglasses
- Gloves
- Hiking sticks
- Sun Cream
- Watch
- Wallet (with Money)
- Pocket Knive
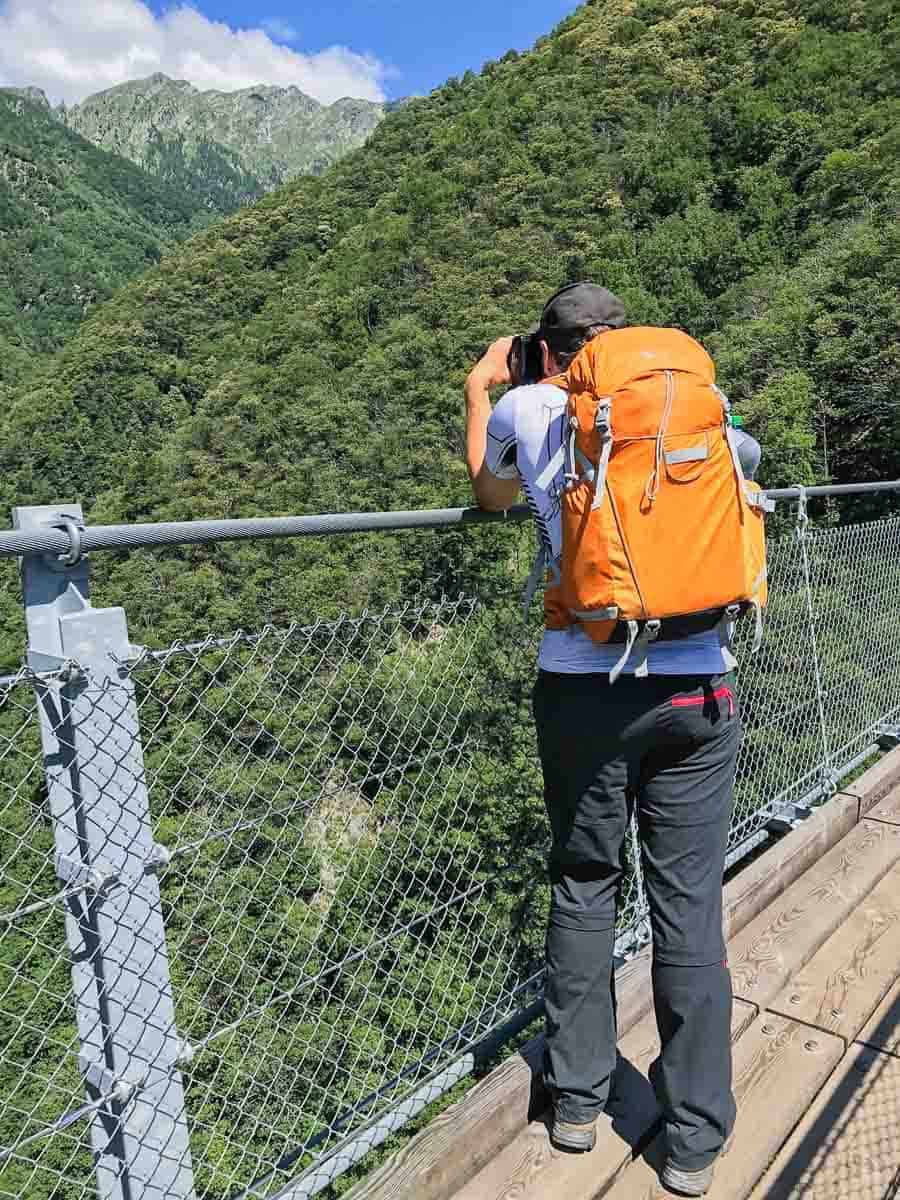
9 Photo Backpack for hiking
If you carry camera gear with you it is better if you have a special photo hiking backpack. Normal backpacks are not made to store a camera in it and you can have trouble if you want to change a lens or put your camera away. Photo hiking backpacks always have a camera pocket that protects your photo gear. I am not a fan of photo only backpacks for hiking because most time you will not have enough space for other thinks. I am a huge fan of Lowepro Photo Sport but there are also a lot of other good options like the Mindshift backpacks. If you are interested in buying a new photo hiking backpack check out this article which will help you.
10 Be weatherproofed
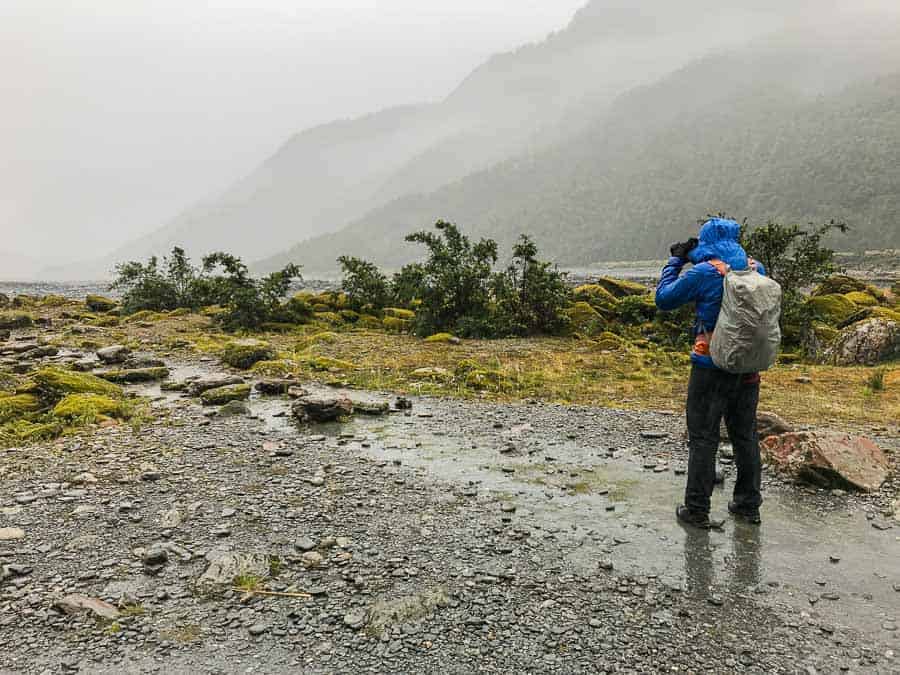
Be sure that you are weatherproofed. This does mean make sure that your camera will not die in the rain. Especially in the moutains the weather can change really fast. It is most time not a problem if your gear gets a bit too much sun. Unlike you, your camera does not get sunburned. If you are hiking in extreme hot conditions you camera or drone may overheat, but most time hot and dry is not the biggest problem. You may have a problem if you get soaked in the rain. I ruined a smartphone while hiking through heavy rain because I did no realised that I was in a not water sealed pocked. Since then I always have a water sealed bag in my rain jacket for my smartphone. Make also sure that your backpack has a rain cover, especially if you have expansive camera gear in it. For your camera I can recommend the Peak Design Shell. It is rain cover for your camera that allows you to photograph. In New Zealand I was hiking about three hours in heavy rain (I was completely soaked) but my camera in the Shell was perfectly fine.
If you are hiking in the winter or in cold conditions make sure you keep batteries warm, especially drone batteries. Some drones do not start if the battery has a temperature below 15°C. Just keep the batteries near your body under the clothes that they do not get too cold.
11 Keep your camera always ready
I missed some photos because my camera was in the backpack and I was too slow or too lazy to take it out for the 20thtime. A good tip is to have you camera always out and ready. If you are expecting to see some wildlife soon, make sure you have the long lens on your camera that you not have to hurry.
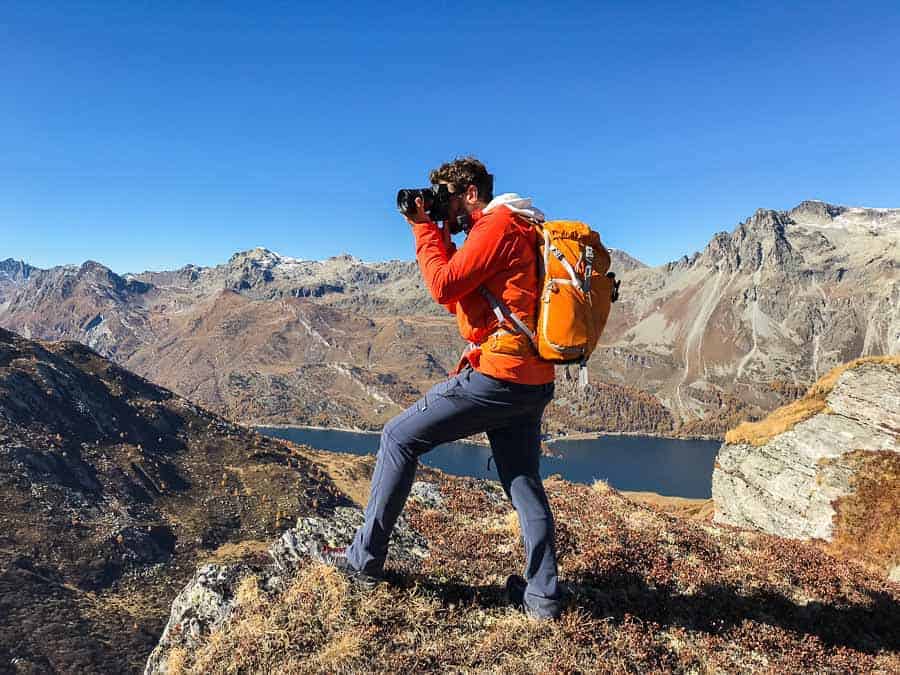
I am a huge fan of the Peak Design Capture Clip. I carried my DSLR with my 70-200mm F2.8 on it and it was absolutely no problem. I always carry my camera like this when I am hiking. You can read a full review here. There are also other systems in the marked like the cotton carrier or the spider holster. Also the Mindshift backpacks are good if you want to have good aces to you gear.
If you prefer to have your camera on a camera strap you may need something else than the one that comes with your camera. Most times they are way too short. You can find a comparison between some straps in this article or check out the Black rapid strap here.

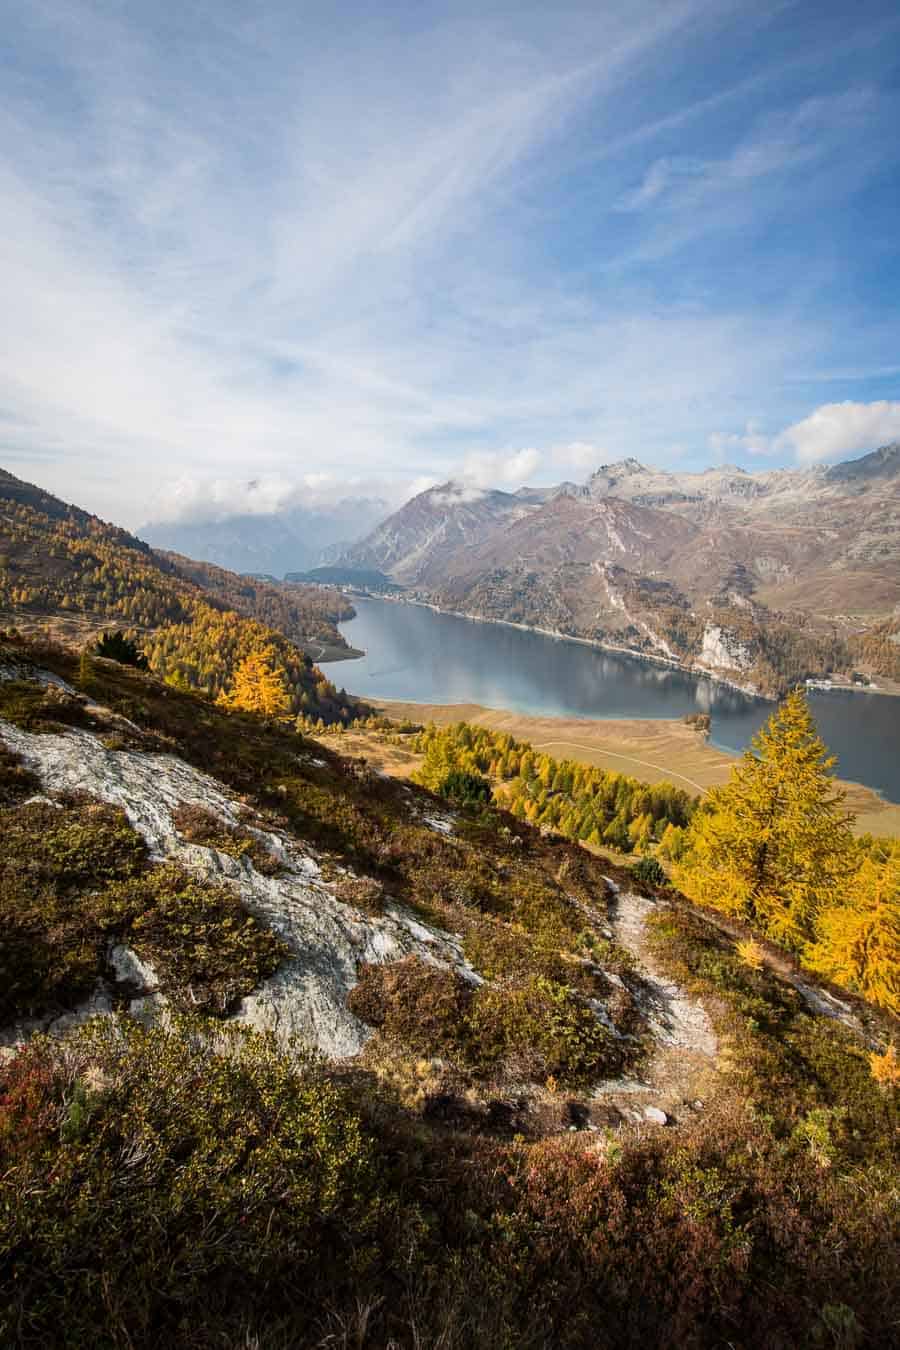
12 Landscape Lens
Invest in a good landscape lens. I made the experience, that a good landscape lens can make a big difference. If you have always photographed with kit lens consider to invest in a wide-angle lens. Maybe this is a personal preference but when I am hiking I am most time using a wide angle somewhere between 16 and 32mm (10-20mm on a Canon crop camera). The difference in the field of view between 16 and 24mm has a much bigger than on bigger numbers like 35 and 40mm. For hiking a wide-angle lens is also good because you have often things in the foreground that you would include in your photo.
You do not have to spend a lot of money, when you buy a wide-angle lens. You can find the Canon 10-18mm f4.5-5.6 for about 270 $ on Amazon. If you do not know what lens you should buy I can highly recommend the lens finder on Improve Photography that also helped me to find my lens.
13 Bring two cameras
This may sound a bit strange, if you have still the tip 2 in mind where I said you should pack light. But I do not mean that you should bring two big and heavy DSLR. I often have more than one camera with me while I am hiking. I am a fan of the Canon G7x (or pro compact cameras in general). As I mentioned earlier I have most times the DSLR with a 10-20mm lens and the compact camera as an additional option. Maybe this is an unnecessary tip if you have a bag from Minshift, because with these bags switching lenses is very fast. I prefer to have the compact camera in my pocket and take a few photos with the small camera and do not switch lenses. By the way, the G7x is also lighter than my 24-70mm f2.8 which covers a similar range.

14 Look back
Always take a look back when you are hiking. This is even more important, when you make a round tour and come not back the same way. Sometimes you can miss great compositions, that are right behind you because you do not recognize them. If you come the same way back it may make sense to look back. Sometimes the light can change within a few minutes. It is also good if you have an idea what you want to photograph on your way back. On the way back, you are often in a hurry because you want to go home, and if you have an idea where to stop you can get some great photos also on the way home.
15 plan your journey
If you have to drive to a location you may have a nice phot spot on your way. When I drive to the Engadin (a valley in my area with a lot of nice hikes) I pass some great photo spots. Plan some extra time and check if there are some nice locations on your way. When you hike during the day you may have some great light on your way home. To find photo spots in your area I can highly recommend the really great photo spots app. There are a lot of great spots all around the world.

16 Tell someone where you go
The last two tips are safety tips. If you go somewhere no matter if you go alone or in a group, tell someone where you plan to go and if you change your plans, write a short text to someone, just in case something happens to you. In my region in the mountains, there are every year people slip and fall and are only found after days. Statistically most of the accidences in the mountains happens to men who hike on their own. To use some stereotypes, most photographs are male and mostly alone on the road.
17 Walk or photograph
This is something I always forget. If you are somewhere with an uneven ground our near a cliff or something else dangerous, keep an eye on the ground. Always stand still while taking a picture and do not walk around with the camera in front of your eyes. I stumbled for that reason, too. Luckily nothing happened. In a bad case you can destroy your camera and in the worst case you can even die. Keep this in mind while your photographing.
Did you enjoy this article? Do you have some additional tips for hiking with a camera or something else to say? I would love to hear it from you in the comments.
If you interested in some more tips for better landscape photos from your hikes I highly recommend this article on Improve Photography. If you need some tips for some hiking accessories for outdoor photographers, take a look on this article, also on Improve Photography.
Computer and phone users are used to working on their devices without allowing them to rest. Continuous use without rest reduces the efficiency of those devices. Avg internet security 2018 download key is created to make the computer and phone devices to run at maximum speed and optimal efficiency. It can be operated automatically and manually on any device AVG customer support number is installed on. consists of more than 40 tools to help in optimizing its performance on computer and phone devices. It also works in the background without interrupting other activities that are active.
Kaspersky Antivirus is well known for it’s performance and functionality. It fights against all sorts of attacks, threats and Phishing. Kaspersky my account is well known for its anti phishing technology. It is well in terms of performance, usability and protection. No other antivirus software can beat Kaspersky in terms of these three factors at any time. Moreover, Customer support for kaspersky does not slow down your computer at all. It identifies already know virus or threats or the new ones easily and fixes them quickly keeping you safe from the dangerous threats and online attacks.
Norton is one amongst the foremost standard antivirus that is extremely acknowledged for shielding device and giving a 1 stop security answer to any or all the individuals worldwide. The company offers an excellent vary of package answer that defend your desktops, laptops and mobile phones from the unwanted harmful on-line threats. With a Contact norton antivirus phone number on automatic data processing system, one will secure their laptop and might take care of the safety additionally as privacy of the knowledge. application, knowledge and package. No virus, phishing scam, worm or different threat will damage your device. If you needed to urge any of the aforesaid plans on your device then you’ll transfer, purchase and activate antivirus on your device. Before you are doing therefore, you wish to stay a couple of of key points in your mind.
Kaspersky antivirus support phone number, founded in 1997, and supporting 200 countries and territories is probably the dark horse of all antivirus software, it’s not the most well known (ranked third largest consumer security firm in the world) even with their 400 million users. Bear in mind AVG has around 200 million ‘active’ users and is probably the most popular software out there! In 2014 the company was granted with the “AV Test Best Performance Award” for its minimal impact on system performance in all tests of solutions for home users which shows they care about the running of their customer’s devices, obviously this is great news for those who are concerned about software using too much memory or processing power.
Kaspersky user account log in has a few issues with Microsoft, in the respect that the company insists on installing and defaulting Windows Defender as the primary choice of security suite for any new Windows 10 user. Although most users realize that they need something more powerful than Defender, this hasn’t made Kaspersky feel any more comfortable and is suing Microsoft as a result.
Kaspersky antivirus setup download (starting at $60 per year for three PCs) adds phishing and spyware protection, scans email and instant messages, checks your system for known vulnerabilities and has a gamer mode to minimize interruptions. But its features pale in comparison to those of the similarly priced Bitdefender Antivirus Plus, which tosses in a password manager and a hardened browser.
youre website is very inrtesting