
If you’ve ever tried to photograph Christmas lights, you’ve probably experienced the frustration that can come with this type of photography. There are many challenges and opportunities associated with documenting the beautiful displays of festive holiday lighting that show up each December. Fortunately, there are a number of things you can do to overcome these challenges and seize the opportunities.
The Challenges
Dynamic Range: Photographing Christmas lights is a true exercise in conquering the limitations of dynamic range. The difference between bright and dark in your image is staggering. If you’re trying to get the shot with a single actuation of the shutter, I recommend shooting during “blue hour”. Otherwise, bracketing may be your solution.
Motion Blur: The act of photographing these holiday spectacles fits solidly in the category of “night” or low-light photography. An image created while hand-holding the camera will seldom find its way into your portfolio. Hence, a solid tripod/camera support will be necessary.
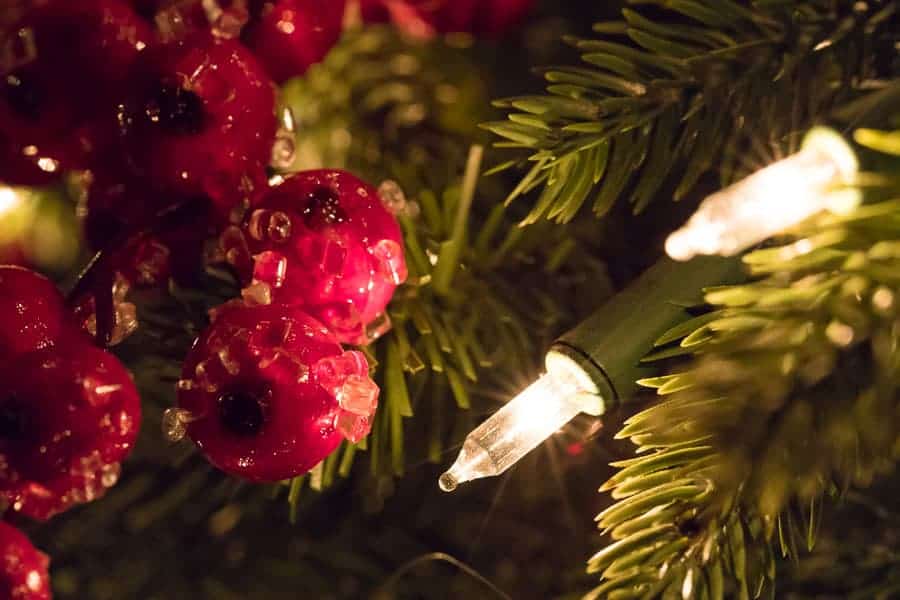
Retaining Detail: In order to really bring out all of the beauty stored within those “1’s” and “0’s” on your memory card, you will want to keep as many of the said digits as possible. This is done by shooting in RAW. Keeping this latitude for editing will allow you to end up with the final product you envisioned rather than the one your camera thinks is best. Shoot RAW.
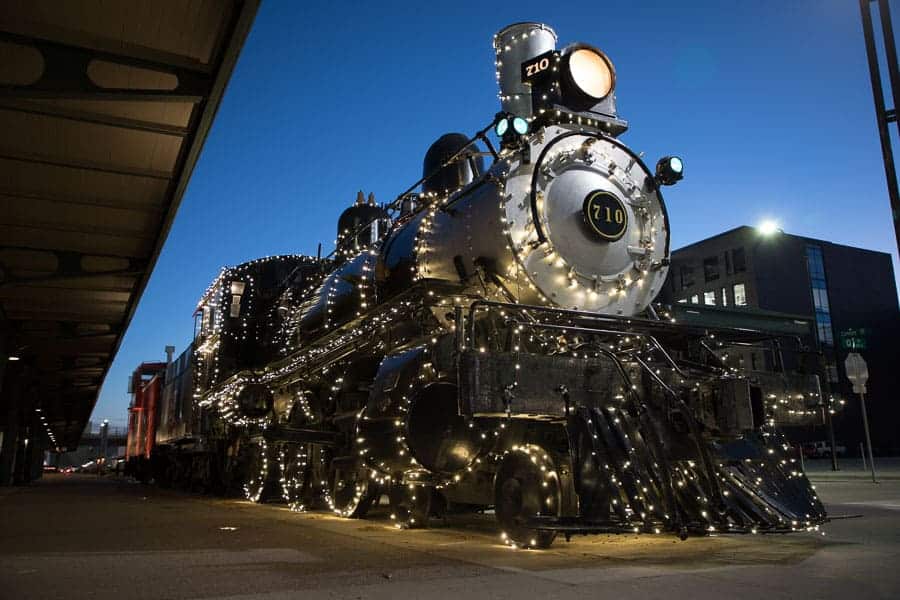
Strong Subject: Sure, the “Clark Griswald” level holiday display at the house down the street might be stunning to witness, but we must not forget to be conscious of our compositions in creating photographs that are less “snapshots” and more “art”. Of course, this is HIGHLY subjective and ultimately up to you.
Shoot During “Blue Hour”
We all know about the famous “golden hour” in landscape photography. The time when the Sun is fairly low on the horizon and casts a beautiful golden light across the landscape showing plenty of detail in texture and shadows. Golden hour’s less known and underrated cousin “blue hour” is a great time to get out and shoot those Christmas lights.
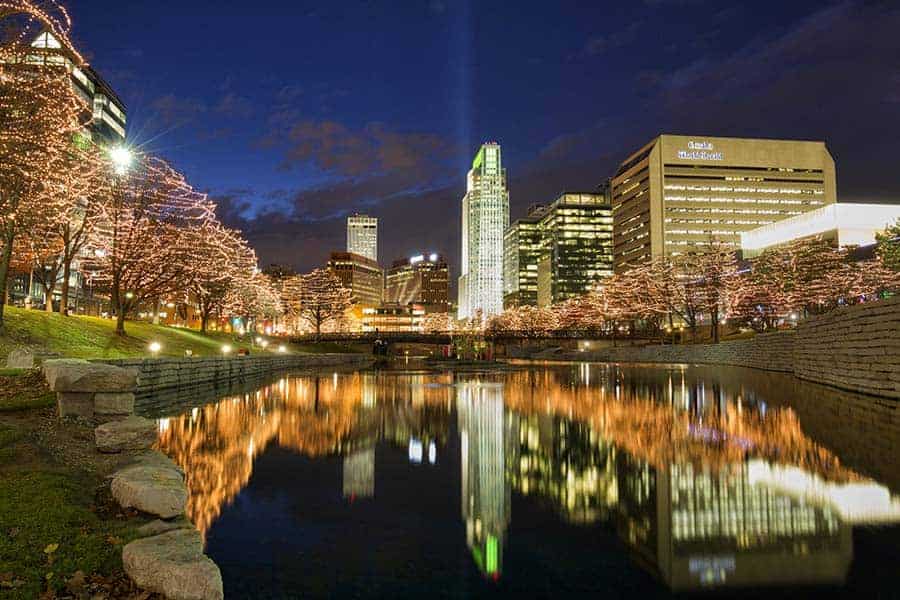
Blue hour is a period of time after the Sun has dipped below the horizon (4 degrees to 8 degrees below the horizon line). The reason this timeframe works so well for capturing outdoor Christmas Lights is because it offers detail in the sky while allowing the lights to be captured in a way that makes them pop while keeping them from blowing out or clipping to white.
Bracket Your Shots
Another weapon in your kit that will help you to slay the dynamic range monster is bracketing. Every year, we see better and better dynamic range performance in the latest camera releases. This is fantastic, but cameras still have a long way to go before they match what we perceive via the human eye. Bracketing can help you to create a final image that closely resembles what you saw. After all, isn’t that what photography is, at least in part?
The key here, is answering the question: “How many shots do I need?”. The answer to that isn’t quite so simple and it really depends on a lot of factors. When following this approach, I like to have more than I need rather than less. 5-7 shots usually fit well within this “more than I need” approach and I will likely only use 3-4 of the shots but it’s always nice to be able to add another file to my canvas in Photoshop when needed.
When processing these sets of photos, you could use any number of approaches. HDR software could be a good starting point if that’s your preferred workflow. I prefer a manual blending approach using luminosity masks and selections to handle the dynamic range. If you are new to luminosity masking, I recommend the tutorials on the subject found on IP+!
Use a Tripod
This seems obvious, but while I was out gathering material for this article, I saw countless people taking photos of the displays without using a tripod (cue face palm). Using a tripod will only help these photos. The shutter speeds required, even with the awesome image stabilization that has come out recently, will simply not allow enough light into the camera to keep noise from being an issue.
You can brag all you want about how steady your hands are with camera in-hand, but at ½-5 second exposures, you will get blurry images. Bring your tripod.
Shoot in RAW
Ok, I’m not one of those guys who says, “Always shoot in RAW, no matter what!” (though I do shoot RAW 99% of the time). I believe there are some instances when it makes perfect sense to shoot in JPEG. (Somewhere, Jared Polin just choked on his coffee). I am not here to get into that issue, but I will say that this is one of those times where RAW just plain makes more sense (just like 99% of the time).
When it comes down to it, in this case, you want to be able to end up with the exact final product you envisioned. Retaining all of the original data captured by the camera will help you to better accomplish just that. Shoot RAW.
Other Settings
I list these in the order in which I consider them. ISO is base unless I need speed to freeze movement. Aperture is set depending on the desired effect of the shot and shutter speed acts as the setting used to balance the exposure.
ISO: Your ability to capture the light that you need for a clean image will not be hampered so long as you are using a tripod and your scene lacks moving elements that you want to freeze (such as floats in a holiday parade, etc.). For shooting the typical Christmas Light scene, I recommend using you camera's base ISO, whatever that happens to be (e.g. 100, 64, etc.).
Aperture: The main consideration for your aperture selection should be depth of field. This is, in many ways, very similar to “typical” landscape photography, so deep depth of fields tend to be more desirable. I like f/8-f/16 for most situations.
However, a VERY popular use of Christmas lights in photography is to use the beautiful bokeh they create as a great backdrop for portraits. In this case, use a large aperture for the shallow depth of field to create this effect. An 85mm at f/2.8 makes for an awesome setup for these types of holiday portraits!

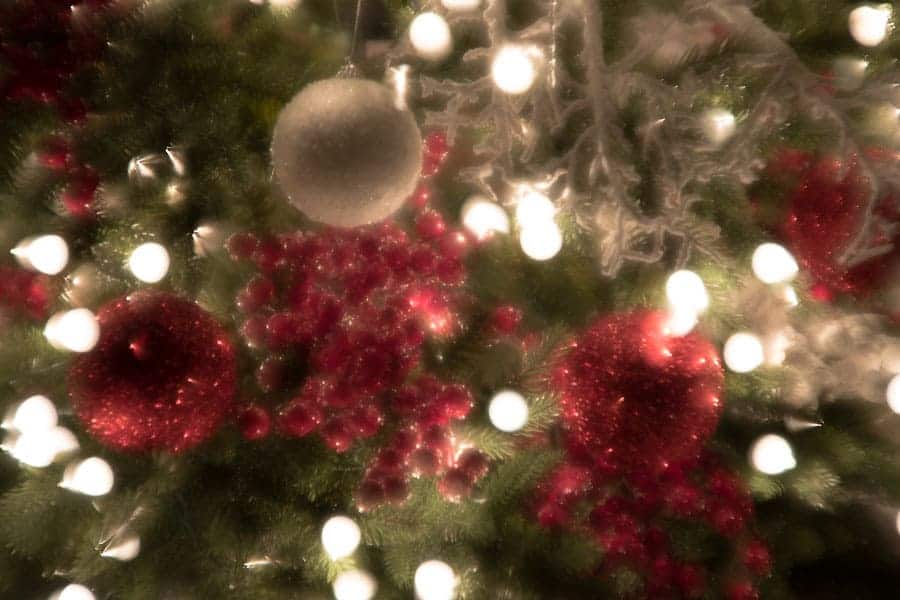
On the opposite end of the spectrum, don't be afraid to stop way down to something like f/22 to create that “starburst” or “star spikes” effect around your lights. I especially like this effect when photographing the family Christmas tree.

Shutter Speed: If you're at base ISO and stopped down to f/16 or f/22, you're probably going to need a fairly long exposure to properly expose your scene. For many of the scenes that I captured in preparing this article, I found myself using exposures in the 10 – 20 second range. Shutter speed (except in the holiday parade type example above) is generally a lower ordered consideration and you really just need to use whatever balances out your scene and protects your highlights.
When selecting my shutter speed, I make sure to turn “highlight alerts” on in my camera so they blink at me. Especially if there is color in the lights you want to capture, you want to make sure that you are not blowing out those highlights as all color would be lost. Protect those highlights and use multiple exposures if needed.
An added bonus to the fact that you will typically need long exposures is that if your scene has people moving around in it, they are less likely to show up in your final image, that is, unless they sit perfectly still for the entire exposure.
Find a Strong Subject/Composition/Creativity

This is perhaps the most difficult aspect of this type of photography. When out shooting, it is often difficult to capture the magic of the scene. Things that can really help your composition are not really all that different than typical landscape photography. Just start with the question; “What is it about this scene that I really like?” and “What do I want to emphasize?”.
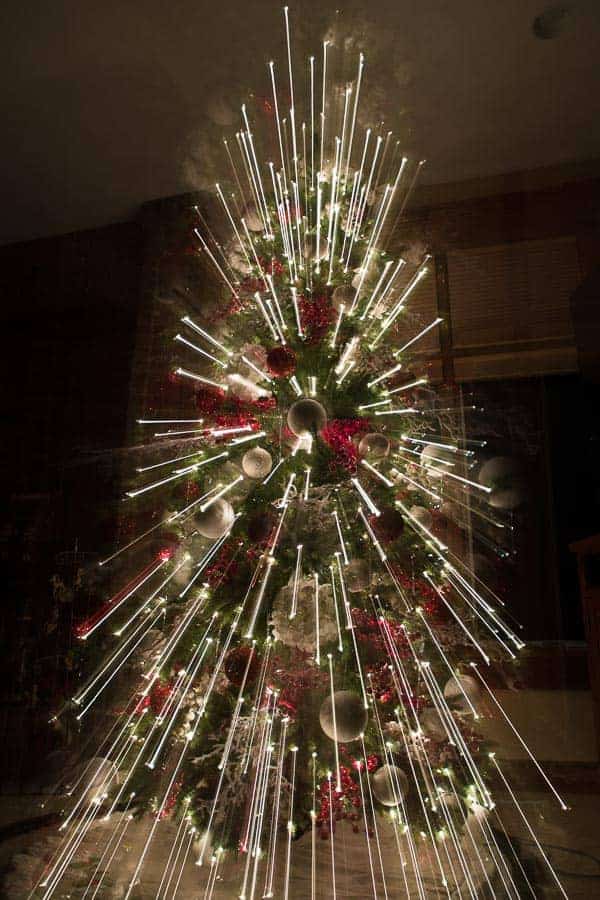
Perhaps you get lower or higher for a different perspective. Try different angles to see what works best. Shoot close and wide, or stand back and zoom in. Pull out your macro lens (the image at the top of this article was shot with a Canon EF100 f/2.8L Macro) or even a tilt-shift or Lensbaby to try something different. Zoom bursts, and long exposures with de-focusing techniques can really make for some unique images.
Overall, perhaps the simplest thing you can do is find a scene that is a strong one any time of the year and just happens to be lit up for the holidays. If nothing else, now you have a new time of day in which to shoot that scene.

Don’t Just Use your iPhone, (or Maybe You Do…We’ll See)
The cameras built into smartphones have come a very long way in a very short amount of time. I don't think I will meet a lot of resistance when I state that they are not yet at a point where they can replace a “professional” grade camera. Whether or not they will reach that point is a topic for another article.
When shooting for this article, I wanted to pit my new iPhone X against my DSLR and just see what would happen. The same scene is presented twice below. Can you tell which one was taken with the Canon 5D Mk IV and which was taken with the iPhone X?

If you're wondering, the settings for each setup are as follows…Settings on 5D Mk IV shot: EF 24-105 f/4L IS II; 30mm; 1.3 seconds; f/4; ISO100. Settings on iPhone X shot: Wide Lens (4mm) 1/3 second; f/1.8; ISO80. iPhone shot captured using the Halide Camera app allowing for RAW capture and a Bluetooth remote for shutter release.
In creating this side by side from shoot through processing, which was kept to a minimum, it becomes evident to me that mobile technology is not yet at a point where it can replace our DSLR or Mirrorless ILC cameras as the options are just too limiting. However, the quality of the images possible, even in low light, with the technology in our pockets is amazing!
Conclusions
The holiday season offers a fantastic opportunity to get out and shoot something that is a little different than what we see the rest of the year. I'd love to see all the great reader photos that you capture over the holiday season, so use the tag #ipholidaylights when you post to social media! By the way… “A” above was taken with the 5D Mk IV and “B” was the iPhone X. I know you were dying to know.
Thanks for the shooting tips. I would like to add that shutter speed needs to be 1/60 or less if shooting in the USA, to capture LED Christmas lights otherwise you are likely to have shots with only partial lighting.
This is an excellent point! Generally my exposures are much longer, so flicker is not an issue. But depending on the exact lights you are photographing, there could be issues if your shutter speed is too fast. Thank You!
Thanks for the tips, just tried the exploding Christmas Tree – worked perfectly. Going to try a few more now.
Awesome! I’m glad it worked for you :).
Hello,
I could not get it. Could you please tell if it was on shutter priority or the manual? I could not get the burst for a 1 sec shutter speed.
I would definitely recommend shooting that kind of shot in manual mode. The exact settings I used for the example shot were as follows: Canon 5D Mk IV, EF 24-105 f/4L IS USM II (on tripod); 1.6 seconds, f/5.6, ISO 100. One second should work as a good starting point, but settings might vary depending on the ambient light in the room. The tree was the only light source in the room where I was shooting. Set your 2 second timer and start turning the zoom ring slowly as soon as you hear the shutter open. Don’t stop until the shutter closes. It can be tricky to not shake the camera but with a little practice and several attempts you should get something you like:).
Dang, some interesting ideas on a quiet Christmas Eve morning. Now I have to haul out my camera, tripod, and annoy the wife.
Thanks for the idea.
Haha! This comment made me chuckle Pat! Mostly because I think my wife experienced the same annoyance as I was gathering photos for the article. I hope you got out and got some great shots!