
Shooting long exposure photography is one of my favorite things to do with a camera. It gives you the ability to capture something in an image that separates it from 99 percent of the images flooding the internet as it is something that can't be done without the right knowledge and equipment.
A long exposure shot is one where the photography purposefully slows the shutter speed down. While a fast shutter speed will freeze the action, a slow shutter speed lets the motion flow through your frame to create different effects depending on what you are shooting.
Things can get tricky when first starting out with long exposure photography. The most common question we hear on Improve Photography is: Why do my long exposure shots keep coming out white? Luckily, this should be a pretty easy problem to solve. The first thing you will want to do is get a better understanding of the exposure triangle. If you need a tutorial, check out this link, but for the purposes of this article, I am going to give a real basic overview. The exposure of your image, i.e. how light or dark the image is, is determined by your ISO, aperture and shutter speed.
A long exposure shot is created by decreasing the shutter speed. The shutter speed controls the length of time your image is being exposed to light. Where a normal image might have a shutter speed anywhere from 1/60 to 1/500 of a second, a long exposure image, depending on the subject, could be anywhere from 1/10 of a second to 5 seconds to 20 minutes (Many cameras only go up to 30 seconds before you have to use bulb mode so if you need longer than 30 seconds, you will want to get a remote). Leaving the shutter open longer lets more light in. The result is a brighter image, and if your shutter is open too long, your image will be completely white. The first step to fixing this is controlling the other parts of the exposure triangle.
The ISO controls the sensitivity of your image to light. While this can be a difficult topic to really delve into, just realize the higher your ISO setting, the brighter your image will be. So, when shooting long exposures, you want your ISO setting as low as possible. On most camera systems, the base level ISO is 100. Some systems will go as low as ISO 64 and Fuji has a base ISO of 200.
The final leg of the exposure triangle is your aperture setting. The aperture setting controls the size of your lens opening. Thus, a larger aperture is a bigger opening, letting in more light. The tricky part here is the aperture numbers represent a fraction, meaning an aperture of f/8 actually means 1/8. That being the case, the higher your aperture number, the smaller your opening because 1/16 is a lot smaller than 1/4. If you are having trouble with your long exposure shots turning out white, try closing down (making smaller) your aperture. A good starting point is f/16 and whatever the base ISO is on your camera. Of course, you need to realize the smaller aperture is going to increase your depth of field so you may have to implement some other methods if you need a shallow depth of field on your long exposure.
Okay, so you have made it this far and I still haven't answered your question. If you are shooting at your base ISO and a small aperture and your images are still too bright, then you need to try one of the following options.
First, increase your shutter speed. Not every scene calls for a twenty second exposure. You may be able to capture the effect you want at 1/2 or even 1/8 of a second. This won't work in every situation. Sometimes, there is just too much light, but look through the samples below and you will see some of the images captured movement with fast (for a long exposure) shutter speeds.
If the problem is too much light, you need to find a way to decrease the light. If you don't have any other means to decrease your light, you can just shoot when it is darker outside. Instead of trying to get your long exposure shot at noon, try shooting it during sunset or even on a cloudy day if you just need to cut out a little light. This is one of the reasons overcast days are perfect for waterfalls, where you only need to slow down the shutter speed a little.
Finally, the tool that really enables long exposure photography is the neutral density or ND filter. The ND filter is  basically sunglasses for your lens. It comes in different settings depending how dark the filter is. My personal favorite is my ten stop filter, which allows me to slow my shutter speed ten stops. That means a normal shot in the afternoon might require a 1/30 shutter speed at ISO 100 and f/16. With a ten stop ND filter, I can shoot the same image at 30 seconds. The other most common ND filters are a 6 stop or a 3 stop filter. You can also use your circular polarizer to cut out one or two stops of light.
Once you have a handle on how to shoot a long exposures, and have purchased the right ND filter if you need one, there are so many fun things you can shoot utilizing a longer exposure. Some of my favorite subjects to shoot long exposures include the following:
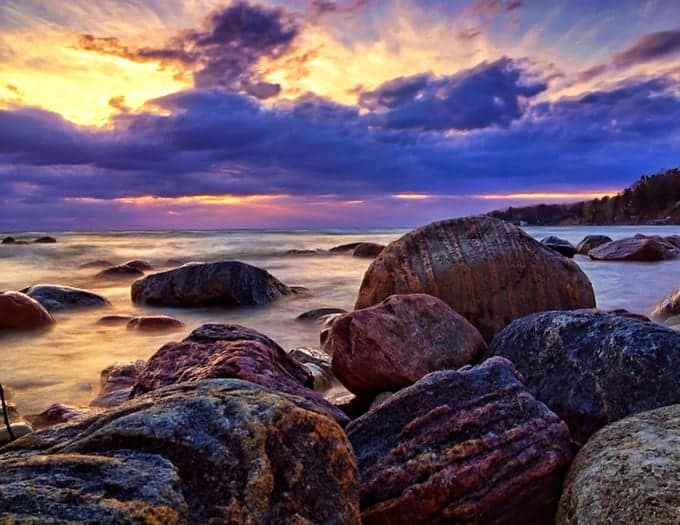
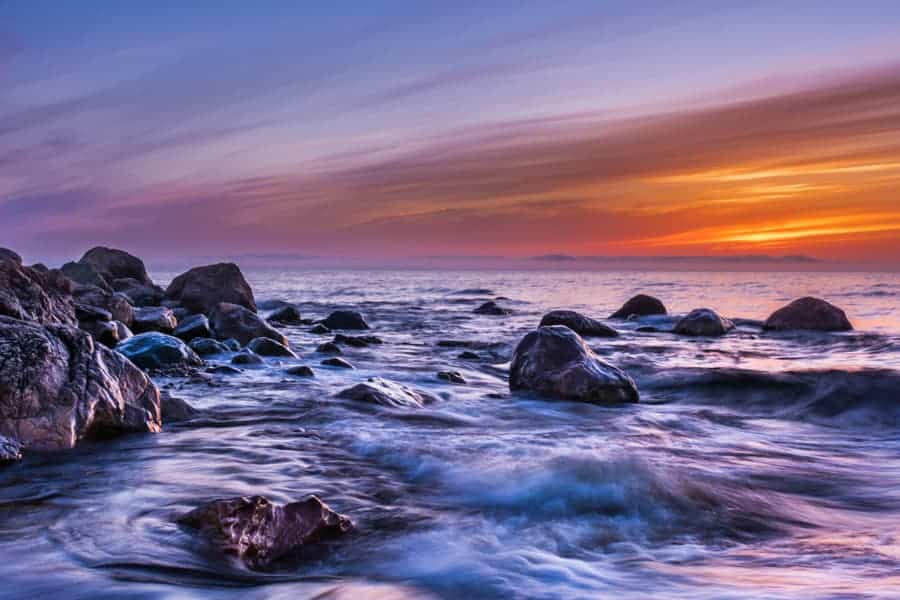
Dreamy Oceanscapes: Have you seen an image of a coast line where the waves have turned into an ethereal misty scene? Where a fast exposure will freeze the wave, a slow exposure will capture all the motion of repeating waves. Picking the shutter speed here is going to depend on the amount of light, frequency of waves and depth of water, but a good starting point would be ISO 100, f/16 and 15 seconds.
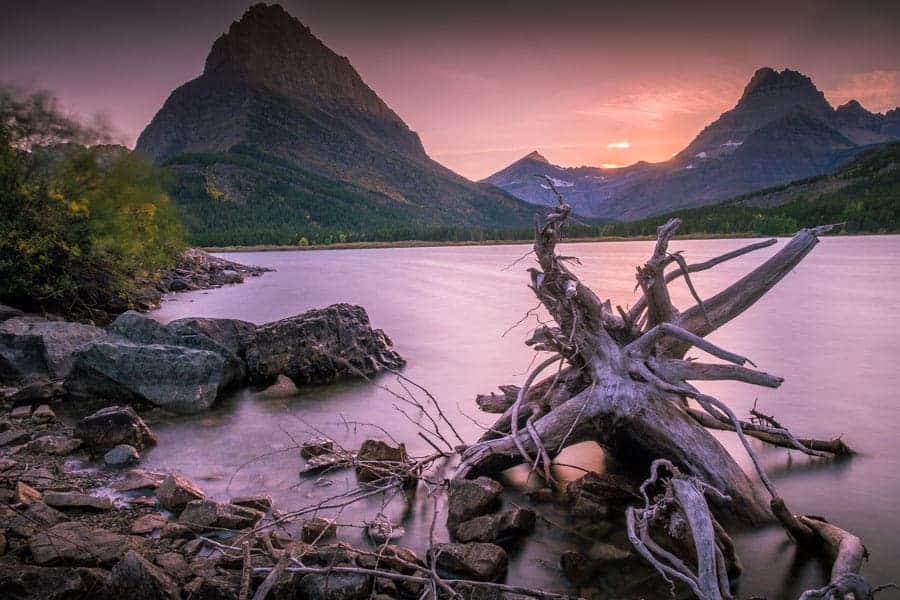
Glass Lakes: Images of lakes can get ruined by choppy water. This is easy to fix with a long exposure that completely smooths out the water. My ND filter has saved me many times with a choppy lake or boring sunrises. The shutter speed is going to depend completely on how choppy the water is. The image below was taken at ISO 200 (base ISO for Fuji), f/16 and 90 seconds.

The below image was with much calmer water so I had a faster shutter speed. It was taken at ISO 200, f/18 and 5 seconds. This highlights another difficulty with long exposure as you can see the tree was moving all over in the wind.
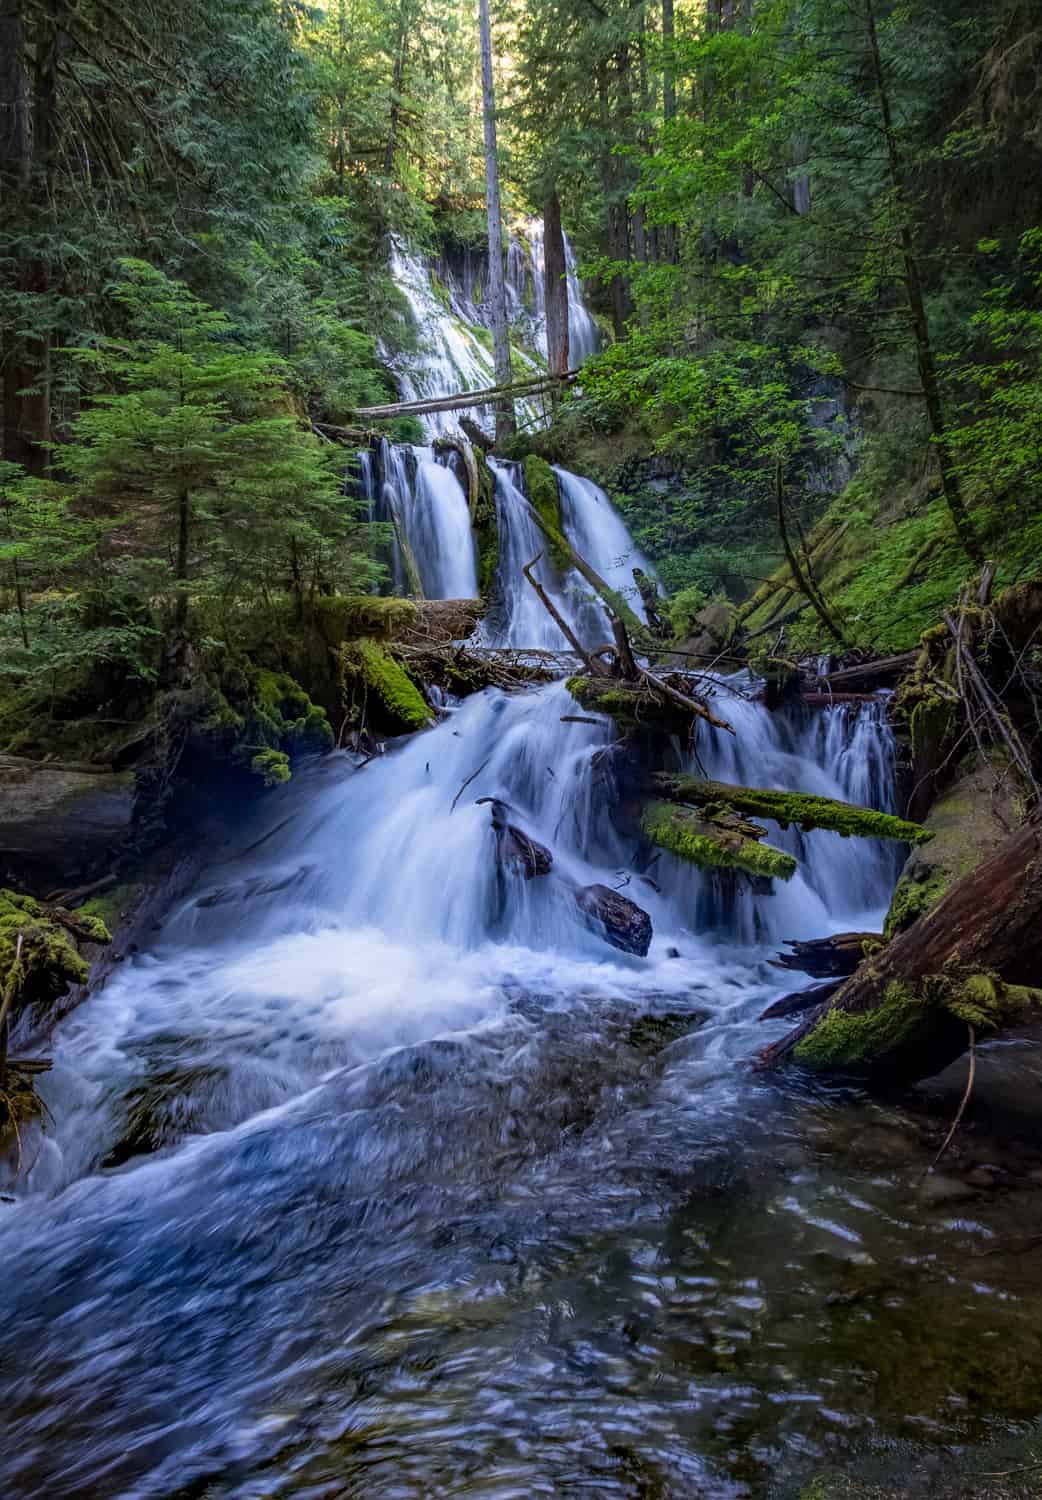
Waterfalls: Waterfalls are probably the first subject that attracted me to long exposure photography. I kept seeing images of silky smooth waterfalls and had to figure out how to capture waterfalls that way. The nice thing is long exposures are really easy with waterfalls as you don't have to go that long to get a nice effect. Once again, your shutter speed is going to depend on how fast the water is moving and how much water there is. The tricky part about waterfalls is determining how much motion you want to capture. It is really easy to end up with a waterfall that has no definition in it, which can be great for some images, but I usually like to retain some definition to emphasize the movement.
I wanted to make sure to retain plenty of definition in the moving waters at Panther Creek Falls so I shot at ISO 200, f/18 and 1/8 second.
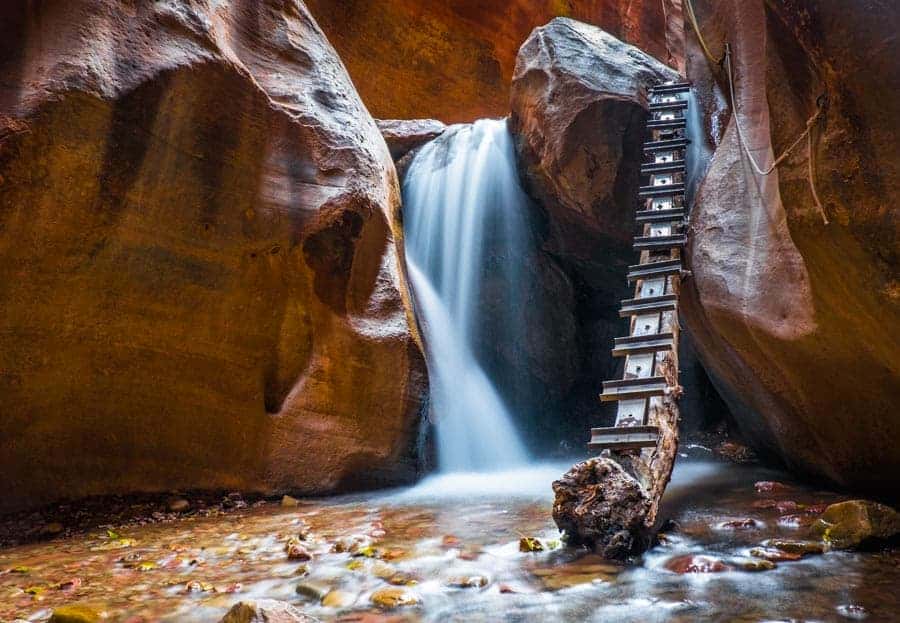
I didn't have much choice due to the darkness in this canyon so I had abandon definition in the falls as I shot at ISO 800, f/11 and 8 seconds.
In the below image, I purposefully wanted to get rid of a lot of definition to make it appear like a long silky cascade so I shot at ISO 200, f/16 and 5 seconds.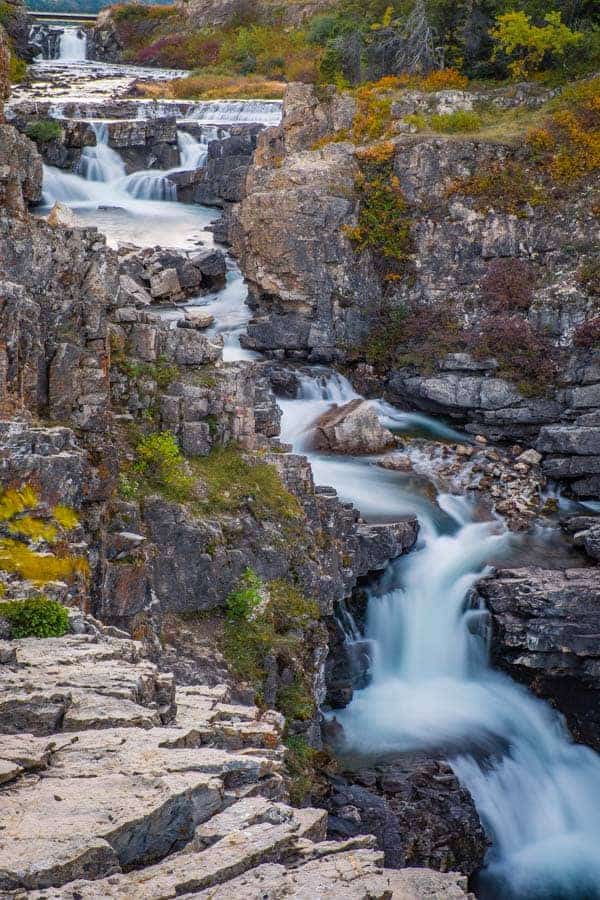
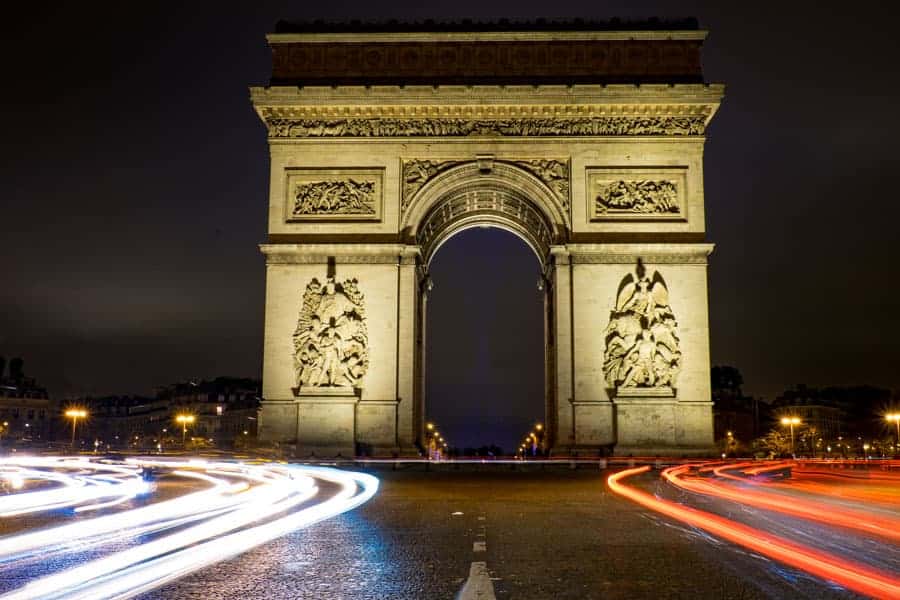
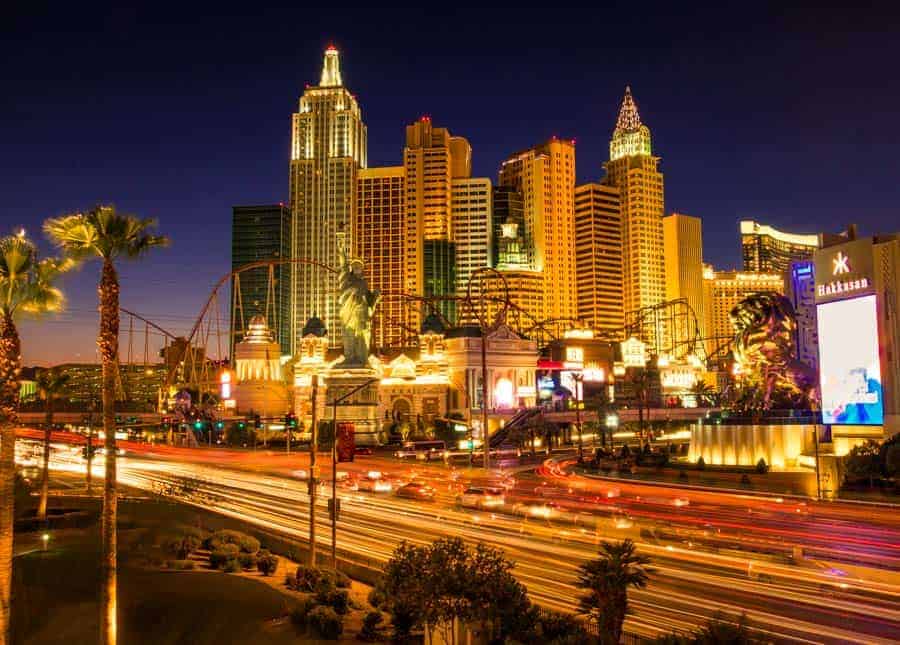
Light trails: These are another one of my favorites. Light trails are the red or yellow/white streaks that go through an image when you capture the lights of cars passing through your frame. The shutter speed here is going to determine on how fast the cars are going through the frame. This can be really simple when you just have one set of lights going through the frame as you just need to calculate the amount of time for them to go through the frame. It becomes more difficult when you have to factor in different lanes of traffic and stop lights. A few examples are below with their settings.
I had to go long here because the coming and going traffic was on two different lights so I had to catch the end of one light and beginning of the next. Shot at ISO 200, f/18 and 15 seconds.
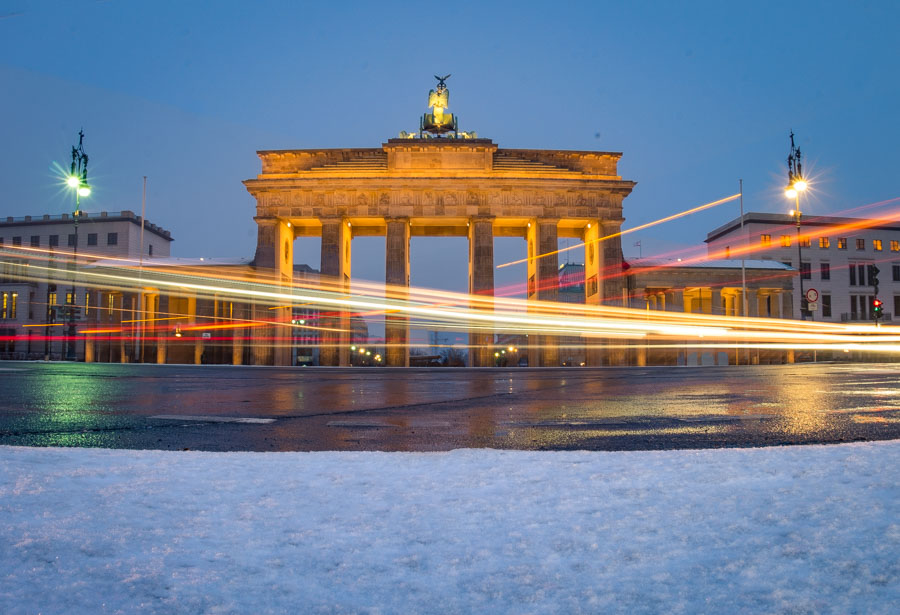
I was lucky at the Brandenberg Gate because the traffic was all flowing at the same time so I was able to get this image at ISO 200, f/16 and
The image below was difficult because there were so many different lanes of traffic I had to wait through. Shot at ISO 200, f/16 and 45 seconds.
If you need more inspiration, there are lots of other great effects out there. Just search for long exposure photography and see awesome moving clouds, panning action and so much more.
Beautiful pictures please take out of you email list thank you
Here we are having the best web browser for smooth working and this browser will not only make your work easier but also increases your knowledge.
hey friends i am ashu and i love to play onlone adentures game roblox its best game ever lets try it out guys and if you want to hack roblox then try roblox hack its best game ever
thanks you much but please remove fromo list, i don’t want to offend, cheers