Landscape photography is, by far, the favorite genre of photography among Improve Photography readers. So today, some tips from the community for landscape photography. Thank you to all who submitted ideas!
Compose When You're Out of Focus
When composing a shot, I often like to put my lens somewhat out of focus. It helps me concentrate on the patterns of light without being distracted by the detail in the scene. This is something I teach in my Block Method Composition video course. (Submitted by Douglass Clem)
Clearing Storms are the Best Weather Pattern for Landscapes
Vicki Brown said, “Here in northern B.C. if we get rain or a thunderstorm that clears up before sunset ….. I GET to my favorite location for sunset! It is most often spectacular! Probably holds true for most places!”
Use Your Phone to Check Compositions Before Setting Up a Tripod
This tip helped me improve my compositions more than anything else. I used to walk up to a scene, quickly look around, and then set up my tripod in the best spot. The problem was I'd often get stuck wherever I first set up.
Now, I look around a scene and keep my tripod and camera in the bag. I bring out my iPhone and take pictures from all around at different angles high and low. It's much faster to quickly grab a bunch of snapshots on the iPhone, and it helps me to visualize the composition.
I almost always end up with better compositions when I take the time to use this trick. (Submitted by Adam Kley and Patrick Schmitz)
Include an Interesting Foreground Element
This is a tip which we've all heard many times if you're an experienced landscape photographer, but as I do portfolio reviews, it's one of the things I find myself suggesting very often to others. It's easy to forget for a beginner or intermediate landscape photographer.
Rather than just looking for distant vistas to photograph, most compositions improve when there's an interesting tree, rock, water, or something else right up close to the camera. This gives scale and depth to the scene and feels more unique and creative. (Submitted by Shannon Dobson)
Use the Really Good Photo Spots App
The Really Good Photo Spots app is the perfect way to find interesting photography spots when you're traveling. All you do is open the app, click “Spots near me” and BOOM! You have a list of all the best places to take a landscape photo near you. You can also search places further away.
If you get the premium version (which is only $10/year) you get some pretty cool features. You can search by star rating of the spot, save spots for offline use when you're shooting in areas without an internet connection, and you can even save spots into trips so you're organized.”
You can get more info about the Really Good Photo Spots app here, or just search “Really Good Photo Spots” on the Apple App Store for your iPhone or iPad. (Submitted by Barry Porter)
Use Hyperfocal Distance
Lenses can focus on close-by objects. As you focus on things further away, eventually, the lens gets to a spot where it's focused as far out as it can go. Everything will be sharp from that point to infinity. For example, if you focus on a distant mountain and then try to focus on the moon, the lens won't need to adjust. They are both far enough away that the lens is focused properly for both of them.
Hyperfocal distance means focusing at the nearest spot to you which also puts the background in sharp focus. With a wide angle lens, this is often 20 or 30 meters away from the camera. By setting your focus point to this distance, you get everything from that point to the background and the sky in the distance.
This is a major advantage for landscape photographers who generally want to get the whole scene in sharp focus. One caution however, is that placing the focus right at the spot where you would consider the background also sharp means the background is barely sharp. For max sharpness, you may want to focus a little deeper than what the traditional mathematical rule says. (Submitted by Josh Peterson)
Arrive Earlier Than You Think, and Stay Later
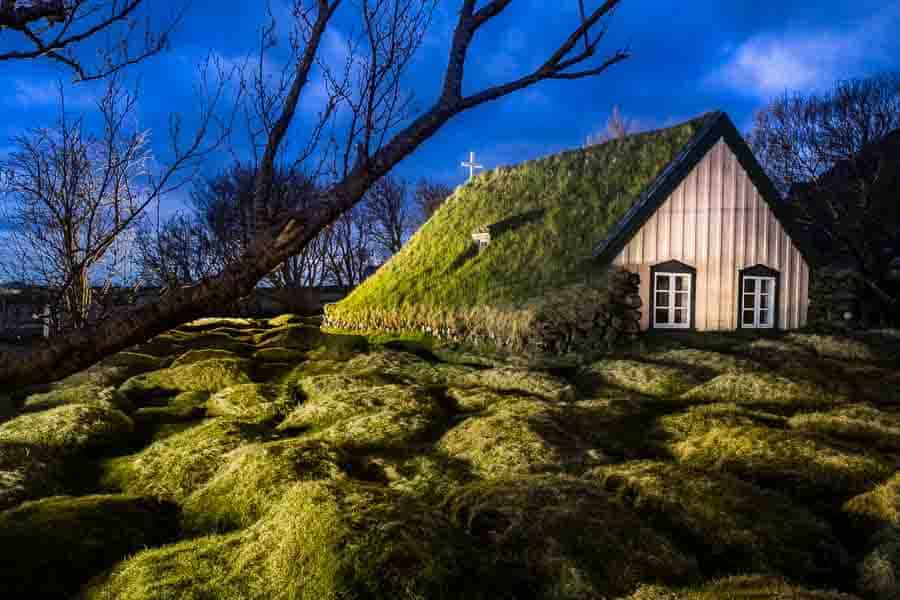
I can't tell you how many photo opportunities I've missed because I simply didn't wake up early enough, or I got bored of waiting for light and left too early.
Get to the location earlier than you think you need to, and stay later for the best shooting opportunities. (Submitted by Josh Peterson, Stephen Smith, Karl Greeson, and Pete LaGregor)
Choose a Mood, Rather than Just Another Pretty Picture
It can be easy when shooting a strong subject to forget about the mood of the image. For example, if shooting a barn, it can be easy to just plop the barn in your composition and click away.
The best photos take this a step further and present that barn with a certain mood. Maybe it's an eery old house and you put the moon and some blue sky and clouds in the frame at night. Or, it could be a dock with a little row boat and you shoot it first thing in the morning when the water is glassy and flat and you can get reflections of the boat to show a serene mood.
Think mood rather than just subject. (Submitted by Kevin Russo)
Remove Distracting Items
Random sticks, garbage, weeds, stray branches, and other items can easily get in the way of enjoying an otherwise good photo.
If you're shooting in a busy environment like a thick forest, find something to anchor the composition and make sense of the madness of twigs and underbrush. Use a strong rock in the foreground, for example, and remove anything from the composition that doesn't need to be there.
When I was shooting with Brent Huntley (who submitted this tip) in Rocky Mountain National Park a couple years ago, we cleared out the underbrush in a little patch of trees so that our photo of the aspen tree trunks would look as clean as possible. (Submitted by Brent Huntley)
Plan Around the Weather with Photo Pills
Being able to time the milky way rise and other natural elements can be really helpful. Check out the Photo Pills app and see if it's something that could help you plan your trips. (Submitted by Clifford Swall and Kim McCulloch)
Pack Early
Always pack & prepare all you kit for a dawn shoot the previous evening when you aren't rushed. If you try to grab everything when you've barely woken up and it's dark and you're worrying about whether you'll get to the location in time, you will forget stuff. (Submitted by Mark Farrington)
Bring Some Extra Food and Water. Dress well.
This may seem obvious, but if you'll be waiting on location for a long time for the light to get good, you'll want some food and water to make it a comfortable wait. The more patient you are, the better the photos usually turn out.
The same is true for wearing good clothing for outdoor photography. If you're cold or wet, you're unlikely to stick it out until the light is good. Watch this youtube video where Jim shows what he wears for landscape photography in any climate. (Submitted by Brandon Hirt and Chris Moore)
Keep Your Lens Warm and Dry
I like to bring a lens warmer with me for late night to early morning adventures. You never know when the morning dew is going to kill your front element, and good luck wiping that off… (Submitted by Steven J Magner)
Bring a Second Camera
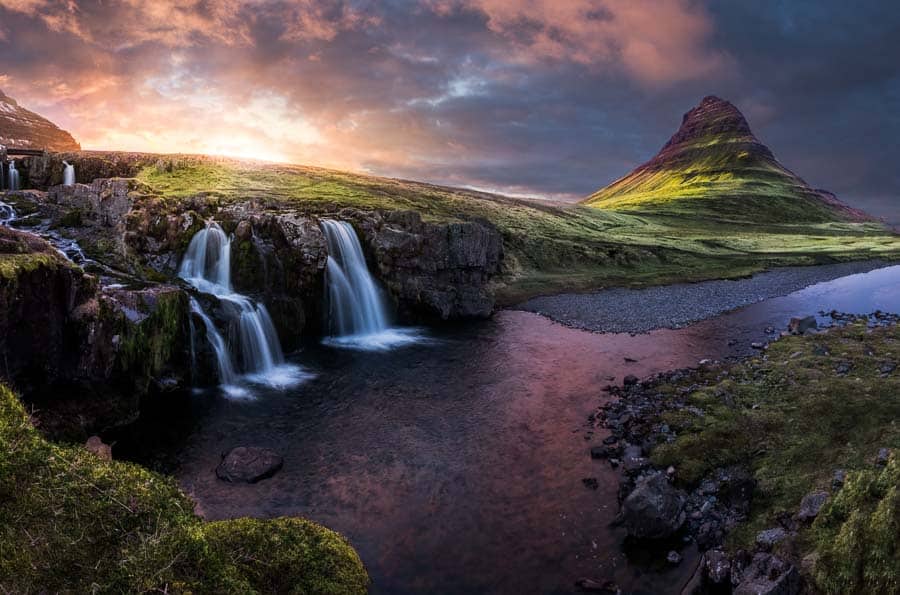
Bring a second camera. That way when you have one camera set up on a tripod just waiting for the sun to hit the perfect spot, you aren't missing other shots because you don't want to move your first camera. (Submitted by Jesse Smith)
Gallon Ziploc Bags are a Great Rain Cover
This is advice I should take. I usually bring a rain cover with me, but sometimes I get lazy and don't actually put it on my camera. (Submitted by Carrie Walsh)
Use a Filter to Get a Different Look
If you are shooting a scene and things are looking too similar between shots, try putting on a filter. An ND filter or a polarizer can really change the shot. Check out Improve Photography's filter recommendations. (Submitted by Zach Albert and Sharon Winter-Schorr)
Include People in the Landscape
Including people in a landscape can give a shot a sense of scale and interest. Examples: a surfer heading for the water or some silhouetted bystanders taking selfies against the sunset. (Submitted by Rob Mousley)
Look Behind You When the Light is Good
Turn around. Don't forget to look around you. Everyone will be looking for the usual composition. Look for the unusual angle. Look for the close-up, the flower, etc. (Submitted by Paul Brady)
Avoid Centered Horizons
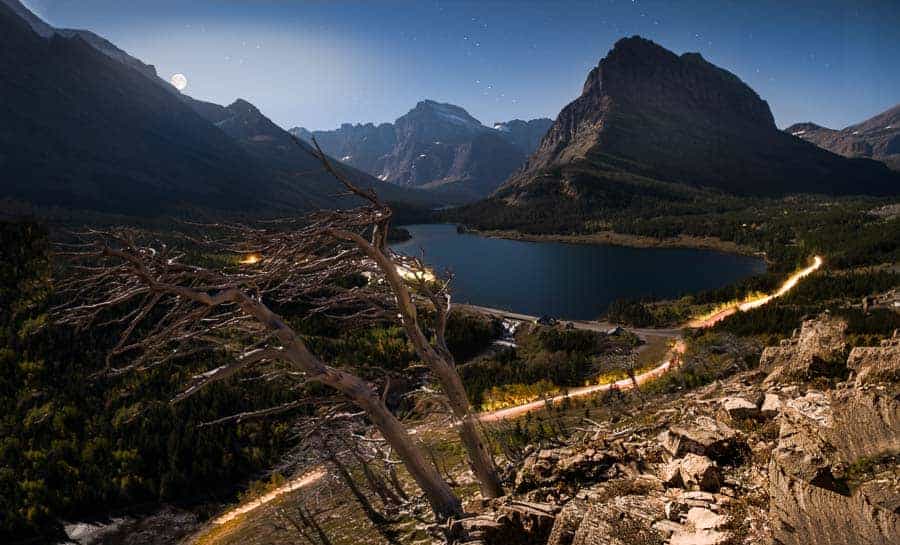
Generally, it's a good idea not to put the horizon line in the center (vertically) of a landscape photo. The reason is that it kind of chops off the photo in two pieces. I usually put the horizon one-third up from the bottom of the frame if the sky is good and the foreground is average, or one-third down from the top if the sky is lame and the foreground is good. (Submitted by Jason Barden)
Shoot in Live View
Shooting in live view (using the LCD isntead of the viewfinder) has some advantages for landscape photographers. It allows you to see the photo larger, forces the camera to use contrast detect autofocus which is generally VERY slightly more accurate, and it allows you to use the virtual horizon.
However, none of this really matters on a mirrorless camera where you get these advantages in the viewfinder as well. But even on a mirrorless, the rear LCD screen also is a larger view of your composition. (Submitted by Gary Aidekman)
Protect Your Lens from Water Near the Beach or Waterfalls
A reader of Improve Photography told me last week that he left his camera high on the beach when starting to shoot, then got distracted as the tide rose. Eventually he saw a bag bobbing in the water and realized a wave had taken his camera bag. It ruined about $4,000 of lenses which had been entirely submerged and had water between the elements. I've also had mishaps near water. (Submitted by Stephen Weston and Brian Miller)
Stay Aware of Where You Are, and Sit Down
When shooting on a cliff edge or any high area, I suggest sitting down on the ground to shoot. This way you don't get too caught up with what's happening in the viewfinder and forget to watch your step. Stories come out regularly of photographers falling off cliffs and dying or being injured because we forget where we're sitting after a while.
Adam Kley said, “When I am on high cliffs/edges I like to keep the camera strapped on one side (with peak design slide strap) and then the other side attached to me incase it falls off. I've seen others use a carabiner on a neck strap and clip/unclip it to a camera (you can put a key ring through the strap slot on most cameras).”
The same is true when shooting near the water. Patrick Schmitz said, “From the shoreline I was shooting ships passing by on the sea and didn't notice the tide coming in until a wave hit me. Luckily I had nothing laying on the ground and only ended up with soaked shoes and wet feet.”
Be Spontaneous
Stephanie Farmer said, “Just to be prepared to be unintentionally inspired! That's my motto and I live by it. So many times I've headed out in the hope of getting a particular shot and then the light changes and at times I end up with something completely different but still equally stunning.”
Pick one Spot and Stick It Out
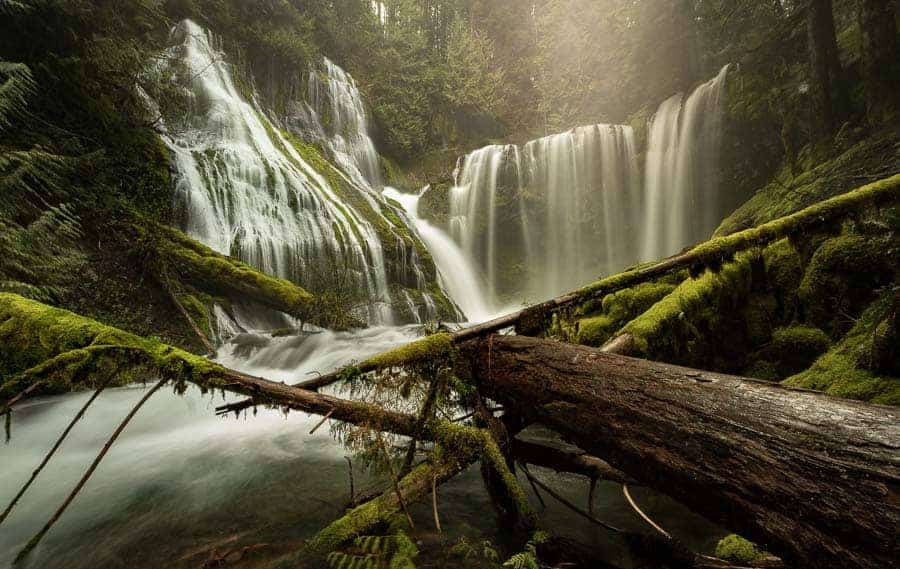
I can't tell you how many times I've made the mistake of being impatient and leaving a spot to “find something better” when the light went crazy and I was caught between locations. As I get better as a photographer, I'm constantly learning that it's almost always better to just find one great photo spot and to just stick it out until the conditions are right. Move around to find different conditions, but stay at one location. (Submitted by Chris Moore)
Hide a Spare SD Card in Your Camera Bag
The problem with having a card wallet for all your SD cards is that it can easily be forgotten next to your computer at home, which means you arrive to the location empty-handed. Bring a spare and put it in your wallet (your regular money wallet) or hide it in your camera bag. (Submitted by Stephen Wong)
Don't Let Your Tripod Grow Roots
As soon as you get a shot and say “I nailed it”, there can be a temptation to stay there and just keep shooting. You already have that shot! Move around and see what other interesting angles you can find. Often, there's something more creative or unique that you'll only find after shooting the obvious angle.
Don't fall in love with a composition and let your tripod grow roots. Take a couple of shots and recompose – even if it's just a little. Sometimes the “homerun” composition won't be obvious until you're reviewing your photos later – and it's probably NOT the one you thought was great in the field. (Submitted by Gary Aidekman and Scott Hallock)
Vary Your Tripod Height
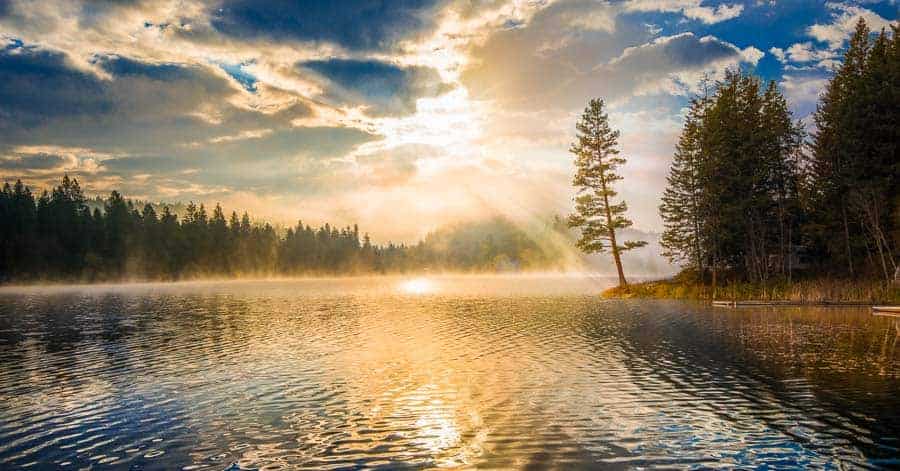
Vary your tripod heights, or kneel down if you're hand-holding. You can often get interesting perspectives when lower to the ground v. being at standing height.
If you're only shooting a distant vista, then the tripod height makes no difference, but if you have an interesting foreground, it can make all the difference. (Submitted by Nathan Goldberg)
Tell Your Loved Ones Where You'll Be
For safety as you're traveling often in locations without cell reception, tell a loved one where you'll be and when to expect you home. (Submitted by Moham Ram Bala)
Keep Spare Batteries In Your Coat
More than once I've had issues with batteries in the cold. Keeping them in an inside pocket next to your skin will keep them warm so they maintain their charge. (Submitted by Nathan Goldberg)
Don't Forget Bug Spray
Needs no explanation. (Submitted by Jill Laudenslager)
Focus Stack for the Absolute Best Sharpness
For maximum sharpness, consider focus stacking–especially if you shoot a full-frame camera. With this technique you basically focus close to the camera, then a little deeper into the scene with 4-7 additional shots. Then you put the photos together in Photoshop to create a single focus-stacked photo which has sharpness throughout the zoom range. (Submitted by Tjerk Heringa)
Use the Virtual Horizon
The virtual horizon on the LCD screen of your camera shows if the camera is perfectly level. A nice level horizon always makes a landscape look better. (Submitted byAngela Lunsford)
Come Prepared with an Extra Tripod If You Have One
Always have a spare tripod stowed in the car if you drive. I speak from experience. This very thing has saved an entire weekend of night photography for me. (Submitted by Ken Lee)
Use Block Method Composition
If you find that composition is one of the harder parts of landscape photography, check out the Block Method Composition premium video tutorial. It's a full-length and very well-produced video training on a new composition method that really helps photographers to simplify any scene and nail the composition every single time.
If you've ever felt like you shoot a bunch of compositions in the field that you like, and then you get home to the computer and like a totally different shot, then this is the training you need. It helps you to visualize in the field what type of composition will work.
Use the Histogram
USE YOUR HISTOGRAM! We are so inclined to look at the LCD and think of it as a smart phone. DON'T PAY ANY ATTENTION to the LCD! I wish there was a way to only have a large histogram on the back of the camera.
It is essential to preserving highlights (KEY). Our sensors now can do AMAZING shadow recovery but the highlights – once they are gone – they are GONE! (Submitted by Pex and Jill Vandagriff)
Use a Gear List for Packing
Make a list of gear you want to bring with you and check it before you leave the house. I drove all the way to Philly to photograph the full moon over the art museum and take photos of the fountains lit up at night. Got to Philly, no tripod. The moon and fountains were very pretty. I don't have any photographic evidence, but they were really pretty. (Submitted by Carol Pagliotti)
Stool for the Win!
Bring a small stool and strap it to your bag. Its useful when you have a while to wait for sunset or to take a break while hiking. Oh, and if you are traveling with kids, bring something for them. i.e cards, small game, etc so they can be entertained (Submitted by Ben LaCourse)
When You're Happy With Your Shot, Change Lenses
If you have a composition you're happy with, try to also shoot it wider and then shoot it with a telephoto (or, if you're shooting a 24-70, try shooting at 24, at around 50 and at 70). (Submitted by Frank Gallagher)
Minimize Your Composition
After you think you have a shot, review it on your LCD screen or look through the viewfinder and ask yourself what doesn't need to be in the frame. Keep eliminating elements until you've zeroed in on the thing that really interests you. (Submitted by Frank Gallagher)
Remember The Magazine Cover or iPhone Background
After you get a shot you like that is horizontal, also switch to a vertical composition. Ever seen a horizontal shot on the cover of a magazine, or a horizontal shot used as the desktop background on your iPhone? Neither have I. If it's a winner shot, remember to get the vertical shot so it can be used in different spots and in mediums that require a vertical. It also helps to get something different. (Submitted by John Sabatier)
Get Your Feet Wet
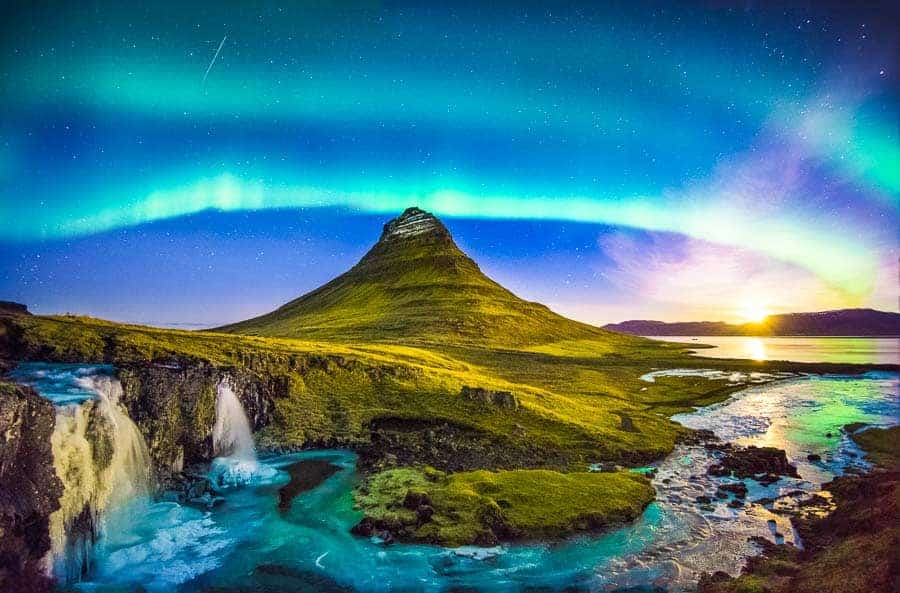
Most of the time when I'm shooting waterfalls or the ocean, I end up wading in the water, because it's far more engaging and unique to be right in the action of the scene, and makes the foreground movement of the water larger in the frame. If you'll be wading in streams, you might check out these NRS Boundary shoes which are easy to pack in your camera bag and will let you wade out a little into the water without getting your boots soaked. They've been a popular choice for Improve Photography Readers. (Submitted by Barbara Ricker)
Give the Sky Only What It Deserves
If the sky blows up in beautiful color or has interesting cloud formations, give it proper attention with a larger amount of the composition. If, however, the sky is dull or there are no clouds, cut off more of the sky and include more foreground. (Submitted by Glenna Bayer)
Practice at Home
Not everyone gets to live right in the middle of a beautiful landscape where you can make 5-star images any time the light is right. If that's the case, then go outside and practice your technique in your backyard. Then, when you have a weekend to get to a more interesting landscape, you'll get better photos. (Submitted by Dieter Horst)
Keep Your Eyes Open to Patterns
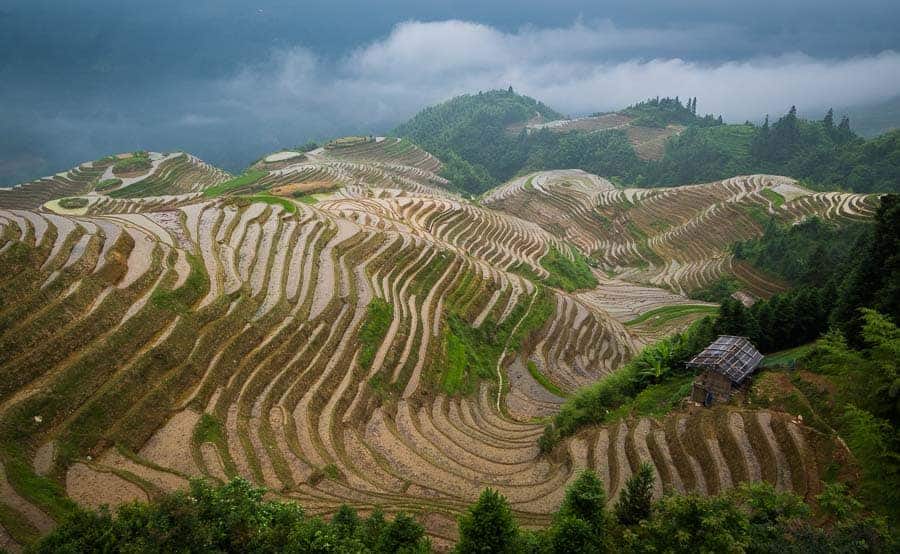
Patterns in the landscape can make any ordinary shot look beautiful. Look for patterns in mountain ridges, color and texture on a landscape, the order of trees, etc. These compositions are more difficult to spot, but can really make for a powerful and simple photo. (Submitted by Josh Moore)
Shoot Volume When Near Water
While it's generally not advisable to simply shoot the same composition over and over without moving around and finding more interesting ways to present a scene, the same isn't always true when shooting near water.
When shooting moving water with a slower shutter speed, takes lots of shots even though you haven't changed the settings or moved the tripod. The “look” of the water changes with each shot and some will look better than others. (Submitted by Peche Turner)
Develop a Routine for Battery and Card Changes
Get in to a routine that you always follow when doing some important procedures like changing cards & batteries. Always keep the new and used ones in the same but separate places and find ways to differentiate fresh and used ones. That way you don't format the card you've just filled with images or go out with a spare used battery!
People worry about card at battery failure, but human error is way more common, so minimise the risk by good routines. (Submitted by Mark Farrington)
Triple Check the Photo Spot Before Setting Out
There have been many photo trips that I've ruined because I didn't take more time to check the directions, how long it will take to get to the spot, and the exact location of the spot before leaving. Triple check to make sure you will get your shot. (Submitted by Guy De Zeine)

Cover Your Viewfinder If Doing Long Exposures
On some DSLR cameras, when doing long exposures, you need to cover the viewfinder. This is because light can enter the viewfinder and be recorded as a ghost image or flare on the sensor. It often shows up as just a gray smudged area. (Submitted by Barry Porter)
Use Your Cell Phone Flashlight for Night Focusing
Focusing at night can be difficult. If you use a flashlight to illuminate the scene or set out in the distance of the shot, you'll be able to focus even without any ambient night when shooting the Milky Way on a moonless night. I really like this headlamp (available on Amazon) for shooting night photography because it's super bright, it's cheap, and it's zoomable so I can focus the beam. I also like that it takes AA batteries instead of AAA like most headlamps. Photographers always carry AA batteries for headlamps, so it's more convenient in my opinion. (Submitted by Patrick Schmitz)
Remember the Sights and Sounds
Most cameras have a difficult time focusing at night. If you can't grab focus, just turn on your cell phone flashlight to illuminate the scene. If that's not enough, walk into the scene with the cell phone light and set it down about 30′ into the scene. Focus on the phone's light and lock the focus on your lens by switching it to manual focus. Now you're focused and you can remove the phone and shoot the rest of the night. (Submitted by Patrick Schmitz)
Take a GoPro or similar device to record both the visual and the sounds from the area you are photographing. If you are writing a description to accompany the photo this is a lifesaver plus it can be very interesting background if you decide later to make a photo collage or a slideshow. When shooting in rural or backcountry areas wildlife sounds are extremely active during sunrise or as soon as a full moon starts to appear, it's great to be able to record those sounds while you were shooting and relive the moment later or when trying to convince someone to get up at 4 AM to photograph a sunrise! (Submitted by Norman Peay)
Wait. Wait. Wait.
Wait. Wait. Wait. You never know when the clouds/fog/marine layer will clear leaving you with great light. Never assume the weather will be the same at the golden hour as it is 1 or 2 hours prior. (Submitted by Mike Hoppe)
What's Your Favorite Tip?
Would love to add to this list with more tips in the comments!

Very nice article! There are so many good thoughts included. The only problem is how to remember them all?! Thanks for putting this together.
PS – I enjoy the IP podcasts as well! Keep up the great work.
Great article with lots of useful info. One question – have you jumped the gun about the app?
Know the tide and weather conditions before you go out- don’t get stranded by an incoming tide, or a flooding river.
Tell your loved ones when they should expect you back.