
So many articles about post processing of high volume of images are based on Wedding photography. After all by the time you shoot a wedding, get the group shots and a few hours of reception shots can add up to 1000’s of images to cull. The post processing of Team and Individual (T&I) sessions is similar but has it’s own unique needs as well.
As any high volume photographer will tell you “Time is Money.” The actual time to take the picture for each individual is less than a minute. I can shoot 18 individuals and setup the team picture in less than 15 minutes. It is post processing that carries the bulk of the labor. Well that and bookkeeping but that is another article for a different day.
Getting it Right in Camera
The biggest time saver is to get it right in Camera first. This minimizes any tweaks such as exposure and straightening of the images.
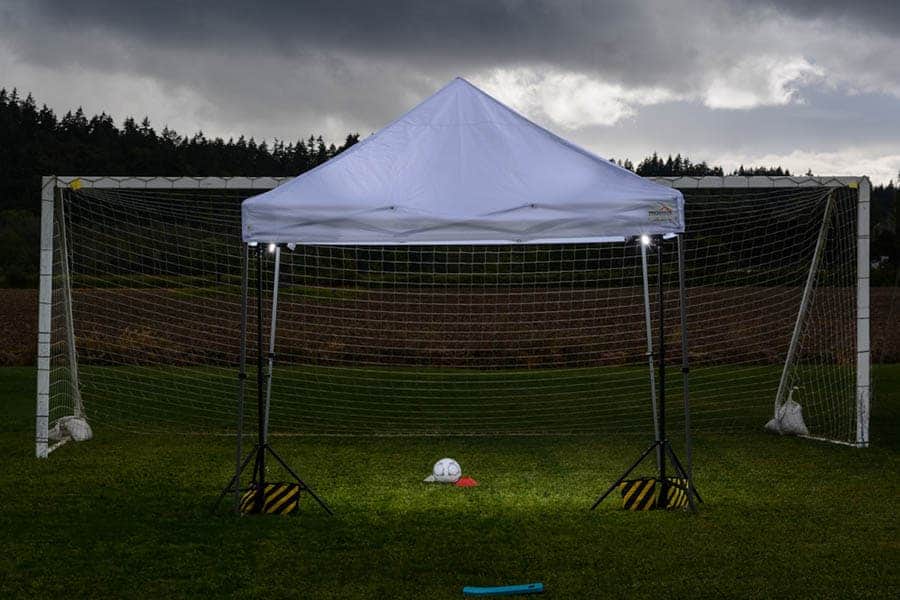
When I have a league or organization I am shooting I always show up early to make sure all my lights are setup and exposure settings are correct. Once everything is dialed in they will stay that way for the shoot making sure every picture taken is exposed the same. I also mark where the players will stand and where I will stand to make sure every player is shot from the same distance. This makes it easier to copy crop settings in post process.
A word on lighting for T&I – Don’t get fancy with the lighting. Most people want a simple flat lighting. I have tried to get “fancy” with lighting once with an organization and all I got was complaints about the “shadow” on the cheek. I had a lot of refunds and did not get them back the next season. When I have nice flat evenly lit faces I get nothing but praise and I even get post sales customers for other services such as Family and corporate jobs.
As each player comes through I direct them to step up to the marks I placed and the pose I want. I snap off 2 images per player then move on to the next player.

Culling images
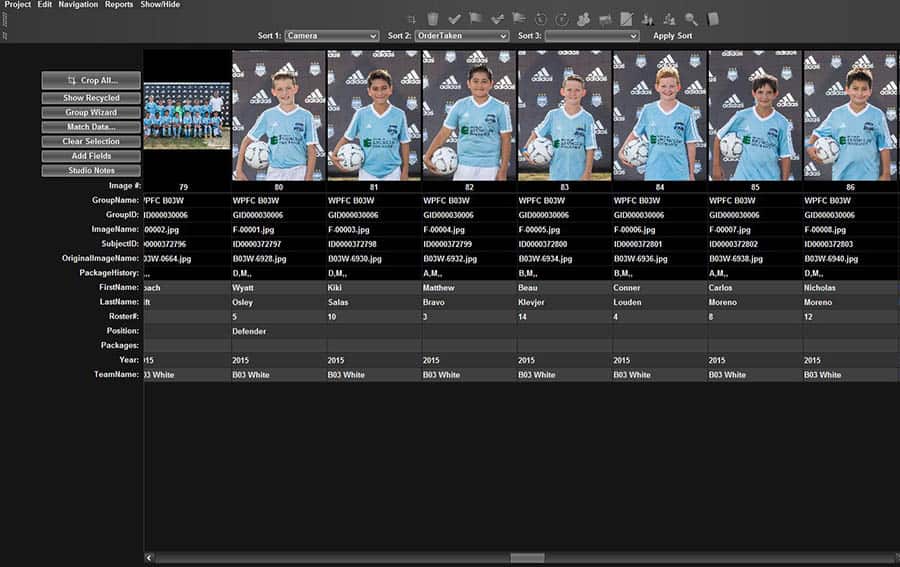
When the session is over the first thing I do when I get home is to pull all the images off my camera and into Lightroom. I then do the books for the night and while that is happening all my images are being backed up into the “Cloud.” I use the service www.backblaze.com so that everything gets backed up offsite automatically.
Since I already made sure all the images are properly exposed when I cull I look at sharpness and the smile. Like all good portraits the sharper the eyes the more pleasing it is to view. The few seconds I have with each player I try to connect with them to get them to smile in a more natural and relaxed manner. The trick is to connect with the team as a group while I am giving them their instructions. I can usually get them smiling and having some fun then as they come through they are relaxed.
So look at the eyes and the smiles, press ‘P’ (sets the Picked Flag) and move on to the next image.
Building packages
Once the culling and any light edits are complete I export the images into groups based on teams. I do this because for me it helps to keep them organized in this manner. If I get one single image out of order it will have a cascading effect where every image after will be labeled incorrectly and the wrong people will receive the wrong order. So by keeping them grouped by teams then any mistakes will only effect one team. Yes, I have accidentally missed a player and half a teams orders were wrong, this seriously eats into the profits.
My lab is www.hhcolorlab.com and their ROES system (HHSchools) is specifically designed for volume sports and schools. One of the great features of HHColor’s system is the ability to customize your product offering so that way each organization is getting something tailored to them. I am able to integrate the organizations logo and colors on all memory mates and magazine covers. This is a nice feature that helps to differentiate my service from my competition.
I have already built my package/product offerings so all I need to do now is to load the images into the system and fill out a few fields (team name, player name and player number). Once that is complete I enter the items ordered and click send.
Delivering the Packages
About 5-7 business days after I click the send button and upload my order the packages arrive. I have tried a number of different methods of delivering the final prints to the families. I have found the simplest and most cost effective method is to mail an entire teams package to the team picture coordinator. When I work with an organization I ask then to have a single person responsible for coordinating team pictures. That includes handing out the pre-pay envelopes as well as handing out finished print packages.
HHColor ships me my order with each individual order in a Ready To Deliver (RTD) envelope and each teams orders are bundled together. So I don’t have to do any searching or sorting. If I wanted to I could just drop the bundle in a box and ship it off. However there is one very important and final step I do before I have completed an organizations pictures. I put in each envelope a full color flyer that lets the families know that I do more than just team pictures. The flyer has a few sample images of Family and Senior shoots I have done in the past plus it discusses my Headshot services as well. This allows me to reach 100’s of potential clients.
Once I have inserted my flyer into every order then I put each teams order into a 12x10x4 box (a little big but a standard size so cost is less than $1.00 ea) and ship them off to the team coordinator. I have an online USPS account so the cost to ship that box locally is $6.80.
As you can see the bulk of the work with Team and Individual sessions comes after the actual shoot. You can speed up this process by skipping the Lightroom import and importing directly into the HHSchools ROES system. The HHSchools does have a culling tool built in that works very nicely. I just like having the organization of the images Lightroom gives me.
However you decide to post process any volume work, get it right in camera and you will save yourself time and money.
How to fix connections to Bluetooth audio devices and wireless displays in windows 10 you are not alone here,first time i have try the more different option to connected wireless device in window 10 PC.