

Your child is now old enough to start playing sports. Like any proud parent you run out to the nearest big box store and pick up the latest camera kit. The one with the latest camera body and a couple of lenses. You arrive at the first game with your new camera, now what?
I too was once brand new to sports photography. When I was in school I did take a lot of photography classes (Middle School, High School and a year at College) but those were all back in the film days where I spent more time in the dark room than I did actually taking pictures. As my kids got older and starting playing sports I saw a parent with an early Nikon DSLR and was blown away by the quality of the images. Not necessarily the composition but just how far Digital photography had progressed. I then went out and bought my first Nikon DSLR the D50 along with a couple of kit lenses.
My first few games I set the camera in “Sports Mode” and started pressing the shutter button at anything that might be exciting. Needless to say those pictures were not very exciting. I had under exposed, over exposed, missed focus and just plain blurry images from the wrong shutter speed. I just spent over $1000 on my gear how could I take bad pictures? It all comes down to I had no idea on how to use my camera or how to properly setup my camera for fast paced sports. I highly recommend you read your camera manual. When I finally read mine I was able to take my photography to the next level.
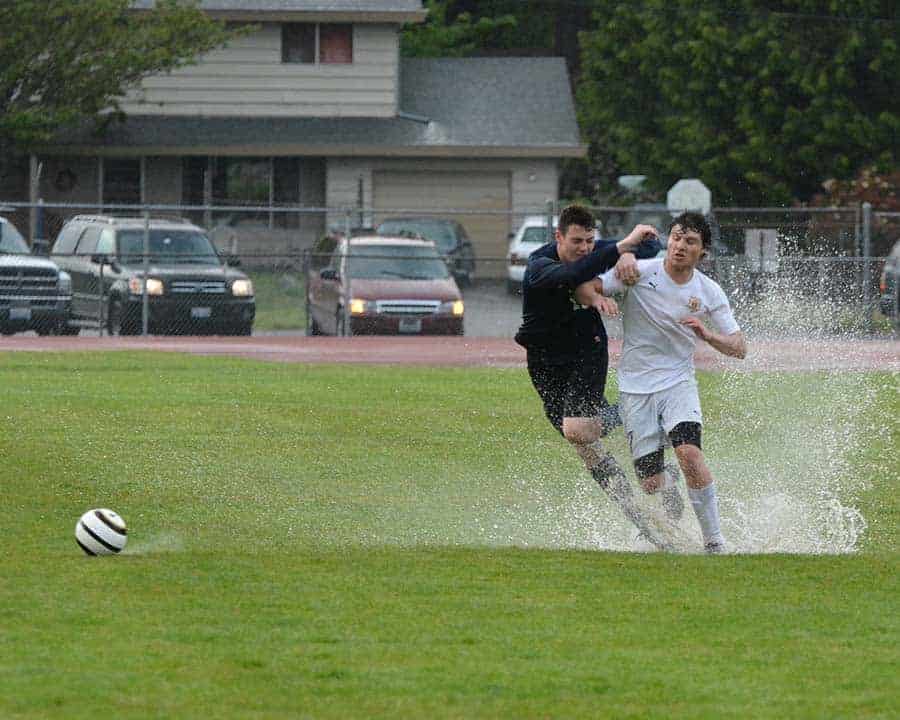
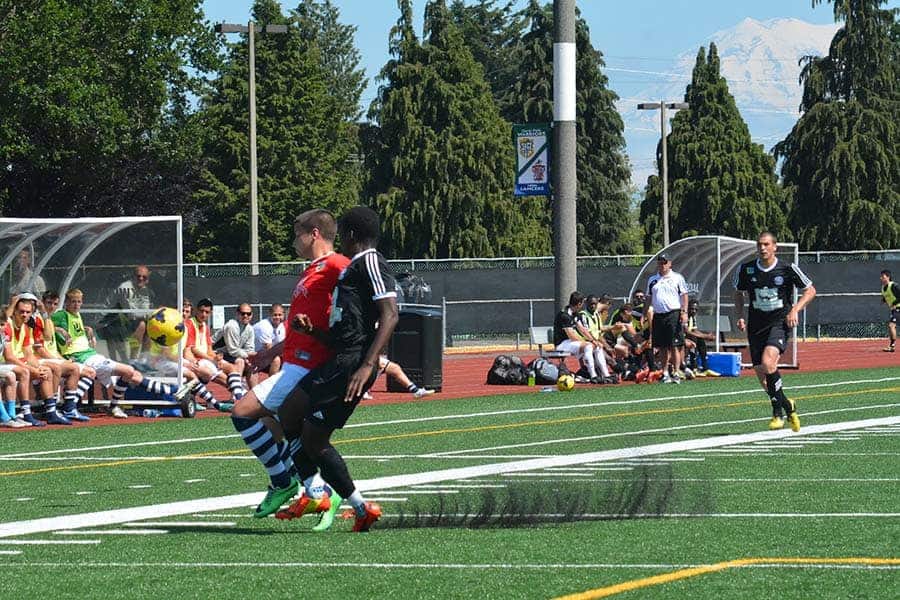
The general rules for a good sports image are good isolation of the subject, frozen action and of course good exposure. Rules are meant to be broken so yes, you can still get an epic sports photo if you break one or more of the rules but for the majority you need to follow the rules. As you start out I really recommend you follow the rules as you first need to learn how to compose and properly expose your sports pictures. Once you feel comfortable that you are capturing what you set out to then you can start to experiment.
Frames Per Second (FPS)
The true professional sports photographers (you know the ones on the sidelines at games with the $10,000 lens) usually have a Nikon D4 or Canon 1D body which shoot at a blazing 10-12fps. This is a really great feature that is worth every penny if you can afford the huge price tag that comes with these models. However most of us really just want to get the best possible pictures of our kids playing their sport and can not afford the top of the line cameras. That is OK because the Nikon D3xxx, Nikon D5xxx, Nikon D7xxx, Canon Rebel and Canon 7D cameras are all capable of capturing great images if you understand how to work within the limitations of each camera model.
My first DSLR as I mentioned above was the Nikon D50, it had a whopping 2.5fps and at the time I thought that was great. My previous camera was an old film camera a Pentax K1000 which I actually tried to use when shooting my kids playing sports. That made 2.5fps was really fast and but it still took a good eye for timing the shots.
My current camera is the Nikon D7100 which will shoot at 6fps and that is fairly adequate for most of my work.
JPG or Raw
The JPG vs Raw debate is similar to PC vs Mac debate, everyone seems to have an opinion and they feel very strongly about that opinion. Myself I am of the opinion that when shooting sports where you will have 200-300 images at the end of the game JPG is much easier for post process. Also in the Nikon family the DX or Crop Sensor cameras (D3xxx, D5xxx, D7xxx) have small buffers. The buffer will fill then the camera will pause as it writes to the memory card. This pause usually comes at a key moment in the game. Shooting in JPG will still fill the buffer but it usually takes about 3 times as long and I usually capture the shot before I get to that point. Portraits and landscapes shoot in Raw but sports it is OK to shoot in JPG.
Sports Mode
Almost all Digital cameras (DSLR, Mirrorless and Point and Shoot) have a Sports Mode setting. The idea is to make things automatic for the user when trying to capture all the action. In mid-day and mostly sunny it works. You don't any control over the exact settings but it can still allow you to capture decent images.
The mode works by putting more emphasis on the Shutter speed however it will do whatever is necessary to get the correct exposure. That could mean as the action passes through the shadows the shutter speed would lower and now the picture will have some motion blur. Or the Aperture will be closed down which won't allow for shallow depth of field.
When you are first starting out it is real tempting to select this setting but I don't recommend it because you can get better results using one off the methods below.
Auto ISO/Fixed ISO Setting
Before you begin setting any of the next modes we need to discuss ISO settings. ISO is one of the three parts that make up the Exposure Triangle and this directly effects the sensitivity of the camera sensor. The lower the ISO (typically 100) the less sensitive the sensor will be and the higher the ISO (the maximum setting is camera dependent) the more sensitive the sensor will be to light. This higher sensitivity comes at a price – Noise. Each camera model handles noise differently. Crop sensor cameras do not handle noise as well Full Frame sensor cameras. This is due to the larger physical size of a full frame sensor which allows more light to be captured.
Auto ISO is a way to allow the camera to decide what ISO will provide the best exposure. Some camera models allow a range to be set so you can keep control how much noise will be acceptable. Fixed ISO is what it sounds like set the ISO to what you want and it won't change. My current camera has a difficult time when I turn on Auto ISO and set the mode to Shutter Priority or Aperture Priority modes. The camera has too much to process when trying calculate the correct exposure settings in either of these modes with Auto ISO turned and I have missed many shots. This is one of those quirks that you will need to learn for yourself as you experiment with your camera settings.
Shutter Priority Mode
This mode allows you to set the shutter speed you want for the shoot and then the camera will adjust the aperture needed for proper exposure. This works great in a well lit setting and you want to guarantee a specific shutter speed. I have used this in the past when shooting in Mid-Day sun at tournaments.
Aperture Priority Mode
This mode allows you to set the Aperture setting you want for the shoot and the camera will adjust the shutter speed for proper exposure. This mode is best when you want to guarantee a specific depth of field. For example you want to keep a shallow depth of field to isolate the subject. The camera will set the shutter speed and if the lighting is decent such as late afternoon it should still stay fast enough to freeze the action.
In my experience this mode is a great place for most beginners to set your camera and pretty much my go to setting for my first few years.
Manual Mode
Once you have a good understanding of how your camera works then moving on to Manual Mode is the next step. In Manual Mode you set the Shutter, Aperture and ISO for what you think will capture the best image. Manual Mode can be difficult to master the first few times but as long as you understand the fundamentals of the Exposure triangle after a few attempts you should start to capture some great images.
My current settings are based on a few years of experience and talking with other sports photographers I have meet on the sidelines. I set my camera in Manual Mode, Shutter speed at 1/1000, Aperture wide open at f2.8 and Auto ISO. If it is really bright I adjust the shutter first before I change the aperture.
To the purist I know I am not 100% manual I am using an Auto setting. There are a lot of venues that have shadows and different lighting as the play progresses across the field. It is too slow to try and change any settings during a fast paced game. So allowing the camera to select the ISO for proper exposure is a good tradeoff for my work.
Want to know more about how to capture great sports images? Read my previous article https://improvephotography.com/37353/5-tips-to-improve-your-outdoor-sports-photography/
Thank you – a useful article.
Great article Dave for all of us who spend hours on the sidelines watching and capturing sports through our lenses.
Great info! What AF setting do you use when shooting action, like soccer? One Shoot, AI Focus, AI Servo?