Recently, I wrote an article on outdoor landscape photography in the mountains. In that article, I mentioned that I brought a graduated neutral density filter for the shoot and used it heavily. It was mentioned in the comments of that post that a grad ND is useless because the same effect can now be accomplished in post.
So today, I thought I would respond with an explanation of why I use a physical grad ND filter instead of doing it in post. Also, I argue against my own argument (in a totally non-schizophrenic kind of way) to help you to understand why many photographers have stopped using a physical grad ND filter.
What is a Graduated Neutral Density Filter (ND Grad)?
Grad ND is landscape photographer code for a “graduated neutral density filter.” If you have ever seen a car's windshield, you have seen a grad nd. At the top of most windshields, there is dark tinting that fades to clear. The purpose of the tinting on a windshield is to block out some of the bright sunlight coming from above while not darkening the driver's through the windshield toward the middle of the window.
A graduated neutral density filter works in the same way. It is simply a glass filter that has dark tinting on the top of the filter and fades to clear.
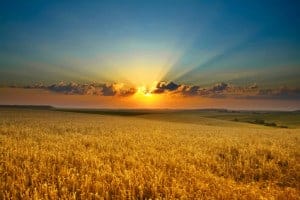
Grad ND filters are most often used by landscape photographers to hold back the bright sky without darkening the land portion of a scene. This helps to balance the exposure and produce a dynamic range that is within the recordable range of a DSLR.
Landscape photographers use ND Grads constantly. In fact, it is rare that I go through a landscape shoot without breaking out the Grad ND at some point. I use Grad NDs frequently because I have recently fallen out of love with HDR. In fact, I haven't fired up Photomatix in several months. Using a grad ND is a method for me to average out a dynamic range without the loss of image quality inherent in the HDR process.

Advantages of Using a Physical Grad ND Filter
Advantage #1: The photographer can see the Grad ND effect immediately, which allows her to adjust the effect to match the scene. This way, you can completely avoid the horrible sinking feeling of going home, loading your pictures on the computer, and seeing that you totally messed up the shoot because you can't fix something in post. If you make a mistake in the field, you can change it immediately. If you realize the mistake at home, you may have to re-shoot if you can't Photoshop it.
Advantage #2: Time. It takes about 5 seconds to hold a graduated neutral density filter in front of the lens. While it can also be easy to apply a grad ND effect in post-processing, it can also be somewhat time consuming if it is a tougher fix.
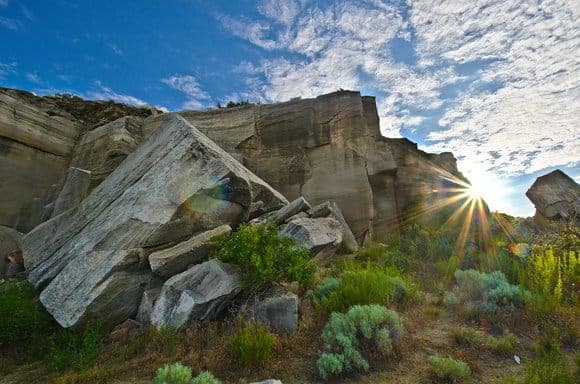
Advantage #3: Physical grad ND filters work somewhat better for scenes with complex shapes covering part of the sky. Suppose you have a bright sky in front of a rocky landscape in front of you. The rocks throw deep shadows on the land. This scene has much too high of a dynamic range than can what can be capture in one traditional photo. To complicate the matter, there is an aspen tree on the side of the scene that towers above the horizon.
With a physical graduated neutral density filter, the light in the sky can be held back without creating any unnatural look on the leaves of the tree.
If you tried to approach this scene by using a digital grad ND, it could become quite difficult to properly expose the tree and darken the sky without creating an unnatural ring around the tree. In my experience, the physical grad ND filter works much more effectively in this situation.
Advantage #4: Applying a grad ND effect in post usually requires that the photographer brackets the photos to have an underexposed version to add to the correct exposure. This is how the digital grad ND effect is applied. Bracketing causes problems when there are moving items in the scene, it increases the amount of photos you need to store on your computer, it complicates the workflow, etc. It is significantly easier to manage one correct photo instead of 3 photos that need to be smashed together to produce a clean file.
Using Photoshop or Lightroom to Create a Grad ND Effect

Advantage #1: You can customize the gradiation of the ND effect to perfectly match the scene. Most photographers only have one or two different Grad ND filters and sometimes you want more or less darkening at the top of the photo. Applying the effect in post allows for that customization of how quickly the neutral density fades to clear. It also allows for more complex-shaped skylines (such as when hills or mountains cover part of the sky).
Advantage #2: Cost. Cheap grad ND filters can be purchased for as little as $20, but most of these filters cause ugly color shifts in the graduated nd part of the picture. A quality grad ND from a company like Lee or Singh Ray (my personal choice) can cost from $80 – $150 US Dollars.
Conclusion
There are a few good reasons to use a physical graduated neutral density filter rather than a digital grad nd filter effect. If you are a serious landscape photographer, then purchasing a physical grad ND filter would be the recommendation of 90% of landscape photographers. If you only rarely shoot landscapes or you just love pushing pixels in Photoshop, then purchasing a graduated neutral density filter may be an unnecessary expense.
If you enjoy these daily photography tips, then LIKE ImprovePhotography on Facebook so you don't miss any of these great photography tutorials.

If people today connect with yourself on a person level, they’re far more prone to desire to think about your firm.
Being a Newbie, I’m always researching online for articles that will help me get further ahead.
That is definitely certainly incredibly accurate even though I do not constantly use that technique myself. I guess its like anything in life; you’ll find a lot more than one particular strategies to acquire the same result. By far the most significant factor is just to help keep moving towards your objective.
I was curious if you ever considered changing the page layout of your site? Its very well written; I love what youve got to say. But maybe you could a little more in the way of content so people could connect with it better. Youve got an awful lot of text for only having one or 2 pictures. Maybe you could space it out better?
Awesome information once again! Thank you.
Hi there, just became aware of your blog through Google, and found that it is truly informative. I’m going to watch out for brussels. I’ll be grateful if you continue this in future. Lots of people will be benefited from your writing. Cheers!
I am new to ND filters. Would you recommend COKIN Neutral Density filters ?
Cokin are fair, Lee are better, and Singh Ray are the best as far as filters go.
I would rather save a little and get a decent Gradual Neutral Grey ND2. I am thinking grey ND2 would get quite a bit of use vs lighter, darker or diff color. Thanks
There is no reason why you can’t combine the two methods. You can use a filter in the field and fine tune in photoshop or you can choose one or the other depending on the scene.
some say Lee are the best. very opinionated to say Singh Ray are best vand also in writing about what ‘most photographers’ do or don’t do or don’t know
Howdy! Someone in my Myspace group shared this website with us so I came to take a look. I’m definitely enjoying the information. I’m book-marking and will be tweeting this to my followers! Wonderful blog and amazing style and design.