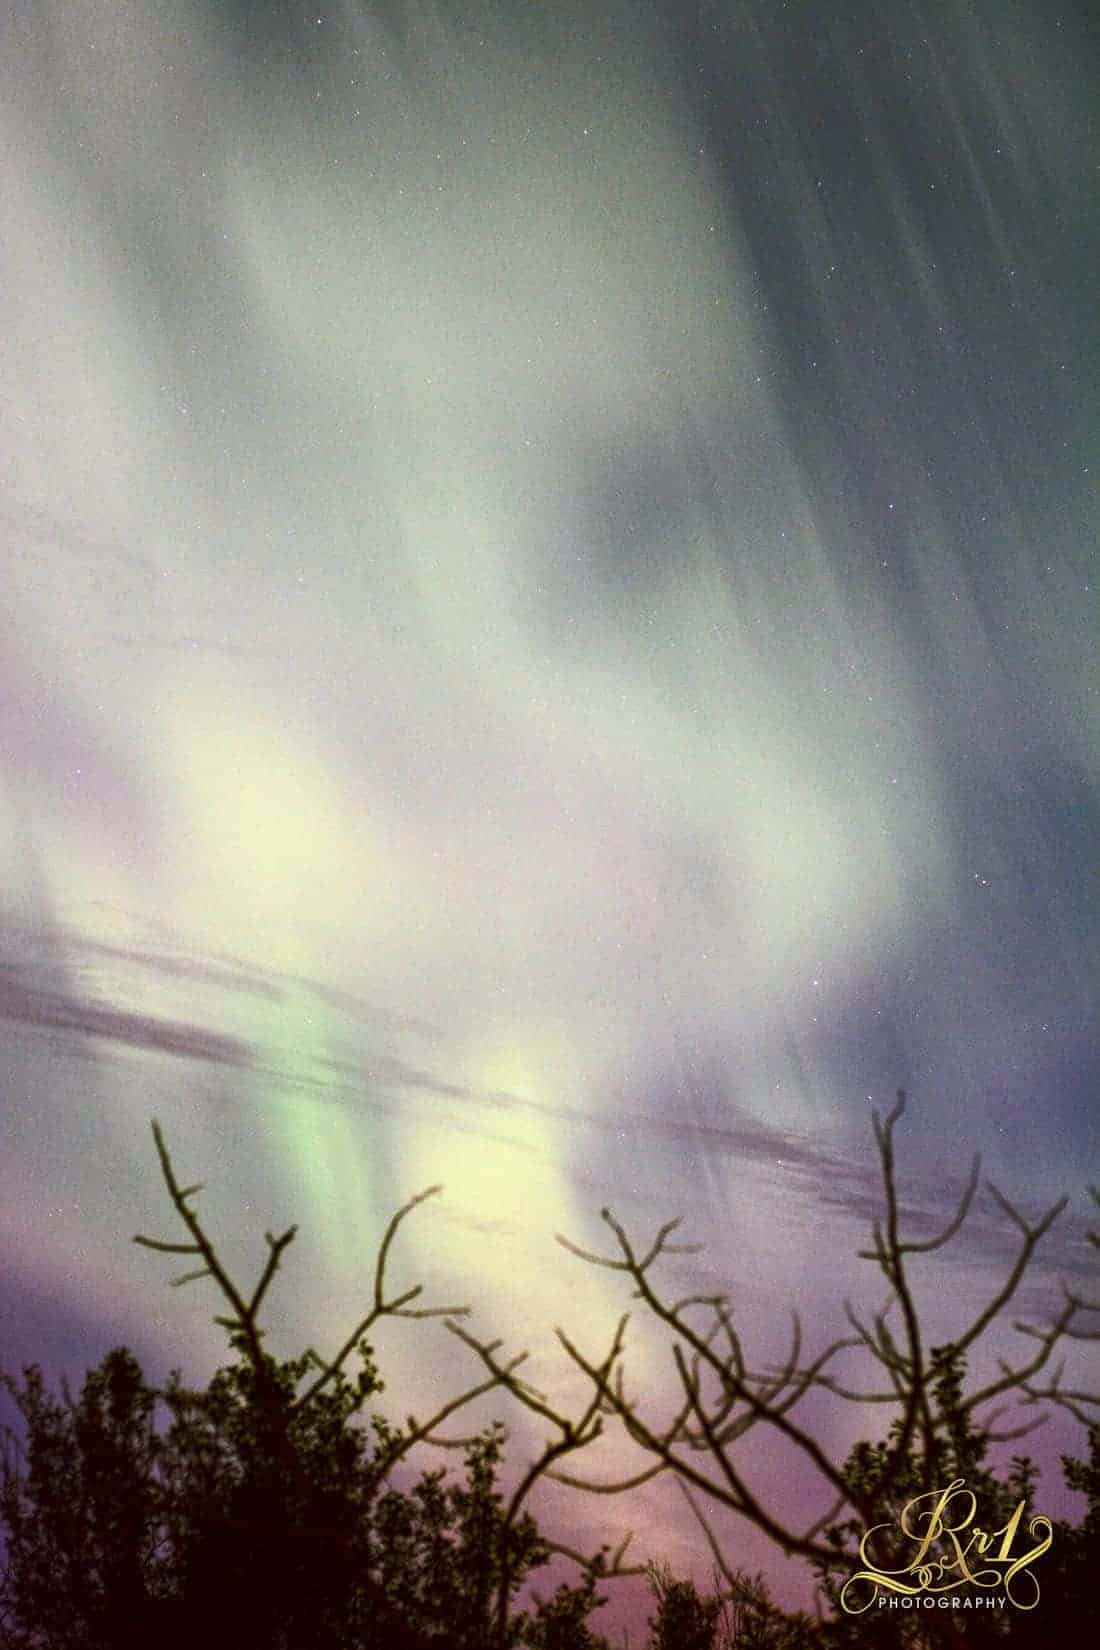
 The Aurora Borealis (commonly known as the Northern Lights) are streaks of light dancing across the sky. They are breathtaking and look so hard to photograph! Looking at photos of the Aurora Borealis, you might think: “The photographer must have a really awesome camera to take those photos, and must live in a northern cold climate, and stand outside in knee deep snow freezing their fingers… I wish I could do that.” But that simply isn’t true, and you can do that. The Aurora is not as easy to photograph as a landscape, but anyone can do it. Here’s how, in a simple, easy to follow, non-technical article.
The truth is almost any DSLR can capture the Aurora Borealis. The Aurora is also visible year round, and you don’t have to live in Alaska to see the beautiful Northern Lights. True, you probably won’t see them if you live in Arizona or Texas, but you will see them in some of the northern United States, all of Canada, and of course Alaska.
What equipment do you need?
- A DSLR camera, with a lens capable of a wide aperture (it does not have to be an expensive one). The trusty old nifty fifty 1.8 will do the job for around $150.00, and most photographers already have this lens on hand. I used my 50mm f/1.8 for the photos in this article. A wider angle lens will always be the better choice if you have one.
- A fully charged battery
- A tripod
- A shutter release cable or wireless trigger. If you don’t have one, the timer built into the camera will work. Remember: a shutter release cable will give you more control than a timer and enable you to keep the shutter open as long as you want to. It is essential to use some sort of device to control the shutter to reduce vibration.
- Don’t forget a flashlight, since you will be walking and working in the dark.
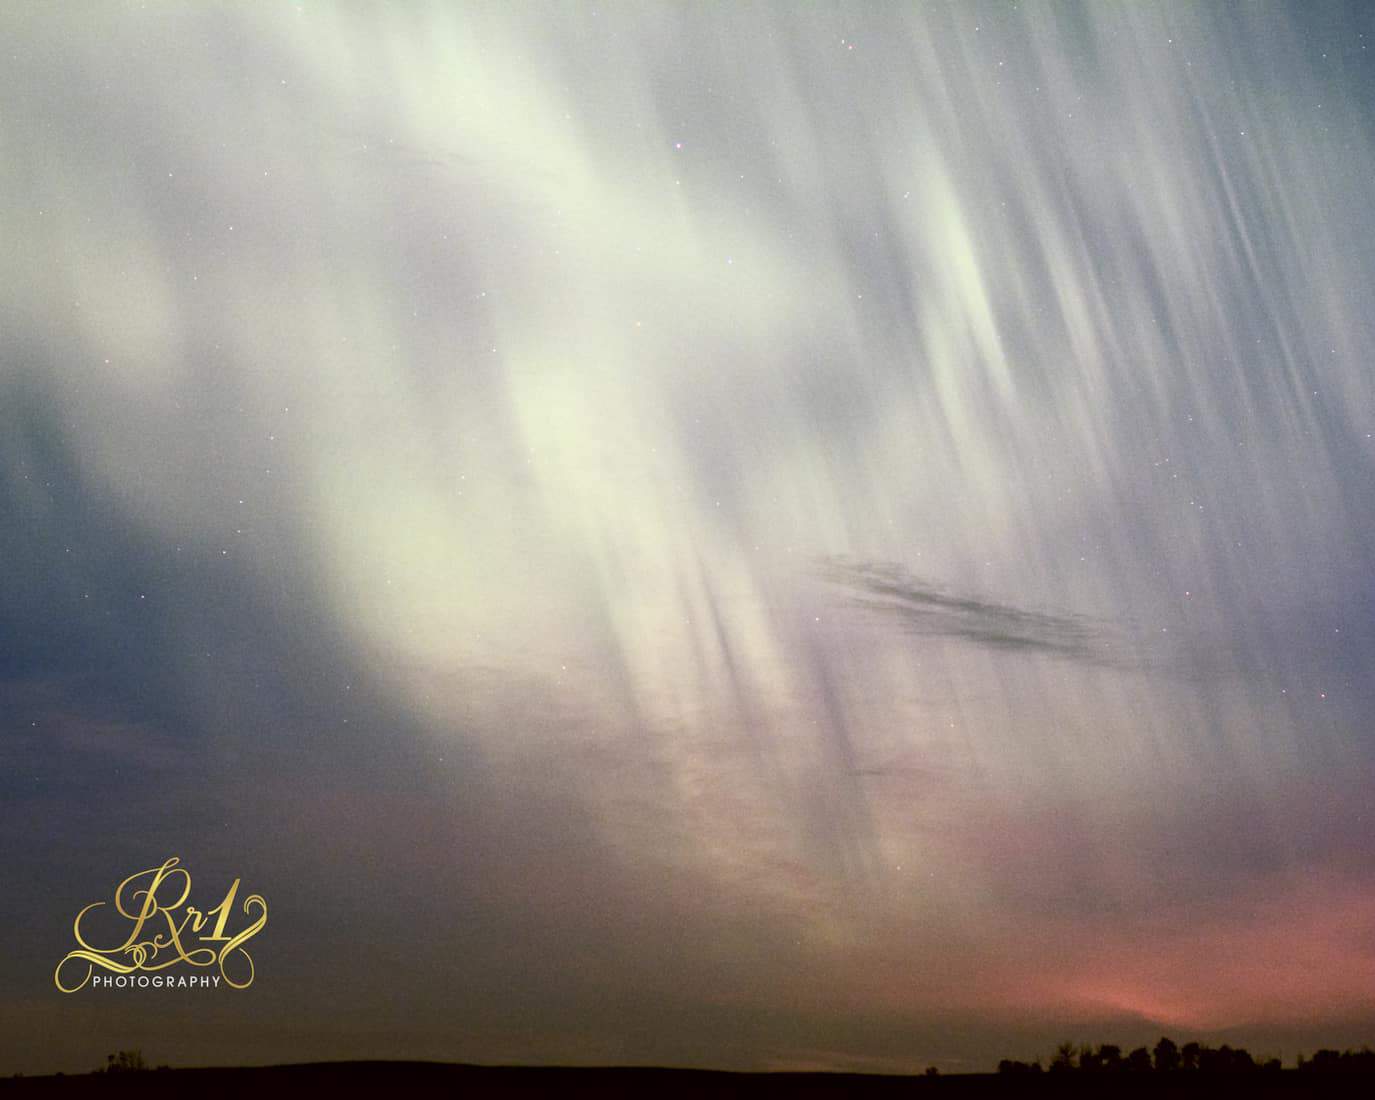
 The photos in this article were shot in central Alberta, Canada, in July. No snow or freezing fingers involved! There are lots of sites that tell you when the Aurora Borealis will be out. (I use Aurora Watch – this site sends an email telling me how strong the Aurora will be and what time it will be the strongest.) Then I get out of town! You will get a much better photo if you are a few miles away from the city lights; ambient light is not an asset here. Now that you have your tools and before you go out in the dark, you will want to set your camera, attach it to the tripod, and attach the cable or wireless trigger. The less fumbling you do in the dark the better.
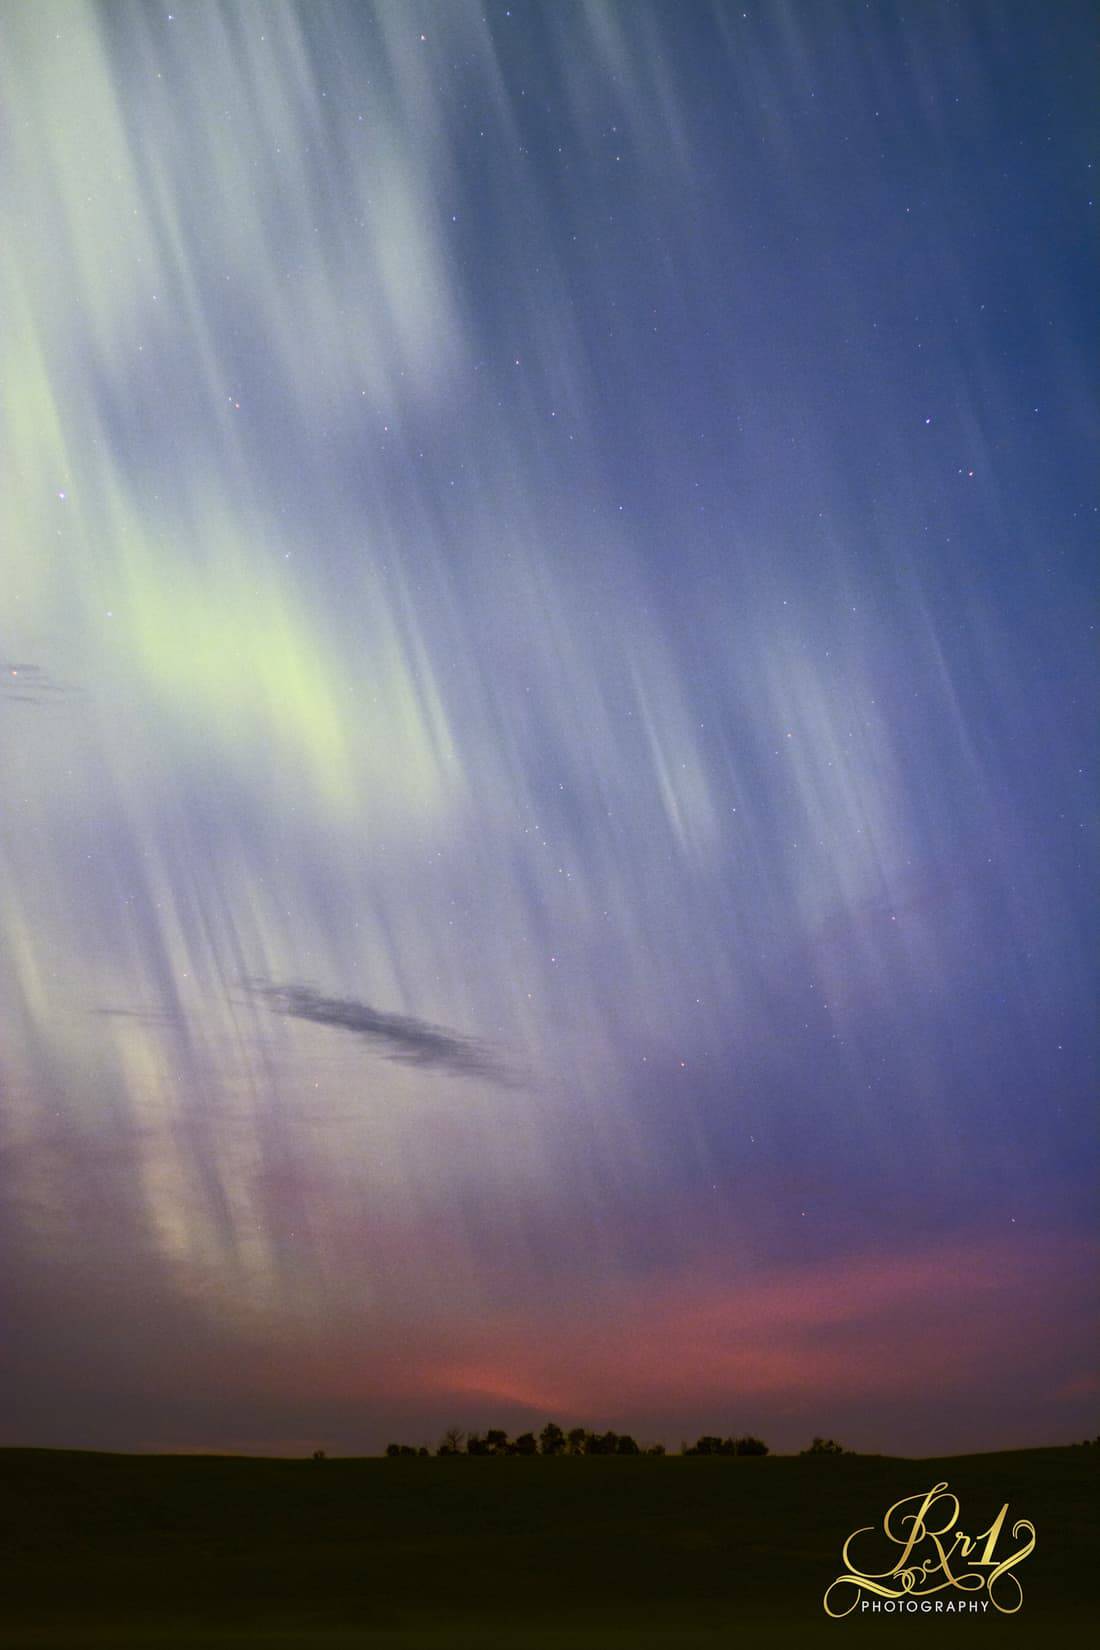 Now turn that dial to M! Sorry – you have to shoot manual for this. Go ahead – it’s not that scary! First set your shutter speed… to infinity and beyond! Or bulb… (That’s just not as exciting to say is it?) Bulb, infinity or that squiggly little ∞ symbol is what you are looking for. The first few times I tried to capture the Aurora I was severely disappointed. Why? Yes, I had caught them and I was excited about that, but they were out of focus! I was out in a field, in complete darkness… The question I asked myself was “How am I supposed to focus on what I can’t see?”
I looked online and found a lot of really technical articles that I didn’t totally understand and that just didn’t work for me. So instead, I came up with this idea and it works! If the moon is out, focus on that. If that’s not working, find a far-away house or a light off in the distance (communication towers work great) and focus on that. (This works for all night photography and it’s simple and easy.) I also use back button focus, but any method will work and I recommend you use the method you are comfortable with.
This is where things get a little more complicated and this is where the trial and error happens. Each camera will react to low light photography in a different way. I used a Nikon D7100 for these photos. It does well with high ISO and I could have gone higher, but didn’t. Why? You want to keep the ISO as low as possible. This will give you a photo with less of that “grainy look” (better known as a noisy photo). However, there is one other thing to consider: the Earth is a moving object. Those twinkling stars you see? Your camera sees them differently. Leave the shutter open for too long and you will have star trails. Our focus is the Aurora, so try and avoid star trails here. This means you’ll need a higher ISO and a faster shutter speed.
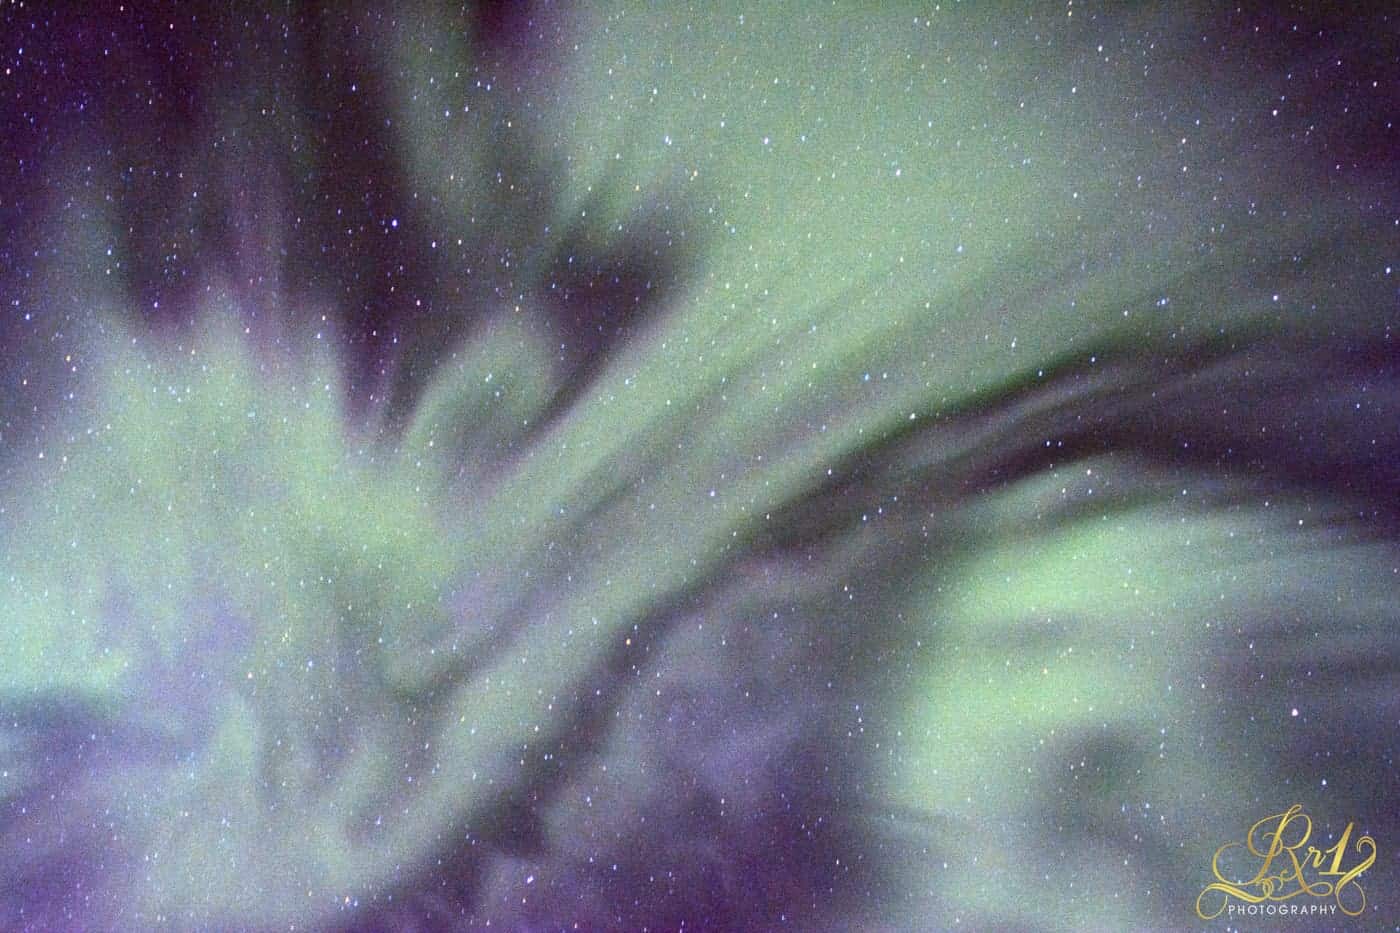
Next set your aperture. Again you will have to experiment. The moon is a factor here: is it a full moon or a quarter moon? This will determine what your aperture should be. If it’s a full moon, close your aperture a bit. If it’s a quarter moon you may want to open it a bit. I normally start at about f/3 and adjust according to the available light in the environment. Below is a simple chart to help you get started.
| f/ratio | 400 ISO | 800 ISO | 1600 ISO |
|---|---|---|---|
 Last but not least, how long do you keep the shutter open? Once again, each camera is going to react differently. Let me give you a very non-technical example. I shoot Nikon. When I used the D90 I opened the shutter, counted to 10, and released it. Not very technical… but it worked! That was the perfect amount of time for that camera. When I used the D7100 and counted to 10, the photo was over-exposed. Counting to 7 (approximately three seconds) was about right for the D7100. I used the same lens both times.
So now you have the tools and knowledge needed to go get some awesome shots of the beautiful Northern Lights. Plan to go out at least a few times so you can experiment with different settings on your camera as well as different lighting situations in the environment around you. You can capture some really incredible things with some patience and practice!