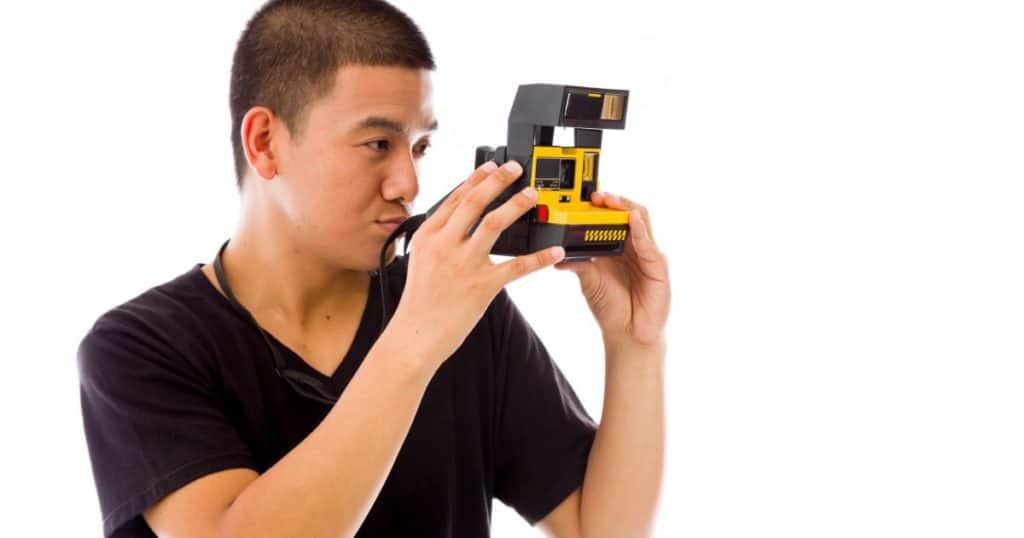
Do you crave the nostalgia of holding a tangible memory in your hands? Are you ready to explore the charm of instant photography?
In an age where digital images dominate, there's something special about the timeless quality of a Polaroid print. Whether you're a seasoned photographer or just starting, a Polaroid OneStep camera can evoke excitement and inspiration.
You’re probably wondering how to use the Polaroid OneStep camera. If you're feeling overwhelmed or confused about using this iconic camera, don't worry – we've got you covered! This article will break down each step and give you tips and tricks to capture sharp images.
How to Use the Polaroid OneStep Camera

The Polaroid OneStep camera is a simple and easy-to-use instant camera that brings back the charm of classic photography.
Follow these straightforward steps to start capturing your memories.
Step 1: Load the Film
The first step in learning how to use the Polaroid OneStep camera is to make sure you have the right film. The camera works with either i-Type or 600 films. To load the film, locate the film door on the camera's front panel and gently open it. Take the film pack from its packaging, and be careful not to touch the film sheets or the development area.
Slide the film pack into the camera, aligning it with the grooves. Close the film door, and the dark slide will automatically eject. Remove the dark slide, and you're all set to start taking pictures.
Step 2: Frame Your Shot
Look through the viewfinder at the top of the camera. Align the viewfinder with your subject, ensuring it's within the camera's focus range, usually 2 feet to infinity.
For close-up shots, use the close-up lens, if your OneStep model has one. This feature perfectly captures subjects between 1 and 2 feet away. Take time to frame your shot, considering the rule of thirds and other composition techniques to make your photo stand out.
Step 3: Adjust the Settings
Now that your shot is framed, it's time to fine-tune the settings. The Polaroid OneStep camera has an exposure compensation switch that lets you control the brightness of your image. Move the switch to the “+” side to brighten the image or the “-” side to darken it.
If your subject is in a low-light setting, turn the flash on. Turn the flash off if you don't need it. Experiment with other camera features like double exposure or self-timer to add a creative touch to your photos.
Step 4: Capture the Moment
Once you're satisfied with your composition and settings, hold the camera steady with both hands to avoid camera shake. Gently press the shutter button to take the photo. The camera will click, indicating that the photo has been taken. The film will automatically eject from the camera's front slot.
Step 5: Wait for the Image to Develop
This is where the magic happens. After your photo has been ejected, avoid the urge to shake it – contrary to popular belief, this won't help the development process. Instead, place the photo face down on a flat surface or in a light-safe container.
Remember that dark slide you saved after loading the film? Now's the time to use it! You can place the dark slide on top of the photo to shield it from light as it develops. This step is especially important for the first few minutes of the development process, as excessive light exposure can affect the final result.
Be patient and give the photo 10-15 minutes to fully develop.
Why Are My Polaroid Pictures Blurry?

Polaroid pictures can provide a nostalgic and instant way to capture memories, but the resulting images can sometimes appear blurry. When learning how to use the Polaroid OneStep camera, it’s important to understand the potential causes of blurriness so you can troubleshoot and improve the sharpness of your photos.
The most common reasons for blurry Polaroid pictures include the following:
1. Camera shake: Holding the camera unsteadily or moving it while taking the shot can cause blur. Use a tripod or rest the camera on a stable surface to minimize movement.
2. Out-of-focus subjects: Ensure your subject is within the appropriate focus range for your camera model. Some cameras have a minimum focus distance, so make sure your subject isn't too close. If your camera has manual focus, double-check it's set correctly.
3. Low light conditions: Inadequate lighting can cause the camera to use a slower shutter speed, which increases the chance of blur. Use a flash or take photos in well-lit environments to counter this issue.
Polaroid OneStep cameras perform best in bright, natural light. Try to shoot outdoors in the early morning or late afternoon for the best lighting. Avoid direct sunlight, as it can create harsh shadows and overexpose your images.
Bonus pro tip: Use the lighter setting for dark scenes or backlit subjects and the darker setting for bright scenes or subjects in direct sunlight. The built-in flash is essential in low-light situations and useful as fill light.
4. Film or developing issues: Expired or improperly stored film can create blurry images. Additionally, exposing the film to light or extreme temperatures while developing can cause problems. Ensure you're using fresh film and follow the recommended development guidelines.
5. Dirty lens: Dust or smudges on the camera lens can cause blurry photos. Clean the lens carefully using a microfiber cloth or a lens-cleaning solution.
Summary
The Polaroid OneStep camera allows you to capture special moments with an instant, vintage touch. By mastering how to use the Polaroid OneStep camera and addressing common challenges like blurry images, you can create enchanting keepsakes to treasure and share.
Rediscover the timeless charm of instant photography and create a unique connection to your memories with the Polaroid OneStep camera.
