
Signing a print is like putting a cherry on an ice cream sundae. A professionally shot, edited, printed, and produced photograph doesn't feel quite right without the photographer's signature on it. Some photographers prefer not to sign their prints for various reasons. The two most common reasons I've heard are because they are afraid their clients won't want a signature mucking up their beautiful purchase, or because the photographer thinks he has an ugly signature. If you do want to start signing your prints, we'll talk about a few different ideas and a good pen to use that I've had really great success with.
At the end of this article, I'll walk you through a very easy way to create a digital .png of your signature using your cell phone camera and Photoshop so you can digitally sign your prints when exporting in Lightroom or turn it into a custom brush in Photoshop to apply to any photo.
What kinds of prints should I sign?
In general, landscape prints get signed and portrait prints don't. However, it is a pretty common practice for portrait photographers to put a small digital signature on their prints at about 30% opacity in the bottom corner.
As a landscape photographer, I like to have my signature on my prints because it is my work and I'm proud of it. Just like an author proudly displays her name at the bottom of her book cover, a photographer should be proud to claim their work as their own. It is your prerogative as an artist to sign your work. I don't even bother asking my clients if they want me to sign it, I just sign it as part of the production process. In fact, I've never had anyone tell me they want a print unsigned, but have had a few buyers ask me to make sure I sign it.
Elements of a signature
For a landscape print, there are several elements you CAN include with your signature. Any of these are optional and it doesn't make your work any less professional if you just sign your name or even your initials.
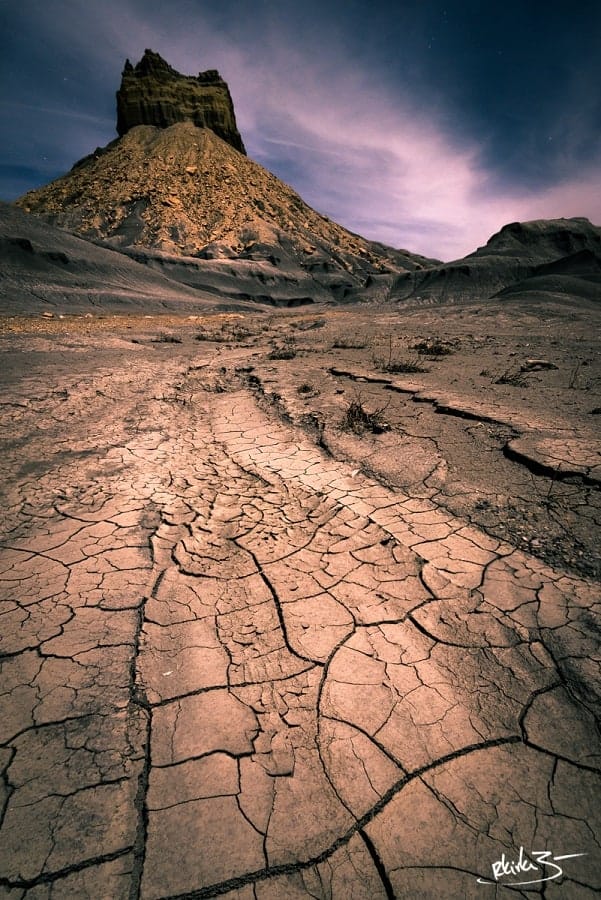
Your name: obviously the primary element of a signature. You could also sign with your initials if you have a long name, or concatenate your name, which most people do with their signatures. My signature is RKirkB—-. It's artsy and fun and I'm proud of it.
The year: many photographers will add the year the photograph was taken. Rarely have I seen a photo with the month and/or day added to this. Either the full year “2018” or shortened ” '18.”
The print number: adding print number indicates a limited edition run of this print. This is usually only done for high volume photographers whose main job is producing photographs. People that collect art want to know this photograph isn't going to be sold for the next 20 years and 10,000 copies later. The fact that it is a collector's item makes it more desirable. For most of us low-level photographers, this isn't a concern. Even if you sell a print every day from your portfolio, you aren't going to match the volume of some of the pro-level photographers who sell an entire 500 print run of one photograph in a couple weeks or months.

However, if you ever desire to have your prints for sale in a gallery, many times they only accept limited edition prints. The choice is yours on if, when, and how you want to number your prints. A couple of tips on doing this: if you are selling limited edition prints, start with 10/100 or 10/500. If fortune smiles on you and you find yourself selling your 100/100 print, and there is still demand for that print, you can now sell your single digit editions for an increased price. Work your way down from 10, increasing the price as you get to #1/100. Make sure to keep a spreadsheet of what print number you are on. While unlikely, you don't want to run into the situation where you sold two 23/100 prints.
A second quick tip about editions is about artist proofs. In general, you are allowed 10% of the total run of prints as artist proofs. These proofs are generally reserved for the artist (that's you) and/or given away as gifts, usually to those who helped in the production of the piece (this is generally more involved for duplicating paintings, which involve many people). They are signed with “AP” and Roman numerals instead of numbers. For example: AP I/X for “Artist Proof 1/10” (10% of a 100 print run of that photograph). If you give away prints as gifts to family or friends, sign them as artist proofs and you'll increase their value. Plus it's just something cool to talk about.
As I mentioned above, portrait prints usually aren't signed, but you can include a digital signature watermark in the corner. At the end of this article, I'll show you how to turn your signature into a digital brush or watermark.
Where to sign
The bottom right hand corner seems to be the most popular place to sign a print. I have seen some artists add their signature or the name of their company to the bottom center of the print. This is usually done when adding your business name on a print. Some people like to align their signature with the bottom of the print, I like to sign a little off axis of about 30 degrees. It just depends on what you like.
If you are matting and/or framing your prints, make sure to sign AT LEAST 1/4″ from the edge. The print will need this much room to work with for mounting. You don't want your signature getting cut off at the end because you signed too close to the edge.

The big name photographers will usually sign right on the print because the signature adds value to the print itself. Many of the smaller photographers will sign the matte, if the print is matted. I like to sign right on the print because it's MY beautiful photo, dangit! I don't want someone trashing the matte after they buy it, leaving no trace of my connection to the print. But I'll say it again: you decide what works for you.
How to sign
Jim did an article on the best pen to use for signing prints. It is a metallic ink pen that works very well on paper, canvas, metal, glass, and just about everything else. I personally use this pen and it works great, as long as you don't pump the tip while holding it to your print after you have it primed with ink (you'll know what I'm talking about once you buy it). If you do, it'll splatter ink all over your print and could ruin it. Give this some practice runs before you use it.
Why I like this pen the most is because it gives the signature crisp edges that don't run. Because it is metallic ink, it reflects light and you'll catch the signature in just the right light which adds a very stunning artifact to your print. When someone is walking by at just the right angle, they'll catch this sparkle out of the corner of their eye and stop to check it out.

If you are signing metal or paper prints and you mess up your signature with this metal pen, carefully take a Magic Eraser (melamine foam), get it damp, and gently scrub away. On paper prints, as long as it is photographic paper and not like Xerox paper, you should be ok because the paper is usually waterproof. Test this out on your specific paper first. On metal prints, I've done this half a dozen times to fix a blotch or a bad curve of my wrist and I've never had issues with the print surface. However, this WON'T work on canvas prints. You'll scrub off the pigment and leave a nasty, damaged spot. When signing canvas prints, you get one try.
What if I don't like my signature?
Then you should practice a new signature until you come up with something you like. Seriously. If you have a sloppy signature that doesn't present well, or you think doesn't represent you or your work, you should practice and evolve it until you are happy with it. Since I signed my social security card when I was 16 years old until now, I've gone through about 5 iterations of my signature. I have something that I am very happy with now, it looks great on a photo, and it is easily repeatable without much effort or concentration (which comes from practicing it over and over).
I heard on the podcast a couple years ago one of the hosts was selling prints at a show and asked a buyer if they wanted him to sign it. They said, “Well, what does your signature look like?” He signed a piece of paper and they said, “Ummm, maybe sign the back.” Ouch. Practice your signature until it adds a finishing touch to your prints that makes them look perfect.
How to make a digital signature
Now we'll go through the steps to make a digital signature. It is actually very easy to do this with your cell phone camera and Photoshop.
- Sign your name on a white piece of paper with a black Sharpie or artist pen (you'll want a somewhat broad stroke)
- You can sign several times on the same paper until you get the perfect signature
- Take a photo of the paper
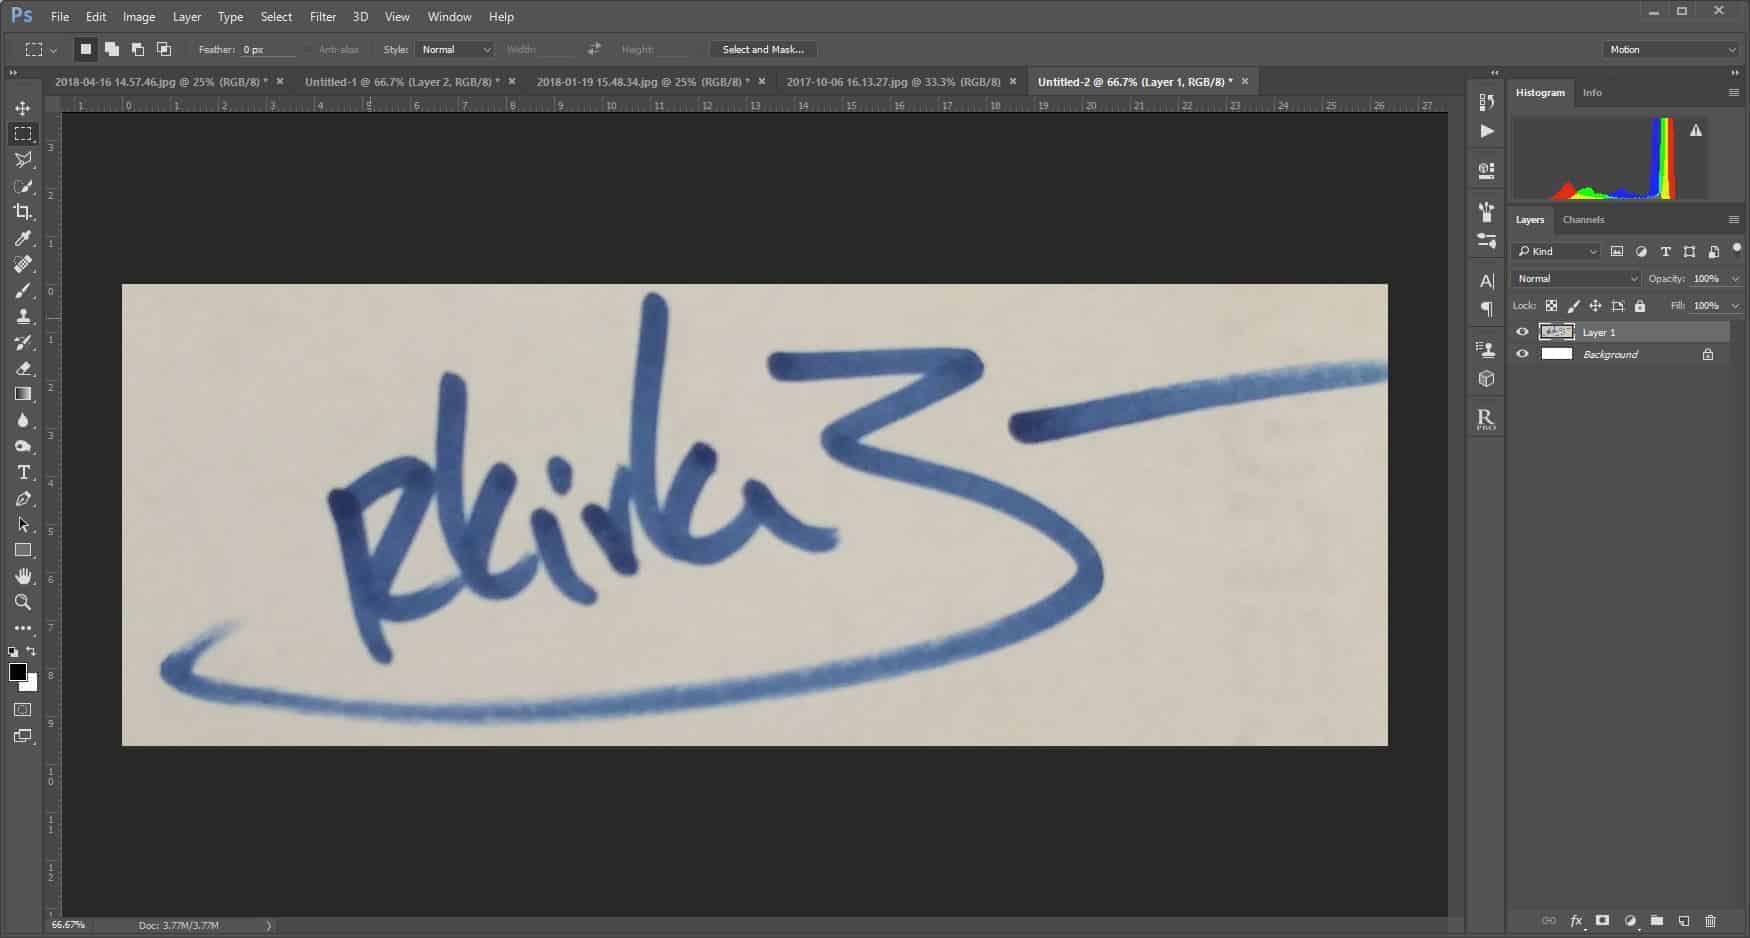
- Import the photo into Photoshop
- Go to Filter > Camera Raw Filter
- Hold Shift while double clicking the white and black sliders to get crisp whites and blacks. Hit OK.
- Select the signature you want using the rectangle marquee. Copy this selection using Ctrl/Cmd + C

- Hit Ctrl/Cmd + N to open a new document based off your previous marquee dimensions. Make sure to select a white background before you hit OK.
- Paste your selection using Ctrl/Cmd + V
- Go to Select > Color Range.
- Use the eye dropper to select various parts of your signature to include all of it in the color range selection.
- Play with the two fuzziness and range sliders until you get a crisp view of your signature. Hit OK.

- Create a new layer then apply your selection:
- Select black foreground color
- Hit Alt/Option + Backspace
- You can now delete Layer 1 (the one with the photo of your signature)
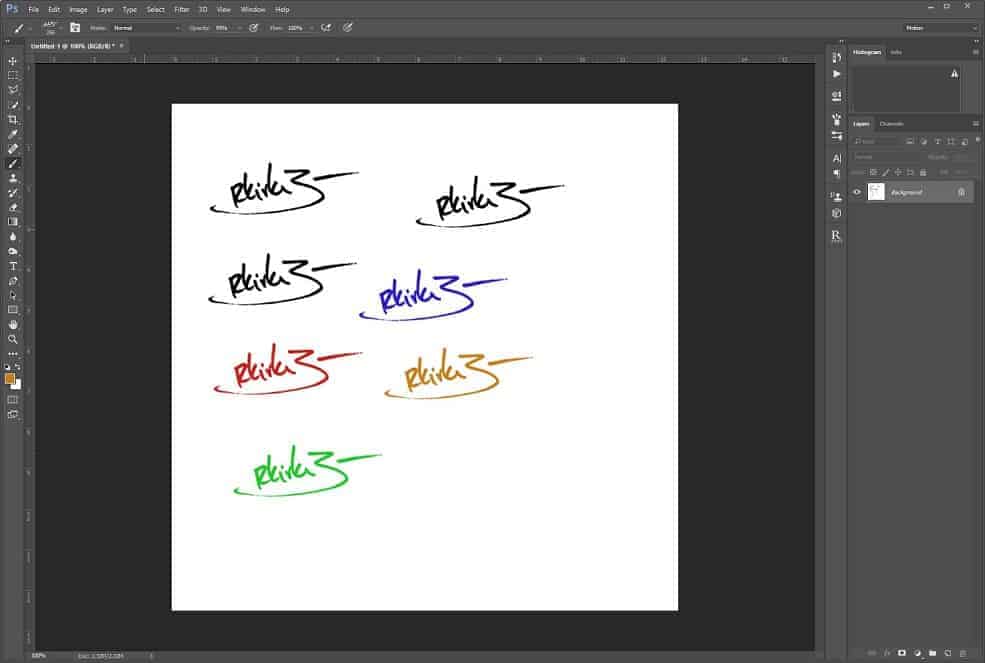
- Save your signature as a brush by going to Edit > Define Brush Preset
- Save your signature as a PNG with transparency (for use with Lightroom)
- Delete your background (white) layer
- Now that you have your signature on a transparent layer, go to File > Export > Export As and make sure you have PNG selected.


You can also create a white version of your signature by inverting the color. To do this, have your final signature layer selected (should be Layer 2) and hit Ctrl/Cmd + I to change it to white. Save it following the same steps above.
I like to use a marker for creating a signature because the fade and choppiness in the strokes will show up in Photoshop, making it look that much more authentic when you use it on a digital file.
Once you create a custom brush preset of your signature, you can sign any image you take with the click of a mouse. Also, you can change the color of your signature to anything you want.
Conclusion
I think every landscape photographer should sign their prints and every portrait photographer should include a small, slightly visible watermark of their signature. You put a lot of effort into making this image, so you should claim it as your own. Also, including a digital signature on your images that post online helps to prevent them from being stolen by other people (if you care about that sort of thing) or claiming your work as their own.
wow!! thanks this is so useful… ive always been stuck on this subject 😀
lovely…lovely…lovely
That’s cool!
Wow! I love this article! Now I know how to do this. Short and informative!
Hi. Should I use the same signature I use to sign legal documents or a different one for art? It seems like a vulnerability for identity fraud to have the legal signature on the prints. What is your intake on this?
Hi, are there any special requirements for signing film photos?