
Automotive photography can produce some seriously epic images, but it can somewhat of a mystery on how to produce them. In this article, I offer up some tips to help you produce images that have that “wow” factor.
PANNING
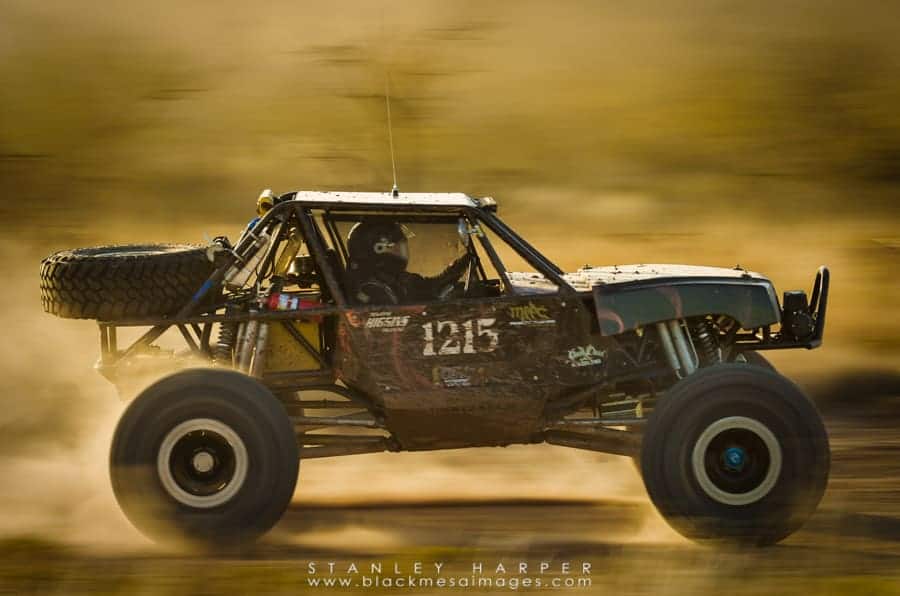
Panning shots for automotive photography is an art plain and simple. The purpose behind panning is to introduce the element of speed to the image. The side benefit of panning shots is that it will blur the background, separating the car from it. It is also a technique that befuddles some photographers. Yes, the technique is advanced, but in reality is pretty easy at its base. There are techniques that can be wrapped up into panning shots that require some planning and knowledge.
The easiest way to create panning shots is to do it at almost a ninety-degree angle to the track of the vehicle. What I like to do is to pick a spot within that track and set focus on that spot. I will then pick out a shutter speed that is slow. Anywhere from 1/90th of a second slower. This depends on the speed of the vehicle that I will be shooting. I usually end up picking a shot from right before the vehicle hits my “sweet spot.”
One advanced technique that I have seen, but yet to try has been the “mover.” Very simply put, this type of shot involves some serious planning. The photographer rides in a separate vehicle and with both vehicles moving in the same direction down the road, the photographer pops off some slow shutter speed shots.
DETAIL SHOTS
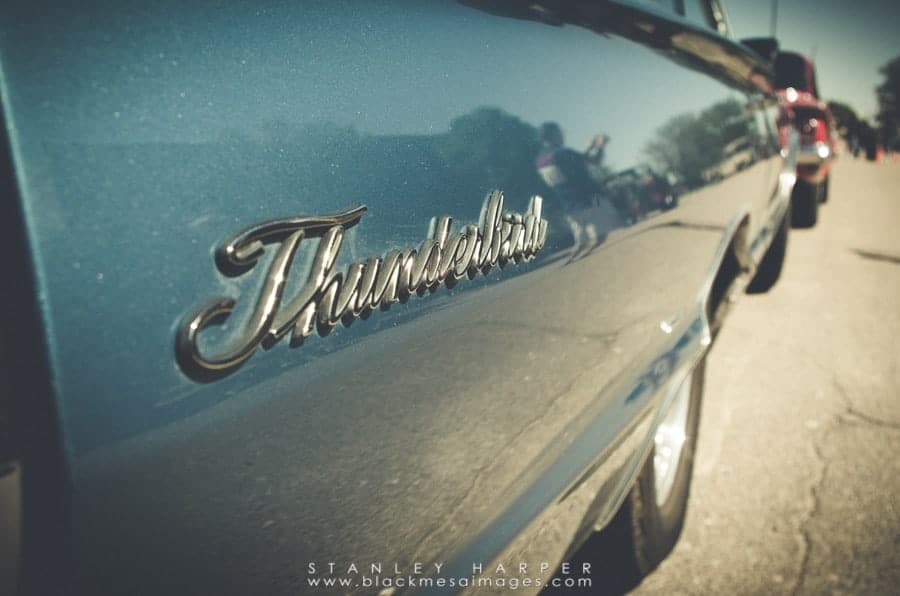
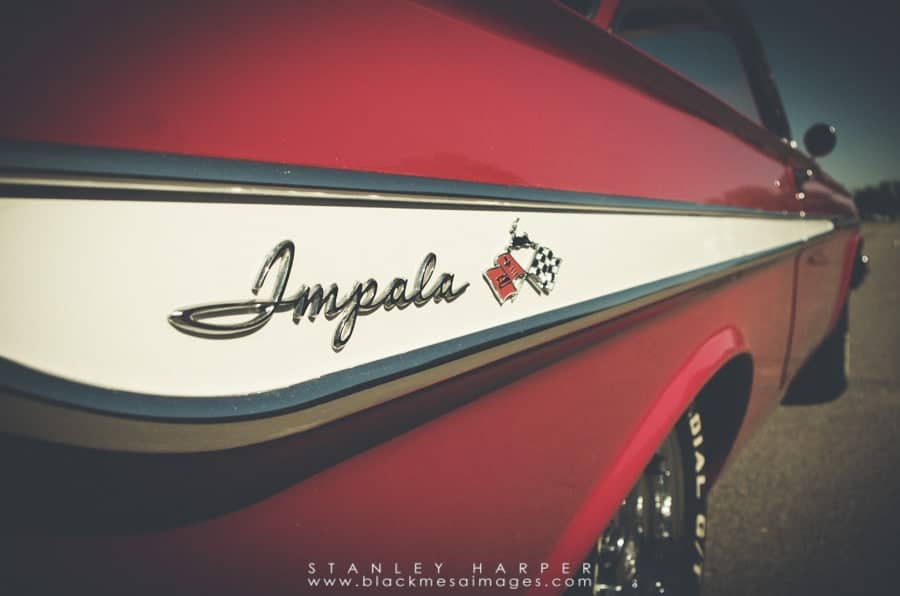
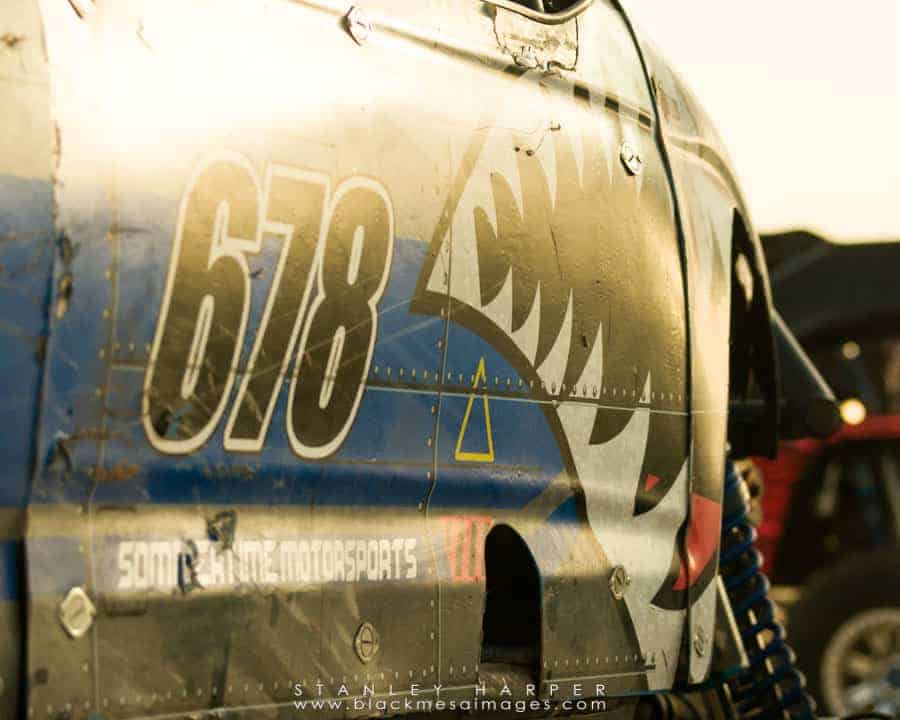
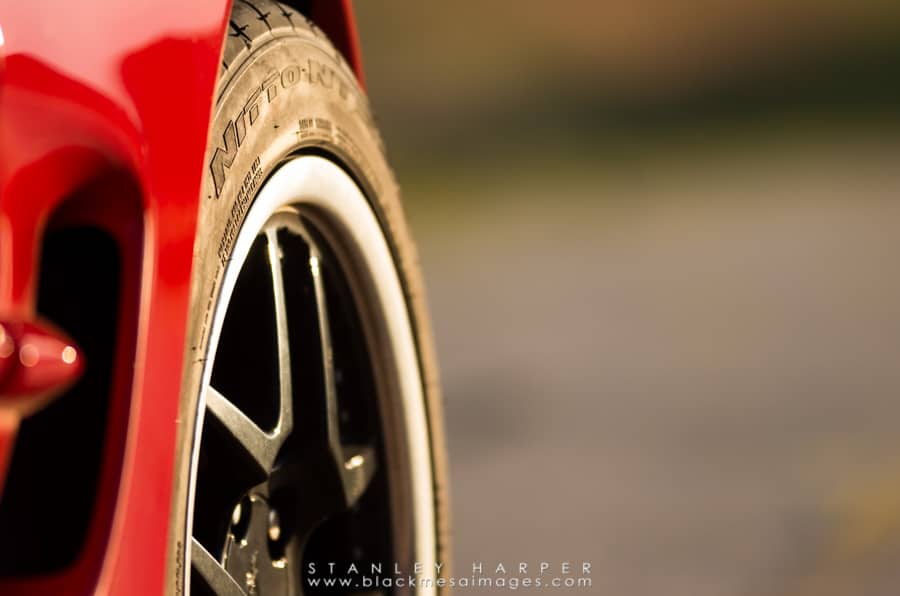
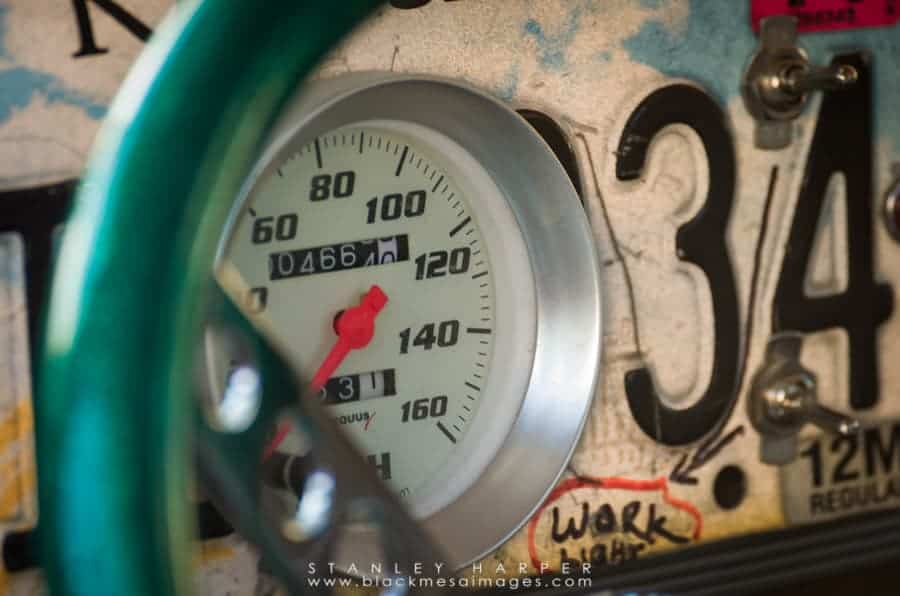
Shots of this type are easily done. Fine little details such as car emblems, tires and other pieces of the vehicle that cut out the car and take the viewer deeper into the vehicle. I like to do shots like this at races. The side of a race car offers up some serious opportunities to showcase sponsors, parts, or team logos. Bonus points if you can shoot at an angle with a low hanging sun provided precious golden light to the shot.
ANGLES
To go along with the detail shots, a car emblem image looks so much better if it is shot at an angle, compared to straight on. By shooting at an angle, the photographer introduces a leading line element into the composition.
INTERIOR SHOTS
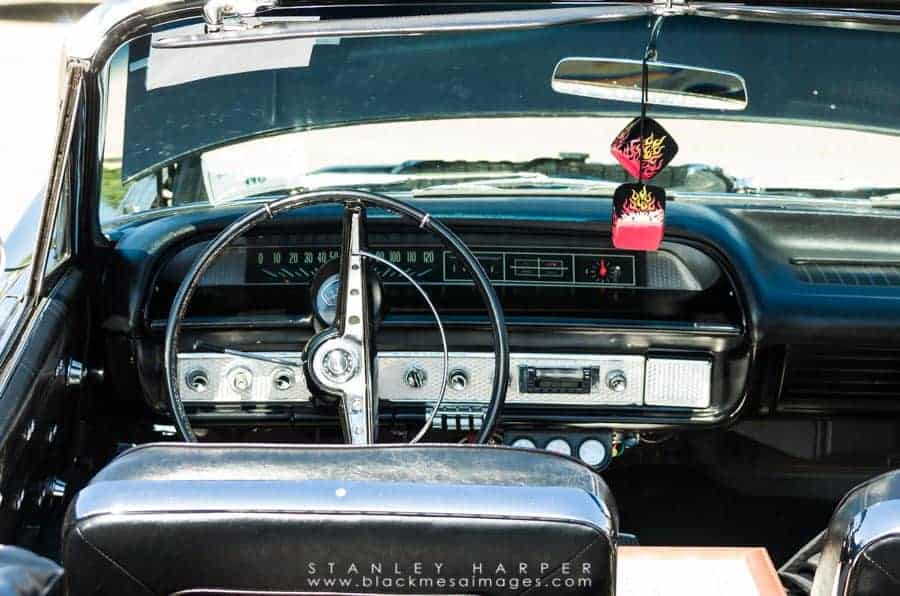
Interior shots are a thing of beauty. They are even better when lighting is used to add to the “drama” factor of the shot.
BOOST DRAMA WITH POST PROCESSING
Post processing automotive images can be somewhat controversial depending on the shot, the photographer, the viewer and the alignment of the stars, sun, and moon. Is the car parked in a gritty, industrial park? Is the car a vintage sixties model sedan that might be a perfect candidate for a vintage film look? Or could the background be a candidate to be swapped out for something a little less cluttered?
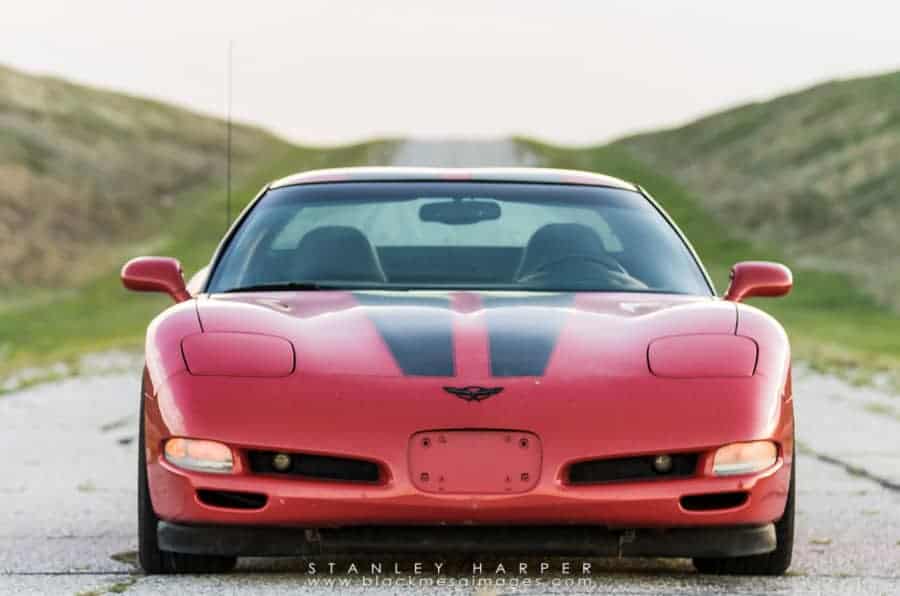
THE FRONT END “MEAN” LOOK SHOT
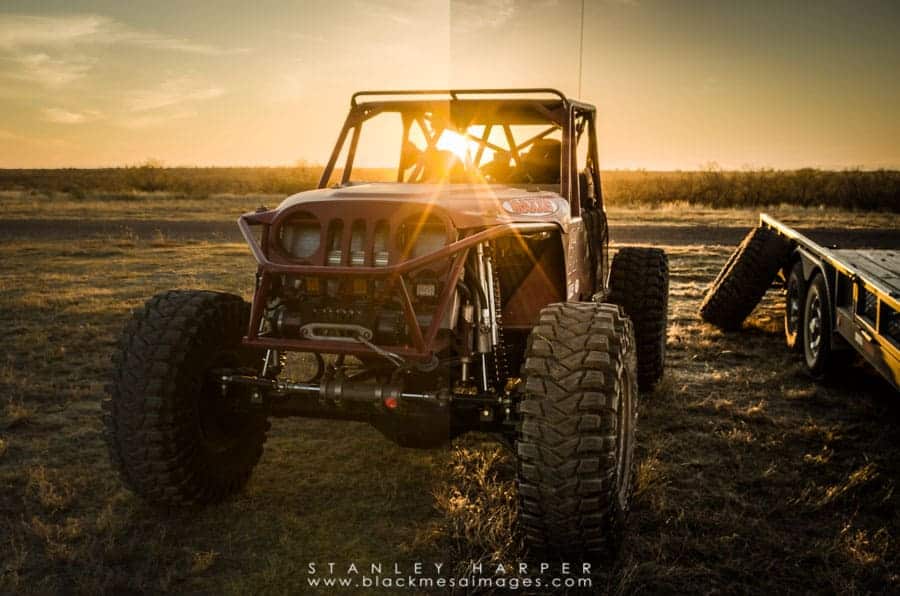
The front end, “mean” look shot is self-explanatory. This shot works great with cars of power. Vettes, Mustangs, old muscle cars. Images like this convey a sense of power and strength.
LIGHT PAINTING
One technique for automotive photography that has become popular in the last few years has been the use of light painting. The use of light painting to compose an automotive image goes away from just a quick couple clicks of the shutter. Shots like this are usually planned out. From the setting to the equipment used to the post processing, creating an automotive image using light painting is a real accomplishment.
So what do we need to create a “light painted” image? First, you will need a tripod. The series of shots that come together during post processing are slow shutter speed shots. Anywhere from a couple of seconds to using bulb mode to capture the shots are used.
The next thing you will need is a light or lights. There is no one light that is the answer. I have seen several that are perfect for light painting. For me personally, I hate using flashlights, but in a pinch, if you have a decent one, it will work. The type of flashlights I like to use are “flood” beams and not spot beams. Because the flashlight kicks out a whole lot of light, you will have to practice with your shutter and light to nail down a decent exposure.
You can also use speed lights and diffusers. Awhile back, I used a Yongnou 560-IV on a light stand with an umbrella and created the shot you see below. Again, this takes a little tuning to get decent shots for the post processing session.
Lastly, LED panels are perfect light sources. Just like the previous suggestions, it takes a little “tuning” to get everything right. I still have work to do with my techniques, plus the panels that I use, the NEEWER CN-160 panels have a horrendous light spill. I need to come up with some panels to get rid of the spill. With that being said though, I love these panels. I can not only do light painting with them but because the light output is adjustable and they are inexpensive, I can pop them into light stands and create one image at night with them.

Even though I still have work to do with the panels, out of the three sources of light mentioned, I like them the best. They produce a light that is even across the board and covers a nice, large area. And out of the three types of light, they are the most versatile. I originally purchased them for low-level lighting astrophotography. I can use them for that, light painting, a stand-in for off camera flash and when I am done shooting, work lights as I pack everything up.
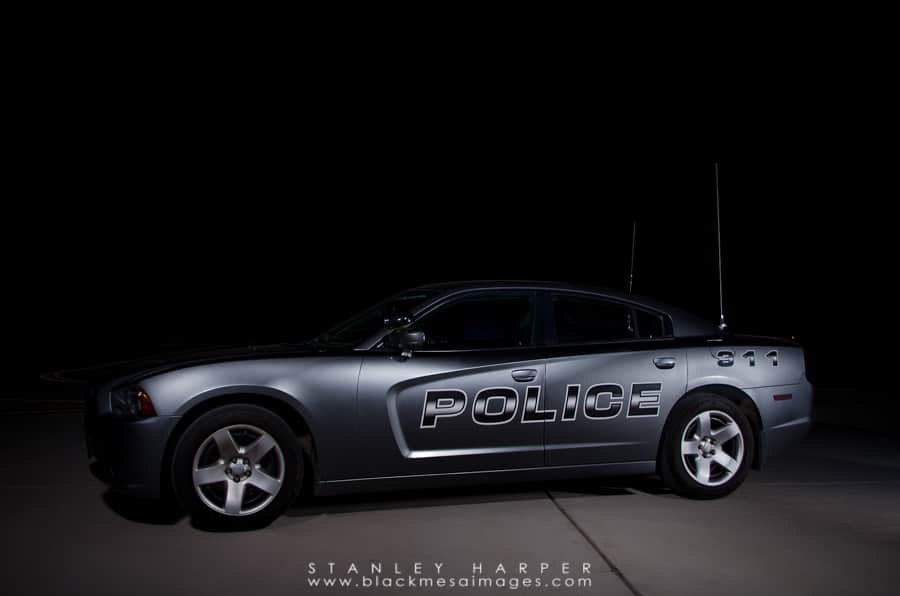
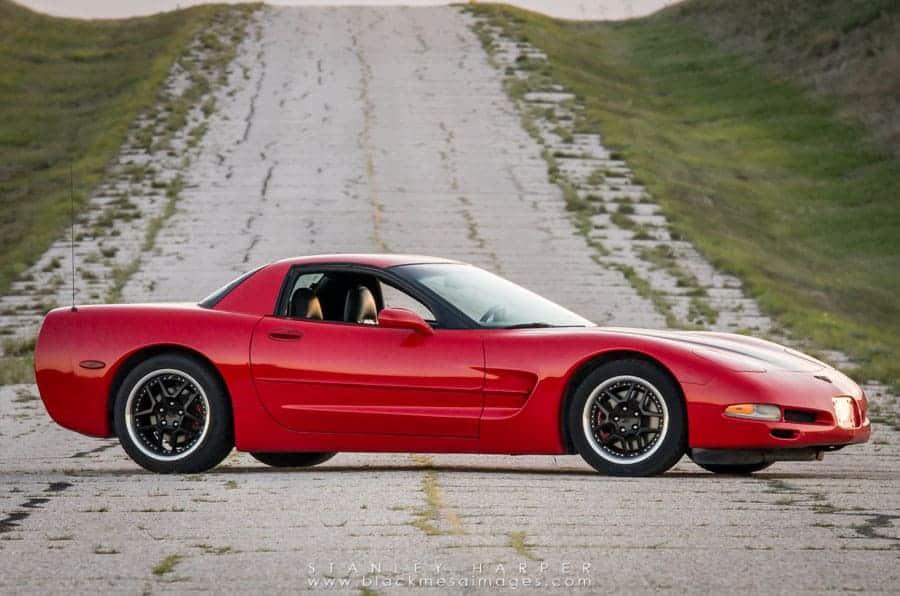
STATIC SHOT
The “static” shot is just that. The car is parked somewhere, like the middle of the road, or a setting where all of the focus is on the car. Many times at car shows, it is almost impossible to have a clean background. Of course parking the car on a highway, road, or street can cause issues, so pick the location wisely.
For this particular shot, we were on a deserted stretch of black top that sees very little traffic; perhaps just a couple cars a day.
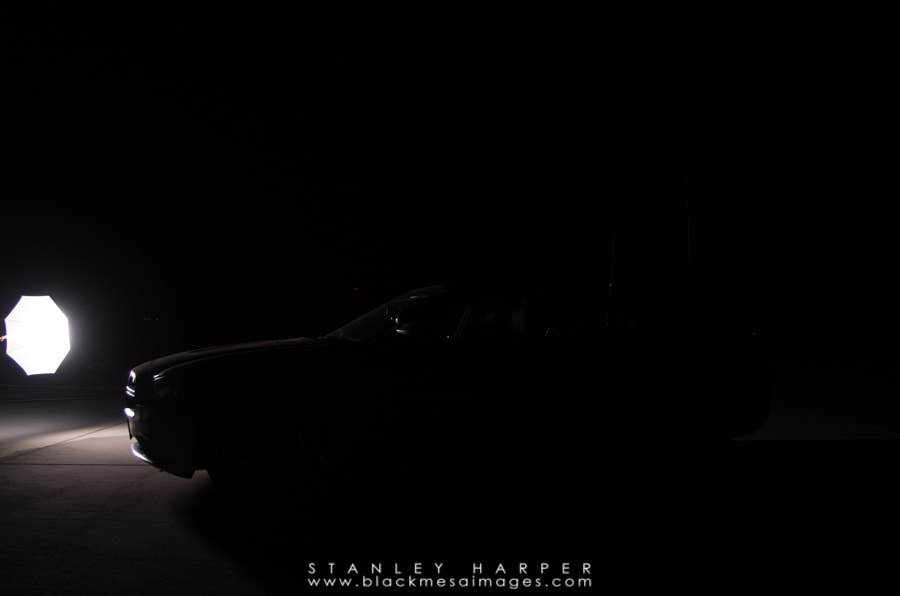
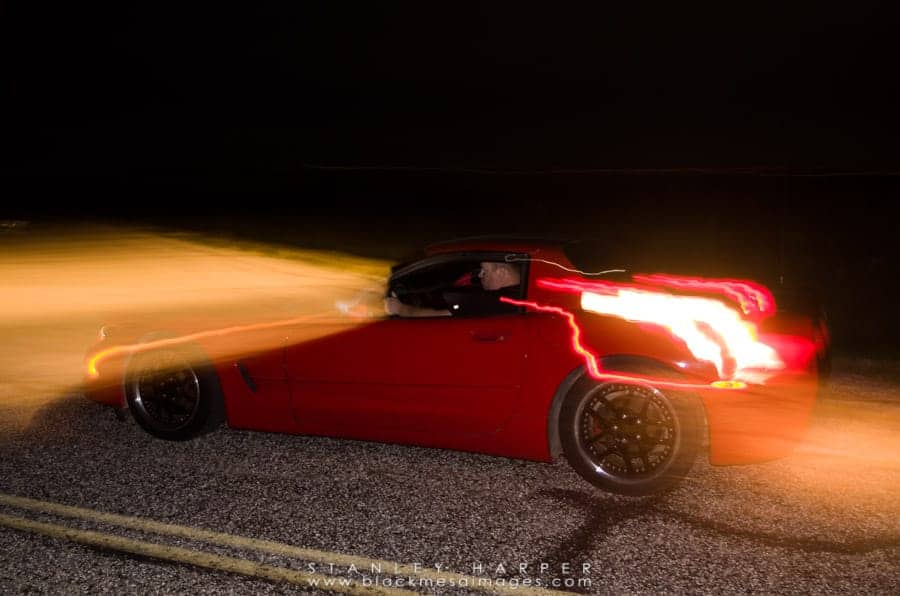
REAR CURTAIN SYNC PANNING
Rear curtain sync is a setting in the camera that allows the photographer to set off the camera at the end of the exposure instead at the start. This is useful for slow shutter speed shots at night. The lights from the car will create light trails and at the start of the exposure, the trails will be the only thing that shows up on the image. Then right before the shutter closes, the flash will go off, freezing the car in the shot. Images like this introduce motion into the image and look good.
Now for the bad news. You need to research rear curtain sync panning before trying it. Even though I have a set of Yongnou flashes, they do not work for me. From what I was able to gather, a flash must be P-TTL compatible because that is the Pentax way. As you can see with the following shot, I will not be doing any rear curtain sync panning anytime soon.
IN CONCLUSION
Automotive photography is a highly rewarding genre. I have read stories of photographers who did it as a pass time and it lead to full-time jobs. Like any other form of photography, there is a learning curve to be able to stand out from the crowd.
As we know some time due to not availability of the friends and players we always try for more options but now here is given some alternate type working ideas which we can use quickly.