-
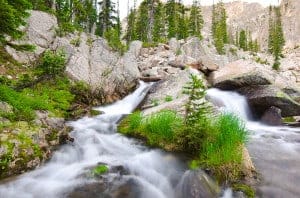
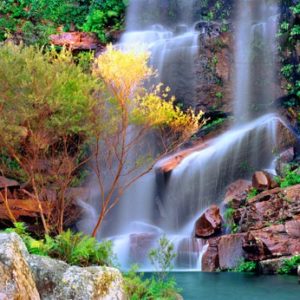
- Use a slow shutter speed. Usually, when you're taking pictures of moving objects, you need to use a fast shutter speed (1/200 or faster) to avoid blur in your pictures. But when you're photographing a waterfall, you actually WANT to capture that movement. If your shutter speed is too fast, you will simply freeze the water instead of capturing the flow. Depending on the flow of the water, a typical shutter speed for shooting a waterfall is between 1″ and 5″ (1″ = 1 second). Check out this cheat sheet Dustin made if you're having a hard time figuring out a good starting point for your camera settings.
-
- Use a tripod. Since you're leaving your shutter open for such a long time, it is absolutely vital that you use a tripod. In your photo, you're looking to capture the movement of the water, not the movement of your camera. Camera blur happens because our hands simply cannot hold the camera perfectly still, no matter how hard we try. To fix this, all you need is a tripod (check out our recommended tripods here). This allows you to leave the shutter open for long periods of time without worrying that the camera will move around and cause blur in your photo.
- Adjust for the exposure. So you've got a slow shutter speed, but all your waterfall photos are turning out way too overexposed. Remember that the longer your shutter is open, the more light your image sensor gathers. 5 seconds is a long time for the sensor to gather light! There are a few things you can do to compensate for this:
-
- Shoot in the early morning or evening. These are the times when the light isn't so bright, and you can leave your shutter open for a lot longer without worrying about overexposing your shot. Early morning and evening are great times to photograph moving water for this very reason.
- Use a neutral density filter. These handy little gadgets screw right on to the end of your lens. The dark glass cuts down on the brightness of your photo. (Click here to see our recommendations for a good neutral density filter.)
-


I am using this information and getting ideas about command prompt in my windows 10 computer system.