
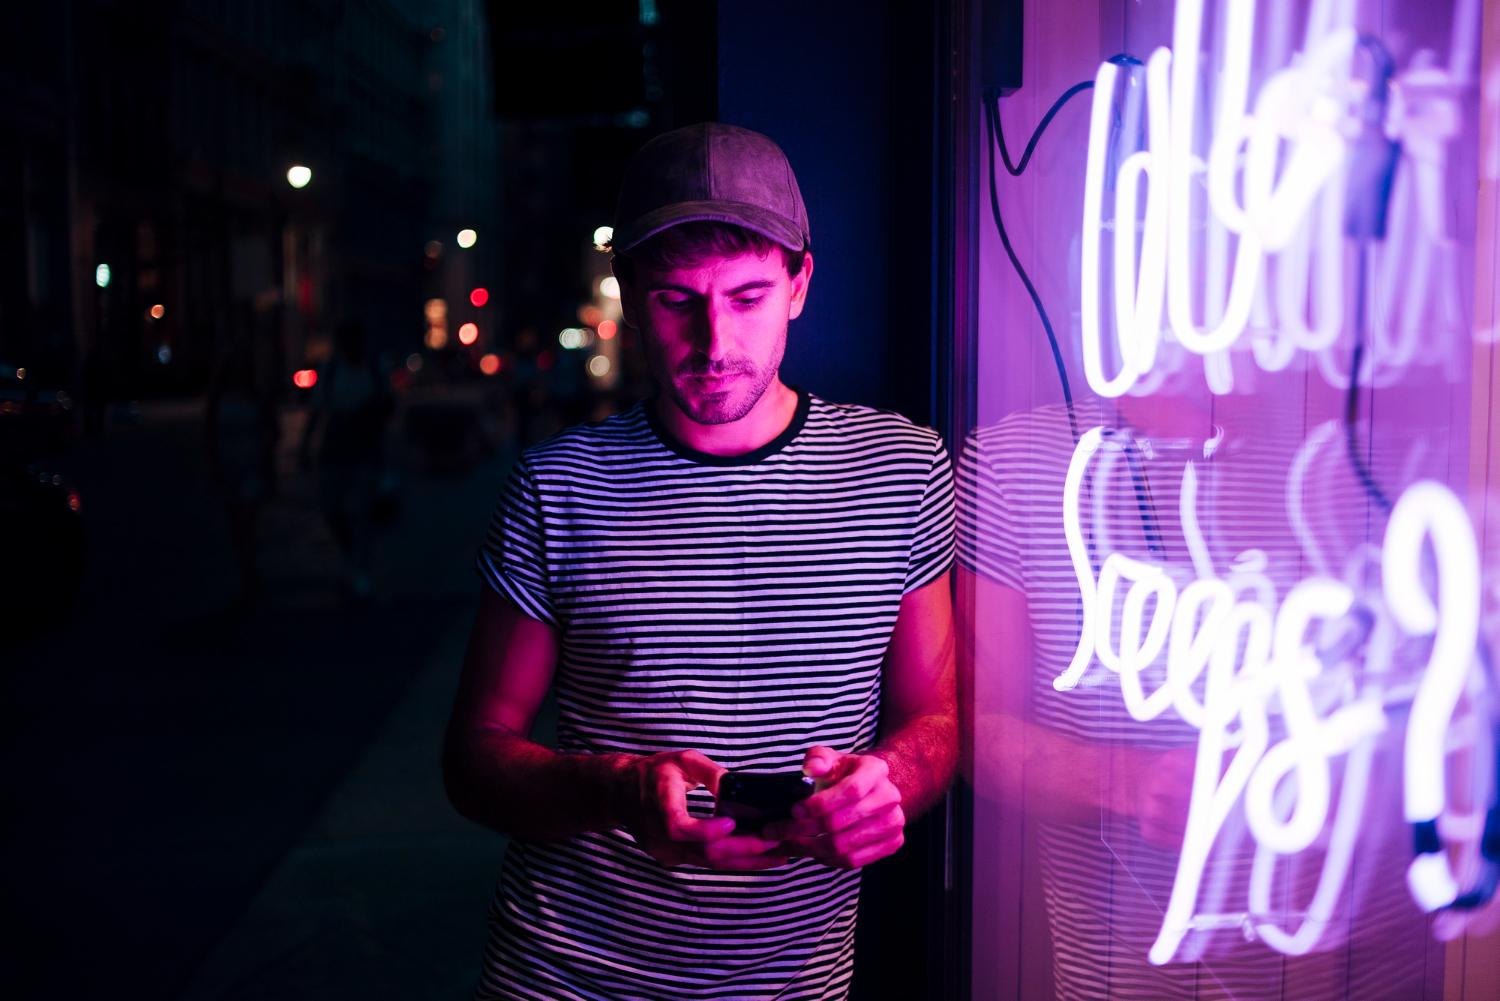
Neon signs are one of the most rewarding subjects in night photography. They are bright, colourful and full of character, and they turn an ordinary street into something that looks like a film set. They are also tricky. Point a camera at one carelessly and you get a blown-out smear of colour with no detail and a black void around it.
The good news is that the camera most people carry every day is now very capable at night. With a few settings and a bit of patience, a phone can capture neon that looks as vivid in the photo as it did on the street.
Why the Phone Became the Night Camera
Ten years ago, serious night shots meant a tripod, a large sensor and a long exposure. Phones changed that by doing something clever. Instead of taking one picture, a modern night mode captures a burst of frames and merges them, keeping the bright parts from blowing out while lifting detail out of the shadows.
That shift is part of a bigger story. The phone in your pocket now handles almost everything we once did on separate devices. It is the camera, the editing suite, the photo album and, for many people, the main screen for news, music, banking and entertainment. Plenty of photographers shoot a scene, edit it and post it without touching a computer at all.
Entertainment brands have redesigned around that same small screen. The Mr Q phone casino, for example, is built for UK players aged 18 and over to use in a mobile browser, with games that open full screen and live tables that stream in HD. When a single device handles that much, the quality of its display and processing matters more than ever, and it is the same hardware that makes phone night photography so good.
Settings That Tame Bright Signs
Neon is bright against a dark scene, which confuses automatic exposure. The phone tries to brighten the dark areas and overexposes the sign. The fix is simple: tap on the sign to set focus, then slide the exposure control down until the tubes show clear edges and colour instead of a white glow.
Most phones let you lock this setting by pressing and holding on the screen. Once locked, you can recompose without the camera changing its mind. If your phone offers a Pro or manual mode, try a lower ISO for cleaner files and adjust shutter speed so the sign stays sharp.
Night mode is worth testing, but not always. On some phones it lifts the shadows so much that the scene loses its mood. Shoot the same frame with night mode on and off, then compare them later.
Using Reflections and Rain
Wet nights are a gift for neon photography. Puddles, rain-soaked pavements and shop windows all pick up the colours of the signs and double their impact. Get low, close to the ground, and angle the phone so the reflection fills the bottom of the frame.
Glass and chrome work too. A sign reflected in a car door or a café window adds layers to the picture and helps tell the story of the street. Move around slowly and watch the screen, since a step to the left can change the reflection completely.
Where to Find Good Neon in the UK
Britain has some great neon if you know where to look. London’s Soho and Chinatown are packed with signs, and Blackpool’s seafront brings a different kind of glow when the illuminations are running. Many cities also have bars, theatres and amusement arcades with classic lettering. Casino and theatre districts in particular tend to keep the bold, lit-up signage that photographs so well, and a short walk along any busy evening street will usually turn up something worth framing.
For ideas, look at how professional photographers have treated the city at night. The Photographers’ Gallery in London runs exhibitions and talks across many kinds of photography, and seeing how other photographers handle light and colour can sharpen your own eye before you head out.
Wherever you shoot, be respectful of people and property. Ask before photographing someone up close, and avoid blocking doorways or pavements while you set up.
Editing Neon on the Phone
A light touch is best when editing neon. Start with the highlights slider, pulling it down to recover detail in the brightest tubes. Then adjust the white balance. Many phones warm up night scenes, which can turn crisp pinks and blues muddy. Cooling the image slightly often brings the colours back.
Saturation needs care. Neon is already intense, so pushing saturation too far makes the colours bleed into each other. Try vibrance instead, which boosts the quieter tones without overcooking the strongest ones. A little extra contrast can also deepen the blacks so the signs stand out.
Here are a few final edits that tend to help:
- Straighten verticals so buildings do not lean
- Crop out distracting light sources at the edges
- Add a gentle vignette to draw the eye to the sign
Building a Night Photography Habit
The best neon shots usually come from repeat visits. A sign that looks flat on a dry Tuesday can glow beautifully on a misty Friday. Keep a note of good locations on your phone and return when the weather or the light changes.
Try shooting at blue hour too, the short window after sunset when the sky still has some colour. The sign and the sky balance each other, and the picture gains depth without losing the drama. Before long, you will start seeing the city as a series of lit frames waiting to be captured.