
When the sun goes down, the night sky transforms into a canvas waiting to be captured by photographers everywhere. But taking photos at night can be a delicate balance of settings, exposure, and aperture.
In this blog post, we'll be discussing every aspect and element that goes into successfully using aperture for night photography – from what it actually means to how to adjust its settings for optimal results.
So get ready to take your shots up a notch by learning everything about using aperture for night photography!
Understanding Aperture in Night Photography
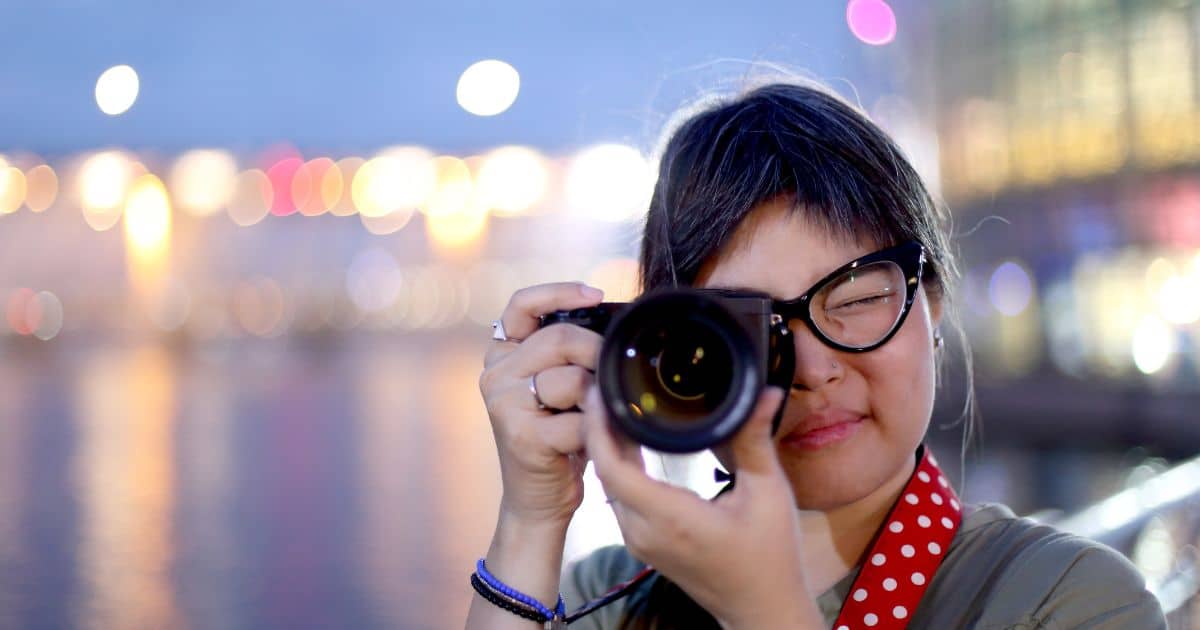
For us, photography is a remarkable art that demands a delicate equilibrium between technical proficiency and a keen eye for beauty. The fascinating world of photography encompasses several essential components, and among them, aperture holds a special place.
Put simply, aperture represents the opening in the lens that controls the amount of light that enters our cameras.
Understanding how to manipulate aperture can help you take stunning photos that capture the essence of the moment. By playing with the aperture for night photography, you can create a dreamy background blur that isolates the subject or a sharp focus that captures every detail.
Aperture and the Rule of Thirds
The rule of thirds splits the image into thirds both horizontally and vertically, resulting in nine equally sized boxes. Placing the subject on one of the intersection points can create a more visually pleasing image.
By using a wider aperture, you can isolate the subject and create a shallow depth of field that draws the viewer's attention. The blurred background adds an atmospheric element to your shot and gives context to your subject.
What Is the Ideal Aperture for Night Photography?

When it comes to capturing stunning night photography, choosing the right aperture can make all the difference. Many photographers swear by using f/2.8 or f/4 as the optimal aperture for these kinds of shots.
The reason? This aperture for night photography allows just enough light to enter the lens to capture the ambient light of the night sky without overexposing the shot.
Although wider apertures like f/1.4 might seem like a good idea, they actually end up sacrificing sharpness and depth of field. Instead, f/2.8 or f/4 are the sweet spots where your lens will capture the most light without compromising on detail.
Other Camera Settings for Night Photography
Apart from adjusting your aperture for night photography, there are other camera settings that you can tweak to get the perfect night images. Let's dive in and explore these settings for optimal night photography results.
Manual Focus
Imagine being able to capture the beauty of a city skyline or a starry night sky exactly as you see it in your mind's eye. With manual mode, it's possible. You're not limited to pre-set settings or automatic adjustments. Instead, you have the freedom to adjust your shutter speed, ISO, and aperture to create the ideal shot.
Slower Shutter Speeds
Using slow shutter speeds, between 30-60 seconds, can create a mesmerizing effect in your pictures. The extended time frame allows the camera to capture more of the faint light and intricate details that we may not notice with our naked eye.
ISO Setting
The key to bringing out the full vibrancy of the scene is by using a high ISO setting – 1600 and up. This ISO setting allows for greater sensitivity to light, allowing you to capture more detail without compromising on shutter speed.
White Balance
By setting your white balance to auto, your camera will do all the hard work for you, adjusting the color temperature to match the ambient light in real-time. This means the mysterious purples and deep blues of a starry night will be perfectly preserved, without any unwanted yellow or green tints that could otherwise spoil the shot.
Shoot RAW
RAW images capture all the data from your camera's sensor, giving you more flexibility in post-processing. Shooting RAW allows you to adjust exposure, brightness, and color balance without losing any image quality. You can also better control noise reduction during the editing process.
Tips for Taking Perfect Pictures at Night
Whether you're an amateur or a professional photographer, taking pictures at night can be a challenge. Follow these tips to take stunning night photos in no time:
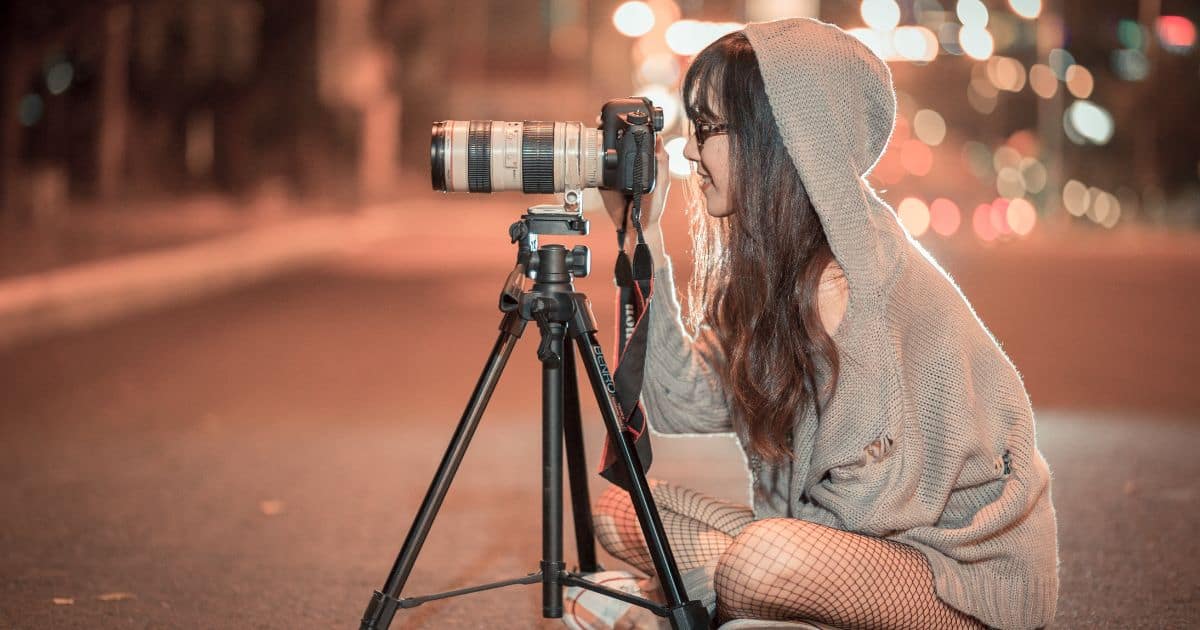
- When shooting in low-light conditions, any movement of the camera can result in a blurry image. If you invest in a sturdy tripod, it helps stabilize the camera and allows you to take longer exposures without any shake.
- A common mistake people make when shooting at night is overexposure, which can cause images to be washed out and lose detail. Take test shots and adjust your camera settings accordingly to reach the desired exposure.
- In post-production, experiment with color correction and contrast adjustment to bring out the details in your photos. Adobe Lightroom and Photoshop are great tools for post-production work, and can help you achieve your desired effect.
- Don’t be afraid to experiment! Play with different angles, shutter speeds, and lighting to create unique and captivating images. The beauty of photography is that it’s an art form, and experimentation is key to creating something truly remarkable.
Bottom Line
Night photography has incredible potential to capture breathtaking scenes under a blanket of stars. But without the right equipment or techniques, your shots can turn out dark or blurry. Dark environments can be tricky, but the correct aperture can make all the difference.
Choosing the best aperture for night photography is just one piece of the puzzle when it comes to crafting breathtaking shots, but it's a crucial foundation that shouldn't be overlooked. So next time you're heading out to capture the perfect night scene, try shooting at f/2.8 or f/4 and see what stunning images you can create!