
Capturing the perfect picture can be challenging – especially when taking complex shots like travel blogs or influencer content. Luckily, with a tripod, you can stabilize your camera and employ various photography techniques to produce clearer, sharper images.
Whether you're a professional photographer or an amateur, knowing how to put a camera on a tripod is an essential skill to master. This step-by-step guide will take you through the process of placing a camera on a tripod, ensuring you get stable and leveled shots every time.
Step-by-Step Guide: How to Put a Camera on a Tripod
Follow these steps to learn how to put a camera on a tripod:
Step 1: Choose the Right Location
Search for a level, sturdy surface, avoiding uneven ground or slopes. Ensure that the location offers ample space to move around freely, giving you more flexibility and allowing you to capture clearer, sharper images or videos.
Step 2: Prepare Your Camera
Attach the necessary lenses, filters, or accessories to your camera before mounting it on the tripod. Check that the camera is turned off and the lens cap is removed.
Step 3: Set Up Your Tripod
To set up your tripod, extend the legs and adjust them to your desired height. Tripods often come with adjustable legs, allowing you to set them up at various angles and lengths. To prevent wobbling or shaking, ensure the tripod is stable and secure by tightening the leg locks. Make sure your tripod is compatible with your camera before attaching it.
Step 4: Install the Camera Plate
The camera plate, a rectangular or circular metal piece attached to the bottom of your camera, connects your camera to the tripod head. To install the plate, unscrew the mounting screw from the tripod head and attach the camera plate by screwing it.
Step 5: Level the Tripod
Use the built-in or external bubble level to check the tripod's level. Adjust the legs of the tripod accordingly to ensure the bubble is centered within the indicator's lines. Proper leveling prevents your camera from tilting to one side, making clearer and sharper images.
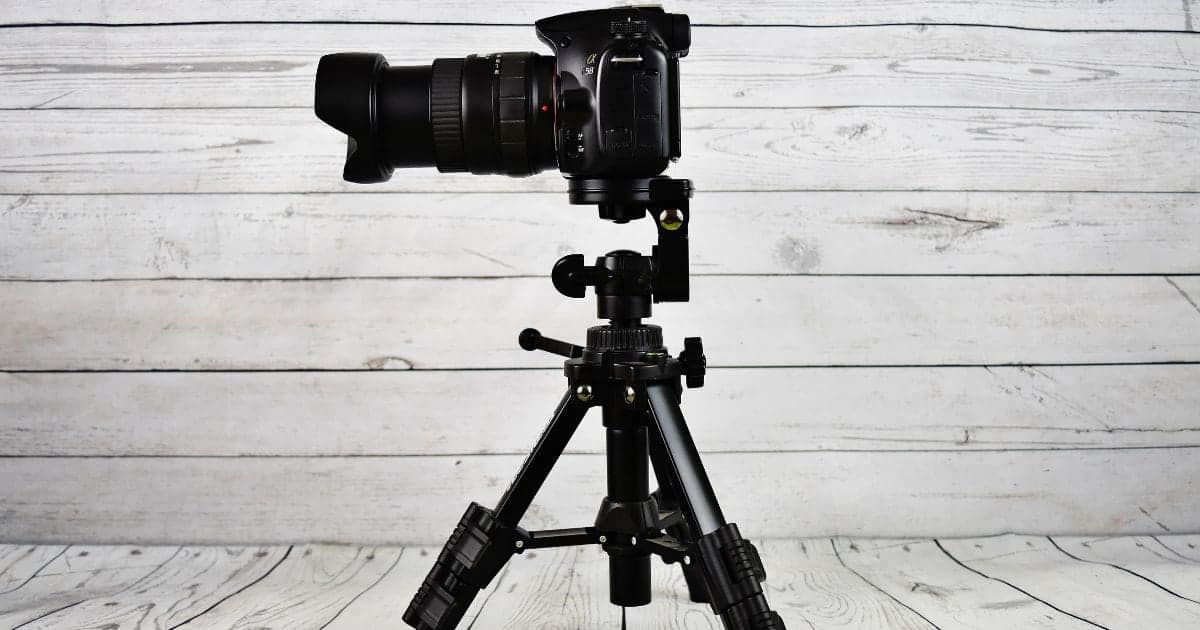
Step 6: Mount Your Camera
This is the most important step in learning how to put a camera on a tripod. Once the tripod is level, mount your camera on the tripod head using the camera plate. Ensure the camera is securely attached to the tripod head and the plate is locked.
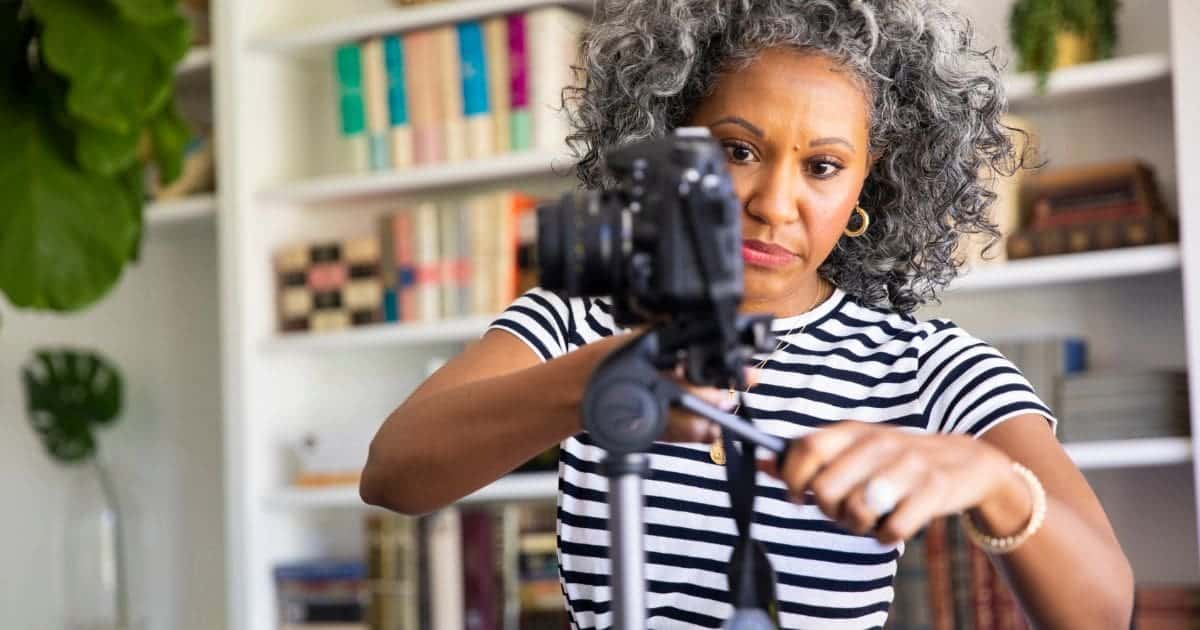
Step 7: Adjust the Camera
Adjust the camera's position on the tripod head to the desired angle by tilting the head up or down or panning it left or right.
Step 8: Capture Your Image
After positioning the camera on the tripod, you can take pictures or record videos. Use the camera's self-timer or a remote shutter release to avoid camera shaking when taking pictures. Take test shots to ensure your camera is properly positioned and your exposure shots are level and steady.
Common Mistakes When Putting a Camera on a Tripod and How to Avoid Them
Here are some common mistakes that are made when placing a camera on a tripod and how to avoid them:
Choosing the Wrong Camera Plate
Using an incompatible camera plate is a common mistake while mounting a camera on a tripod. When properly learning how to put a camera on a tripod, verify that the plate you're using is specifically designed to fit your specific tripod. Most manufacturers have their connection systems, so ensure the plate you’re using matches your tripod's model to avoid errors.
Attaching the Camera Directly to the Legs
To have more freedom and flexibility when positioning your camera on a tripod, investing in a tripod head can be a game-changer. While some tripods come with the head already attached, many professional-grade tripods have the legs and head sold separately.
Using a tripod head will allow you to pan, tilt, and adjust the camera's position easily, making it ideal for capturing complex shots, night shots, or paranormal shots. Obtaining the perfect angle is key to getting the sharpest and clearest images.
Not Pointing Camera in the Right Direction
If you're having difficulty positioning the camera in the desired direction, try the following troubleshooting tips:
- Loosen the tripod head and adjust the angle and tilt of the camera to the desired position.
- Use a spirit level to make sure that the camera is level.
- If it's still not pointing in the right direction, try adjusting the tripod legs to move the camera to the desired location.
Not Securing the Camera to the Tripod
If the camera is not securely attached to the tripod, it may move or wobble resulting in blurry photos. To avoid this issue, try the following:
- Ensure the camera is properly attached to the tripod head and the plate is securely locked.
- Use a tripod head with a quick-release system to easily and securely attach and detach the camera from the tripod.
- Check that the camera's weight and any additional accessories are within the weight limit of the tripod.
FAQ
How do I check if the tripod is level?
Look for a built-in bubble level to check if your tripod is level, usually located on the top of the base section. The bubble inside the level will indicate whether the tripod is perpendicular to the ground.
Can any type of camera be mounted on a tripod?
Most cameras can be mounted on a tripod because tripods usually have a standard screw thread that fits most cameras. Before using, check that your camera is compatible with the tripod mount. Some smaller cameras may not require a tripod, while larger cameras may need a heavy-duty tripod to support their weight.
How do I adjust the legs of my tripod?
To adjust the legs of your tripod, start by releasing the tensioners on the legs. Extend the legs to the desired height and angle and make sure they are securely locked in place by tightening the leg locks. You can also adjust the angle of the legs to stabilize the tripod on uneven ground.
Final Thoughts
Using a tripod is an effective way to improve the quality of your photography. It allows you to capture the sharpest images and the smoothest video footage, even when shooting in low-light conditions or taking complex shots.
We hope our step-by-step guide has been helpful to explain how to put a camera on a tripod. Following these simple steps and avoiding the above-mentioned mistakes can help you set up your tripod quickly and correctly, ensuring your camera is secure, level, and ready to take that perfect shot.