
When you’re getting into subject like photography, it’s hard to keep track of all of the technical terms. I have already written this article to explain some popular terms and concepts. To read part one, go here: Photography Lingo Explained, Part 1
For your convenience, I have, once again, put all of the terms in bold. If the word has an asterisk by it (*), then it means that I covered that term in part one.
Primes and Zooms
When I first got into photography, I had no clue why I would ever buy anything but a zoom lens. I was only concerned about having lenses that would cover a range of focal lengths with the fewest number of lenses possible. So my goal, at that point, was to use my kit lens (18-55mm) and to add a 55-200mm or 70-300mm lens to my bag. I eventually got a Tamron 70-300mm lens because it was affordable, but I still had some problems. Indoors, the aperture* of both of my lenses was pretty small, which means they didn’t let very much light through to the sensor. The answer, then, would have been to either increase my ISO* or decrease my shutter speed*. I wasn’t shooting in manual mode yet, so my camera decided for me. If it chose to boost my ISO, the images would turn out super noisy*. If it chose to reduce my shutter speed, then the pictures would likely be blurry because to freeze motion, you have to have a reasonably high shutter speed.
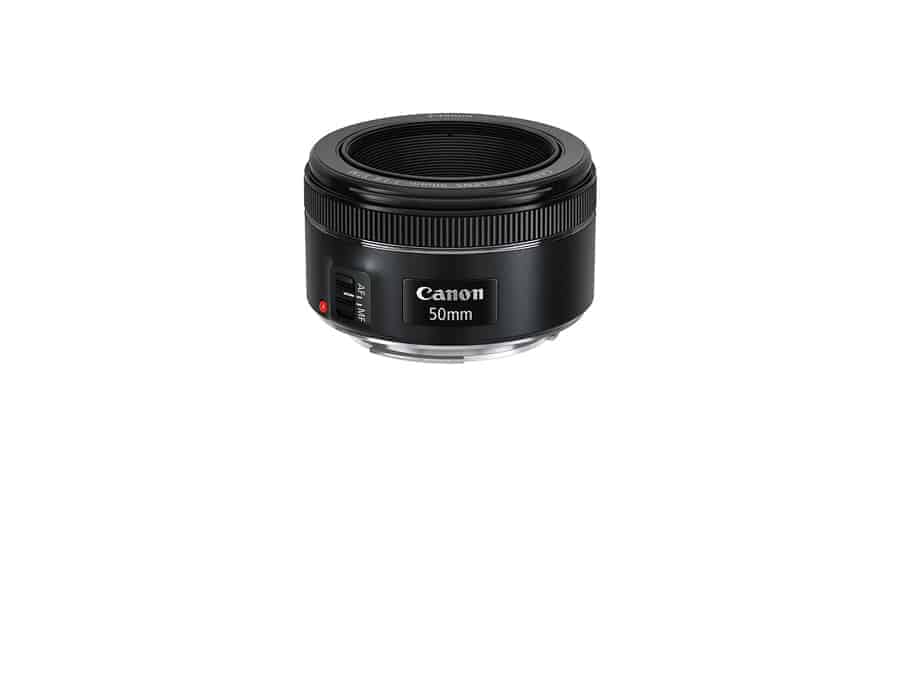
I discovered two things that solved this problem: a flash or a prime lens. I didn’t know of any good flashes at affordable prices at that point, so I tried all sorts of things to modify my pop-up flash. (These days, you can get a Yongnuo 560 IV for $70) These crazy experiments didn’t work out that well, so I took the popular recommendation and got a 50mm 1.8 lens. When I got it, the first thing I noticed was that it didn’t zoom…IT DOESN’T ZOOM??? My mind was temporarily boggled. Why would anyone in their right mind want a lens that doesn’t zoom? I read up on it and found out that there are many reasons that an individual might choose a prime lens. First of all, the 50mm 1.8 that I got was very inexpensive. It was only ~$125. Although, at that point in my life, even that was a lot of money. Second, I quickly noticed that the area of my pictures that were out of focus (bokeh*) when I was using wider apertures was far more blurry than with my kit lens. I always associated that effect with the look of “professional” photography. Third, when I went indoors with my camera, I noticed that my low light problems were less pronounced. When taking indoor pictures with wide apertures, you often don’t need a flash, although it’s often handy or preferable in certain situations. Fourth, I noticed that my pictures were a bit sharper (when they were in focus). The Fifth thing I noticed was that it was quite lightweight and small. Later on in my ‘photography journey’, after buying several prime lenses, I was curious about how much it would cost to get a zoom lens with a wide aperture with the sharpness of a prime. The widest aperture in a zoom lens, at that time, was 2.8. That’s almost two stops* less light than you’d get with most prime lenses.
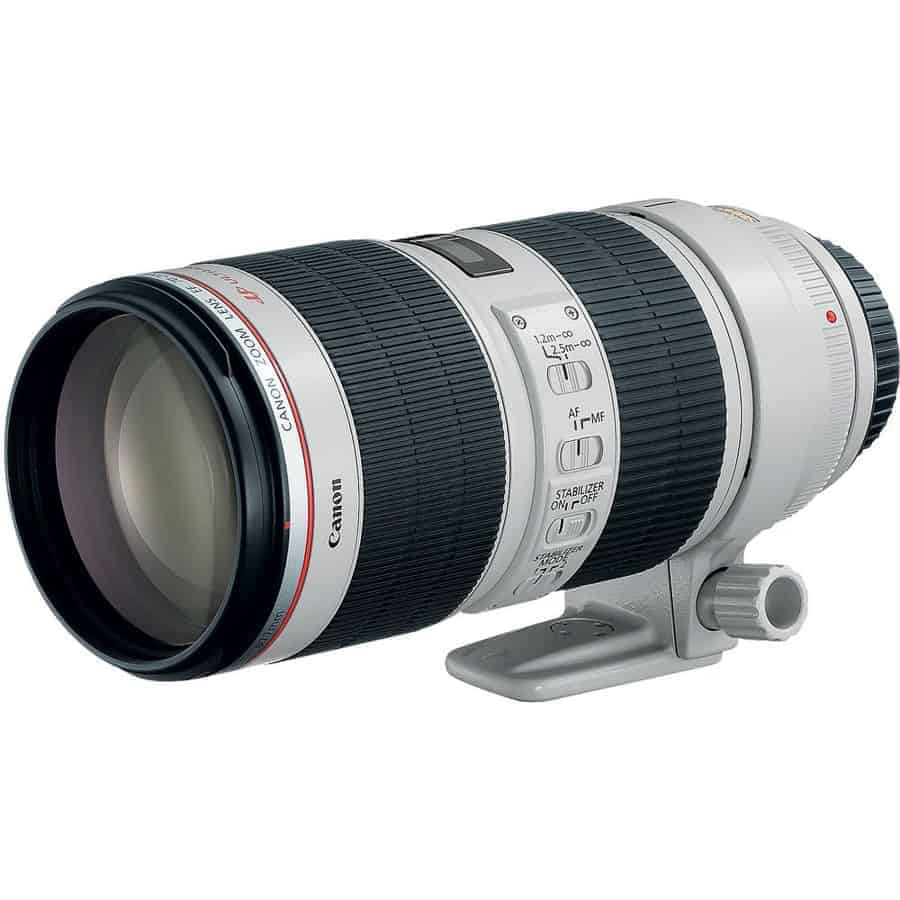
That means that if you compensated by slowing your shutter speed from, let’s say, 1/200, you’d have to lower it to around 1/50 of a second. 1/50 of a second is usually not good enough to freeze any kind of action and will usually also result in ‘camera shake’ when you hand-hold it. As you would imagine, camera shake is when you accidentally move the camera while taking a picture and cause blurry images. This is sometimes due to poor technique, but most of the time is simply the result of a slow shutter speed. My other problem was the price. To buy a quality zoom with a constant aperture (one that doesn’t change as you zoom in and out), It would cost me at least $1000 for a used one. Not to mention the newest versions of the lenses that would cost close to $2000 each (24-70mm 2.8 v II and 70-200mm IS v II). What would I get by buying the zooms anyway? After renting them, I realized that not only are the newest versions superbly sharp, but when you’re in the moment at a wedding or event, being able to zoom is extremely helpful; almost crucial. But, because of price, I stuck with primes. I feel like, at weddings, I need that extra low light capability, anyway.
Sensor Sizes
This is a common issue I find myself explaining quite often. When I got into photography, I didn’t really know that all sorts of cameras had different film sizes or sensor sizes, so it was quite confusing. The two most common terms you’ll hear when buying a camera from Canon, Nikon, Sony, Pentax, etc., are full frame and crop sensor. Full frame sensors are the size of 35mm film that was widely used by professionals and hobbyists for a long time. Since there were so many people using cameras and lenses in that size, it was an easier transition to digital since everything was about the same size. For some reason, they also produced some smaller sensors based on a type of film called APS (Advanced Photo System) that was released around 1996. There are three different types of APS film: APS-C, APS-H, and APS-P. The APS-C sensors are now what we call ‘crop sensors’. You can ignore APS-P because, as far as I know, it’s not in use anymore. The APS-H sensor size, used in Canon's 1D line of sports cameras up until the 1D Mark IV, had a 1.3x crop factor (read below). Most of the less expensive cameras contain the APS-C sensors. For those of you that are using Nikon, “FX” cameras are full frame and “DX” are crop sensor cameras.
To explain further, we’ll have to talk about crop factor. Crop factor is based on the full frame, 35mm sensor. Because many people were used to using lenses designed for 35mm film cameras, crop factor was used to describe what a given focal length (or lens) would be like on a crop sensor camera. Crop factor is a number you multiply your focal length by to get your effective focal length. For example, when I use a 50mm lens on my full frame camera, it’s 50mm. That might seem obvious, but if you’re using a crop sensor camera, you’ll have to multiply by your crop factor to know how that certain lens will look on your camera. When I use that same lens on a crop sensor camera, I have to multiply the 50mm by either 1.5x (For Nikon, etc it would equal 75mm) or 1.6x (For Canon, it would equal 80mm). This means, in terms of field of view (essentially, how much you can see through the viewfinder with a certain lens), it lets you see a smaller amount. In other words, it looks more ‘zoomed in’ on a crop sensor camera. This can affect the way you take a picture or where you can use certain lenses. For example, when I tried to use my 50mm 1.8 lens on a crop sensor camera while indoors, with an effective focal length of 75mm, it was difficult to use because it was so ‘long' or ‘zoomed in'. It was hard to fit my subject into the frame. Later, Nikon introduced the 35mm 1.8 that was made for crop sensor cameras. If I was going to buy a lens today for that camera, I'd go with the 35mm lens.
Another sensor size you have likely heard of is micro 4/3 (a.k.a. micro four-thirds, m4/3, or MFT). It has a crop factor of 2x, which makes effective focal length easy to calculate. It was created, according to Wikipedia, in 2008 by Olympus and Panasonic with compact mirrorless cameras in mind. Mirrorless cameras, as the name implies, do not have mirror assemblies. Most cameras in the recent past have had Mirrors that flip up, in sync with the shutter, when the picture is taken. The purpose of the mirror is to let you see through the lens while taking a picture. Today’s mirrorless cameras, instead, have an EVF: an Electronic Viewfinder. Essentially, an EVF is a tiny view screen that you see when you look through the viewfinder instead of seeing through the lens optically. This gives you the advantage of seeing what the picture will look like, with your current settings, before you take a picture. A clear advantage to micro 4/3 cameras is their size and weight. The camera body is already light, but the lenses are also smaller and lighter. I’ve been tempted many times to buy a micro 4/3 camera or switch altogether.
A less common, but still very relevant, sensor size is medium format.
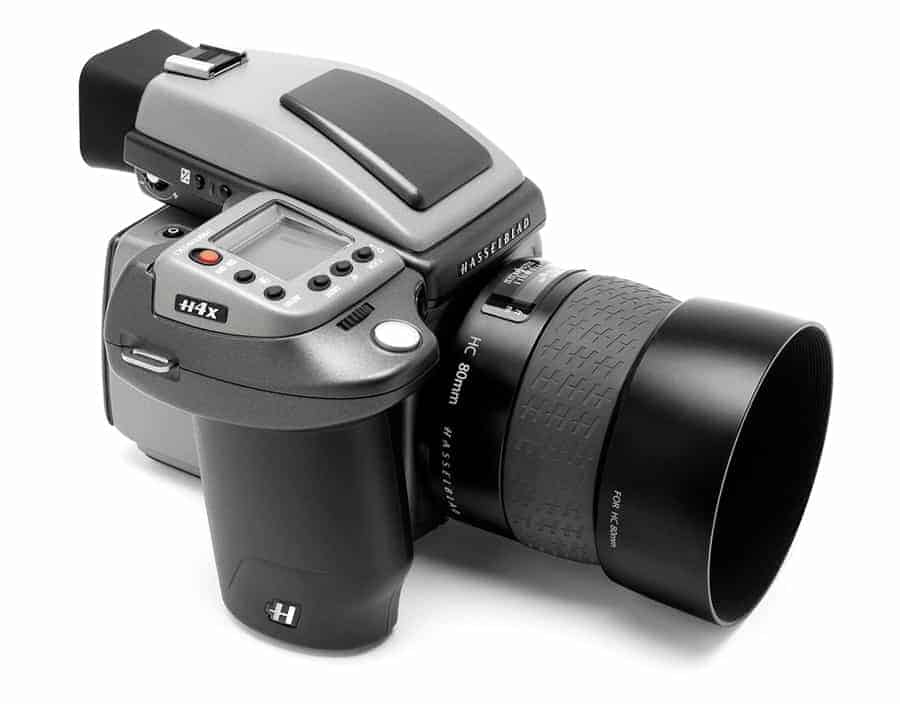
This can be a confusing term because we usually have discussions about the aforementioned sensor sizes. From that perspective, one would guess that medium format would be smaller than full frame, but it’s actually bigger. Medium format cameras are quite popular with people that need the utmost quality, especially in the studio. The cameras are usually very high resolution and have the ‘medium format look’ that you’ll hear people talk about. These cameras are generally very, very expensive, and cost more than my car…and I’m only talking about the camera body. The lenses are extra. Another downside is that they’re generally not as good at high ISO as their full frame counterparts.
There are many other sensor sizes that aren’t discussed as frequently like the ones in smart phone cameras, point-and-shoot cameras, etc. and there are other film sizes as well. Many very old cameras used 4×5 or 8×10 plates of glass covered in silver and gelatin (or some such thing) as their film.
Hot Shoes and Cold Shoes
Shoes? What am I even talking about?

Well, on the top of your camera, there should be an interface, let’s call it, where you put your flash. That is called a hot shoe. It’s just called ‘hot’ because there is electricity running through it. Now it should be evident what a cold shoe is: A place you can mount your flash that does not have any electricity running through it. Basically, you would use a cold shoe when you have a flash that can be triggered wirelessly. Since you don’t need any other way to trigger it, you just need a place to mount it. My favorite cold shoe is one that I chose because it makes me more time efficient. It’s called the Frio cold shoe. It allows you to slip the flash onto it very quickly with no knobs to twist to tighten it down. I have around five of them. One for each of my three light stands and one for each of my boom arms.
Bracketing
Bracketing is pretty simple. It is as simple as taking a picture brighter and a picture darker than your current settings are set to. You can do this manually or you can set up your camera to do it automatically. If I did more landscape photography, I would probably have this feature on permanently. I do, however, use this feature occasionally when I do real estate photography, but other than that, very rarely.
That’s it for part two. Please comment below if there is any term that you think I should include in the next article. Thanks!