
Blurry photos drive me nuts, and I still get them. Last spring I shot a kid on a swing at dusk. On the back of the camera it looked fine. On my monitor his face was mush. I’d love to say I knew the cause right away, but it took me a while. Once you know what to look for, most blur is easier to sort out than it seems, and a tool to fix blurry photos can help with the files you can’t shoot again. It won’t work miracles on every kind of blur, though, so the diagnosis comes first.
Here’s the rule I use now. Before I touch any software, I look at where the softness is. If everything is soft, the sign above the door as much as the person under it, the camera probably moved while the shutter was open. If only one part is soft, I go back and check focus. You can usually tell in a few seconds, and that quick look tells you which fixes are worth trying.
Motion Blur: When Your Hands or the Subject Moved
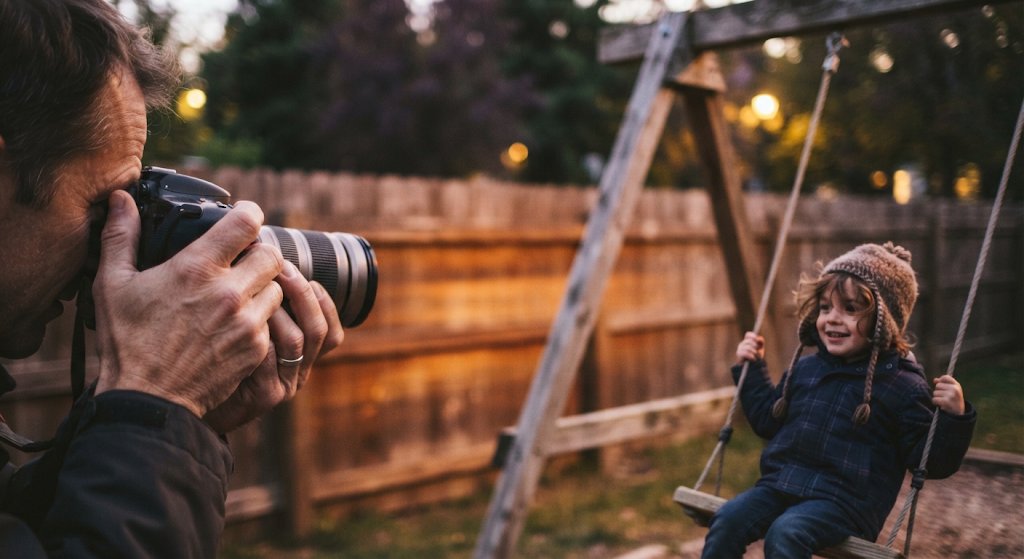
Camera shake is the most common culprit, and it hides in plain sight. Your hands never stay perfectly still. At slow shutter speeds, that tiny wobble turns into a soft picture everywhere in the frame. A handy starting point is to keep the shutter at or above the reciprocal of your focal length. With a 50mm lens that means 1/50 second, and on a crop-sensor body you’ll want a bit faster, because the same lens magnifies the wobble more. Stabilization helps, but it doesn’t rescue a 1/5 second handheld shot. It can smooth out your hands, but it can’t freeze a moving subject.
A Moving Subject Blurs Only One Area
If a runner or a dog comes out smeared while the fence behind them stays crisp, the subject was moving faster than your shutter. Freezing action usually calls for something like 1/1000 second in sports, while a slow walker might be fine at 1/250. Panning is the exception. If you follow a cyclist and keep the background streaking, the blur is intentional, but the rider should stay sharp. When the rider smears too, your panning speed probably didn’t match theirs, or the shutter was slower than you thought.
Missed Focus and Shallow Depth of Field
Where the Focus Actually Landed
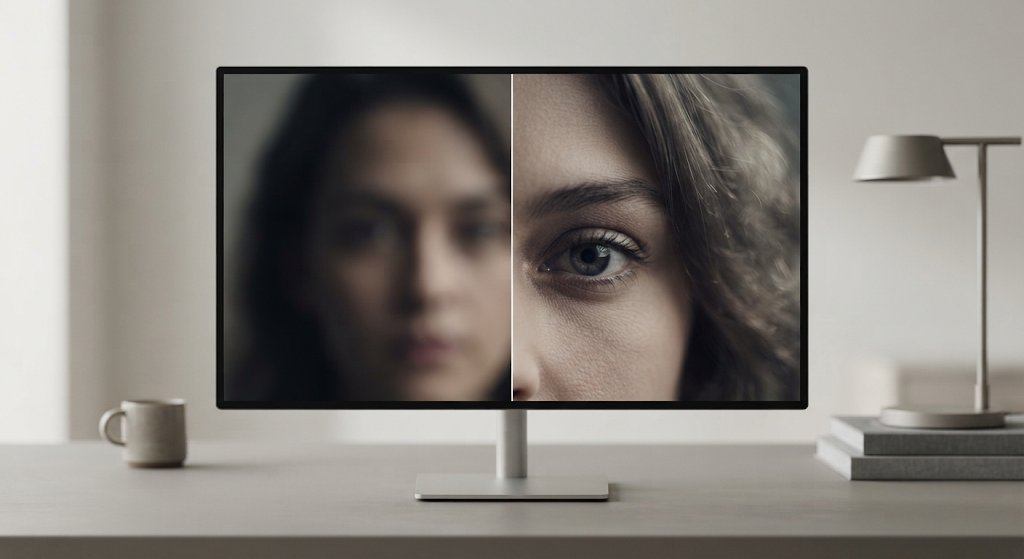
Autofocus is clever, but it doesn’t know what you care about. In a portrait it may grab the hair, a shoulder, or a branch in front of your subject. Switching to a single focus point and placing it right over the nearer eye fixes most of these misses. Zoom to 100 percent before you trust the frame. The little preview on the camera hides small misses, and I have been fooled by it more than once. If the misses keep happening with one lens and never with another, check calibration. A new lens sometimes needs fine-tuning to a particular body, and many cameras offer a microadjustment menu for it. Test on a stationary subject from a tripod so you can tell focus error from movement.
Why Wide Apertures Leave Less Room for Error
At f/1.8 the zone of sharpness can be only a few centimeters deep. Lean forward, or let your subject sway, and you’re out of it. Stopping down to f/2.8 or f/4 gives you room, and you can usually make up the light with a higher ISO or a tripod. Watch the other end too. Many lenses look softer at very small apertures like f/16, because of diffraction, so the sweet spot is usually somewhere in the middle.
High ISO and the Softness It Hides
Raising ISO is a sensible way to keep the shutter fast in dim light. It has a price, though. Noise rises, noise reduction smooths out fine texture, and the picture can look soft even when focus and motion were perfect. On older or entry-level bodies, the trade-off can show up around ISO 1600. Newer sensors usually handle it much better. The only reliable way to know your camera’s limit is to shoot a detailed object at several ISO values and compare them at full size.
What You Can Realistically Fix After the Shot
Mild Softness and Sharpening
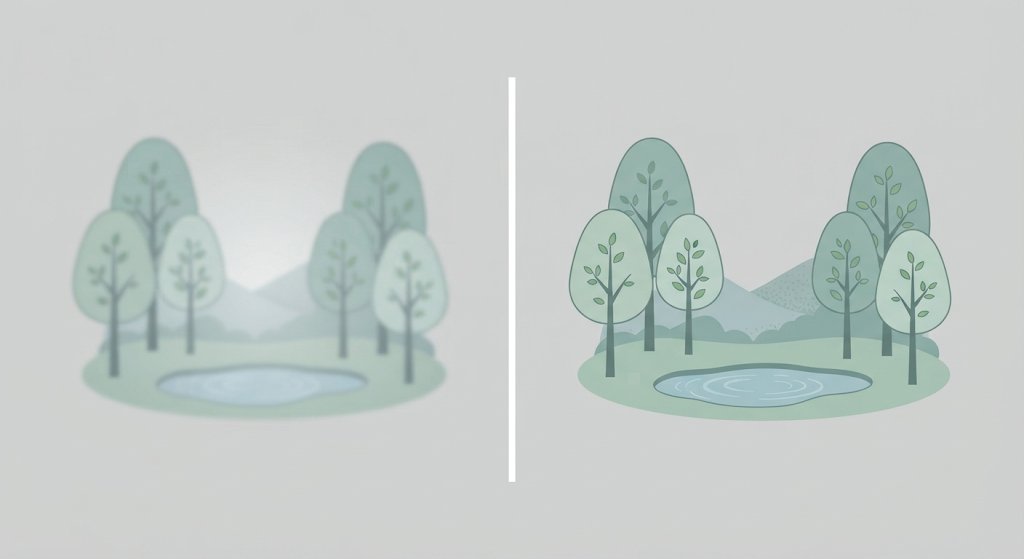
A slightly soft file often responds well to careful sharpening. Work at 100 percent view, use a small radius and a moderate amount, and mask the sharpening so it affects edges rather than skin or sky. Push too far and you get halos and a gritty texture, so stop when the image stops improving rather than when the slider runs out. Photoshop also has a Shake Reduction filter that can help with slight handheld shake, though the results depend heavily on the photo.
What AI Deblurring Can and Cannot Recover
AI deblurring tools work differently from a plain sharpening slider. Instead of only boosting contrast along edges, they estimate what a sharp version of the scene probably looked like and rebuild detail. That can be useful for faces, lettering on signs, and product shots where a little movement smeared the edges. The limits are real, though. Severe motion blur, heavy noise, and missed focus on a tiny subject can produce something that looks crisp at a glance but has invented texture when you zoom in. Keep the original file untouched, compare the result against it at full size, and accept that no tool can restore detail the sensor never recorded.
When to Re-Shoot Instead of Editing
Some photos aren’t worth saving, and it’s better to know that early. If a portrait of someone you can’t photograph again is blurred across the face, editing might make something usable for social media, but rarely for print. Heavily smeared action, a moment that can’t be restaged, and a subject only a few dozen pixels wide usually belong in the redo pile. My test is simple: would this frame be worth keeping if it were perfectly sharp? If the answer is no, editing won’t make it a keeper either. If the answer is yes and you can shoot again, shoot again. On a paid job, I’d take a burst at the new setup before packing up, since a fresh frame almost always beats a rescued one.
Checking Sharpness Before You Leave the Location
Most blur is preventable with a few checks before the shoot. Set a minimum shutter speed if your camera allows it, use a single focus point for portraits, and turn off stabilization when the camera sits on a tripod, because some systems start introducing blur themselves in that setup. Then review the first frame of every new setup at 100 percent. That one check catches most problems while you can still fix them on location, which beats discovering them at your desk three days later. If you end up with a file that’s too small for the print you had in mind, an AI image upscaler can handle the resizing, though it won’t sharpen detail that’s already gone.