

As a new photographer, there’s a lot to learn. Camera controls, composition, lighting, lens selection and more. Try action, sports, or even wildlife photography and while you puzzle over exposure settings the shot is missed. Try portraiture and your subject may become impatient while you’re trying to get the light right or find the right pose. Even new landscape photographers can be frustrated with lighting situations beyond their control or finding a good composition in a scene. So what can you do that will allow you to work at your own pace, have complete control over lighting and composition, and allow for multiple shots while you figure things out? How about making Still Life images?
You no doubt have seen paintings where artists have used a bowl of fruit or vase with flowers as their subject. In the early days of photography when the limitations of film forced long exposures, photographers often found still life subjects a good option.
I looked up a definition of Still Life Photography and found this on Wikipedia –
Still life photography is a genre of photography used for the depiction of inanimate subject matter, typically a small group of objects. It is the application of photography to the still life artistic style. One example is food photography.
So how can making Still Life images help you become a better photographer? Let’s look at 14 ways.
1. Learn Composition
Perhaps one of the best things about Still Life photography is that you are in complete control. You get to choose the subjects for the shot, how and where they will be placed and how they work together to create a composition. As you learn compositional concepts like the Rule of Thirds, the Rule of Odds (that is, where an odd number of objects rather than an even number is more compositionally pleasing), leading lines, repeating patterns, negative space, simplification, choice of background, creation of depth, and all the other artistic concepts, you will be able to position your objects and layout your scene to utilize these. Few other genres of photography give you nearly as much control.

2. Learn more about Lighting
What light sources you choose, whether natural or artificial lighting, is completely up to you. Often classic still life paintings or photos were done with a single natural light source such as a window, but again, that’s your choice. Does your subject benefit from the use of hard or soft light? What light modifiers might you want to use? How many lights might be appropriate? Perhaps you want to use reflectors to bounce in some fill light or “flags” to block light from portions of the subject. Do you want the subject front lit, side lit, back lit, and maybe a combination of those things? What parts of the scene do you want to stand out more? What about the color of the light? Consider how you will control the light to emphasize the places you want to direct the viewer’s eye.
Photographers skilled in food and product photography are masters of lighting. They can take the simplest of subjects and, through carefully thought out lighting, make those subjects a piece of art. The next time you’re viewing an advertisement for a product, think about how it might have been lit. Then as you create your own compositions, see if you can emulate the look. Find a simple item and make it interesting though your use of lighting.

3. See how Camera Position can change the shot
There might be a few situations where you would not want to use a tripod for still life photography, but I can think of many more where you would want the stability of a tripod. So, if you don’t already have a good tripod, taking on still life photography would be a good reason to get one. Beyond simple stability is “repeatability.” Often, as you play with multiple shots of your subject, you will want to move the lights, the objects and try different things, yet not move the camera. You may also want to try long exposures or “light paint” your subject, each requiring a stable, tripod-mounted camera.
Something else to try with still life images is varied camera positions. If you’re used to seeing and photographing the world from eye level, this is the time to mix it up. Try an overhead “birds-eye” view or a ground level “worm’s eye” view. Try angles that cause your viewer to see what may be a common object in a completely new way.
4. Understand how Lens Selection makes a Difference
Still life shots are a great place to play with different lenses. Explore how getting close with a wide angle lens will emphasize the size of the nearest objects, how a telephoto will compress space, or how a lens with a wide aperture will allow you to more easily reduce your depth of field and throw the background out of focus. Experiment with different lenses to see what bokeh effects they may have. See how different lenses when stopped way down, (i.e. f/22 or smaller), create different star patterns using specular highlights.
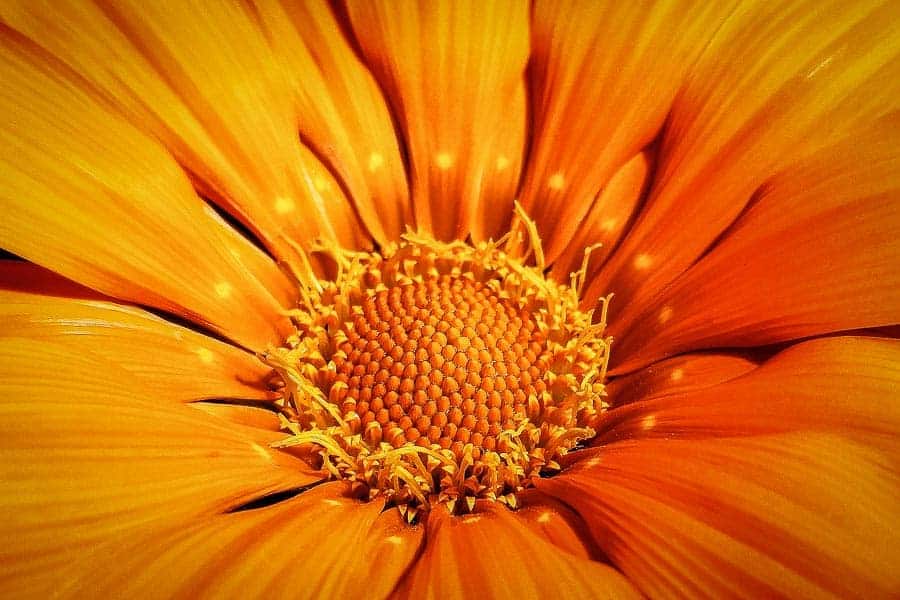
5. Get Ultra Close with Macro Photography
Macro photos can often fall within the category of Still Life. The ability to show objects too tiny for most to normally see opens a whole new world of subjects. As with other kinds of still life photography, macro shots often let you control the lighting, the composition, the camera angle, and other factors. Something that often attracts photographers to still life photography is the slow, quiet, methodical method of making a shot, taking time to really think about what it is you’re trying to depict. Macro photography can take that even further when you do things like taking multiple shots to allow for focus stacking, a technique used to get greater depth of field where one shot could not possibly do so.
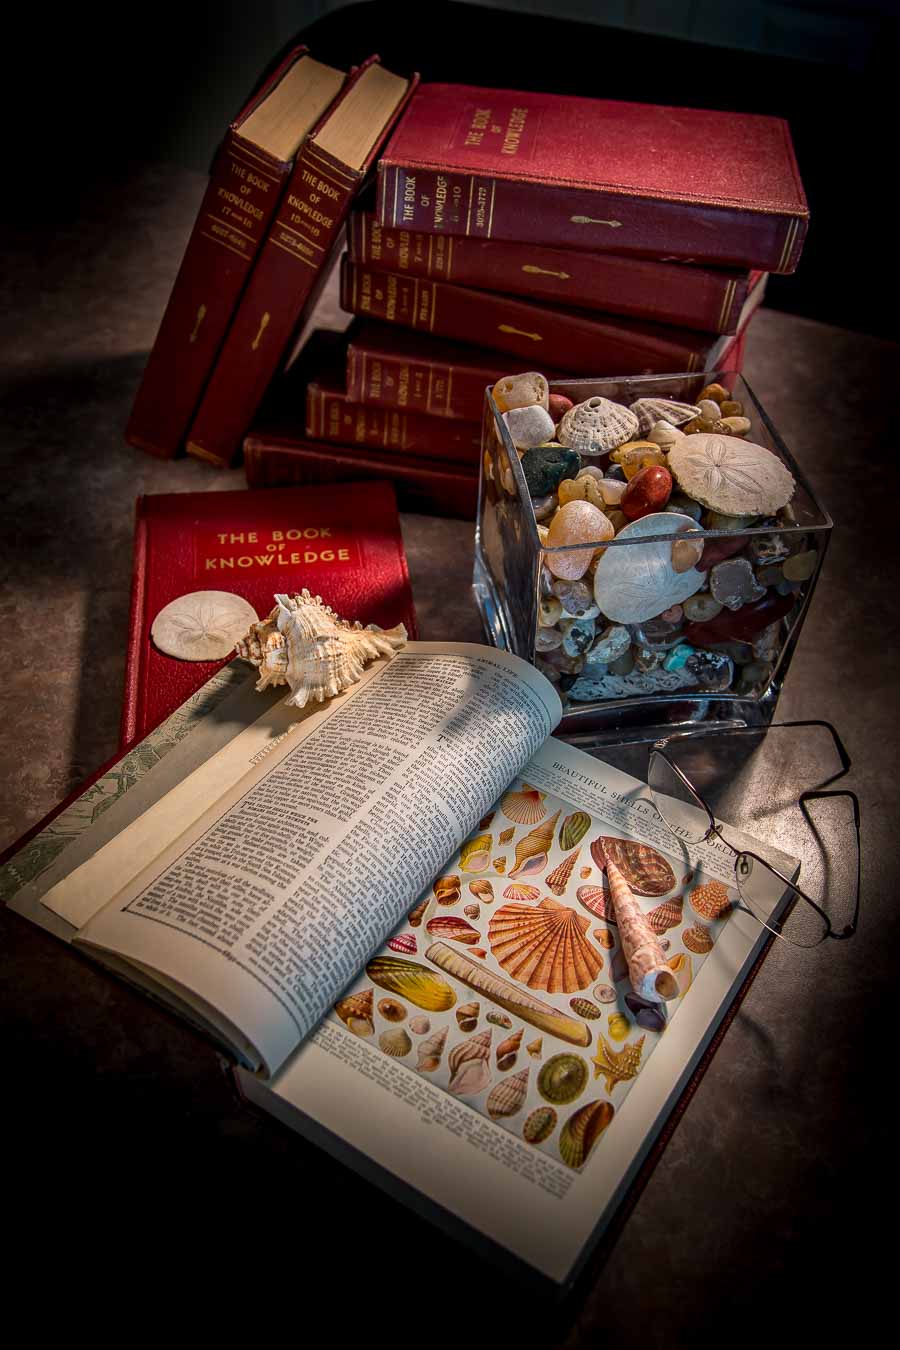
6. Let your Picture Tell a Story
Something that works well when choosing and laying out objects in a still life scene is to think about what story the image might communicate to the viewer. Rather than simply pick random items, see what you can do to use the objects, the placement, the light, the camera angle, and other photographic techniques to cause the viewer to think about the scene and what you’re trying to communicate.

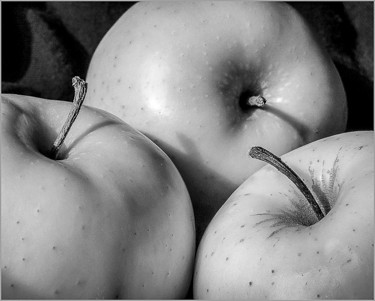
7. To make your picture better, Make it Simpler!
As for all of photography, often the best way to cause the viewer to look at the desired subject in a scene is to eliminate distractions, clutter, and things which detract. Landscape photographers have to find ways to do this in what are sometimes cluttered scenes. They rarely can rearrange their subjects to compose a better shot. As a still life photographer however, you control what to include or take out of a shot. A good rule to remember is “whatever doesn’t add, detracts.” Include objects that reinforce the story but exclude those that don’t. It’s amazing what can often be communicated with the simplest of scenes.

8. Using Reflections Creatively
A technique I sometimes enjoy when making still life photos is to find ways to utilize reflections of the subject in my shots. I have used black plexiglass in some of my still life photography to reflect a mirrored image of the subject. Other reflective objects can work equally as well. You are the artist here. Learn techniques to make your subject more interesting or to show it in in new and inventive ways.

9. Food photography is Still Life too!
Food photography is an entire genre unto itself. Study professionally done images of food and look how the photographer has made it appetizing and interesting. Consider how the food was placed, what other objects were included, how lighting was used, how the background was handled, and what camera angle was used. Give it a try! Maybe grab some cookies and a glass of milk and see if you can make them look delicious. Study the work of skilled food photographers and try to replicate the look. And don’t forget… one benefit of food photography is after the shoot you often can eat your subject!

10. Explore the use of Bokeh
I mentioned Bokeh in the section above about lens selection. If you’re not familiar with the term, bokeh is defined as the “blurred quality or effect seen in the out-of-focus portion of a photograph taken with a narrow depth of field.” Using Bokeh effects in still life photography can be a great way to deal with the background and enhance the story you are trying to tell. Learn how different lenses at wide apertures have different Bokeh qualities and how a blurred background can keep the attention on your main subject.
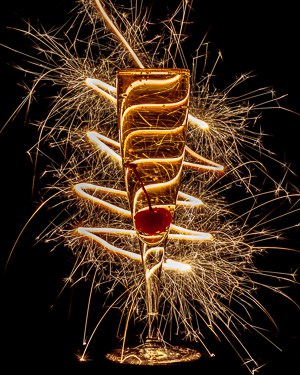
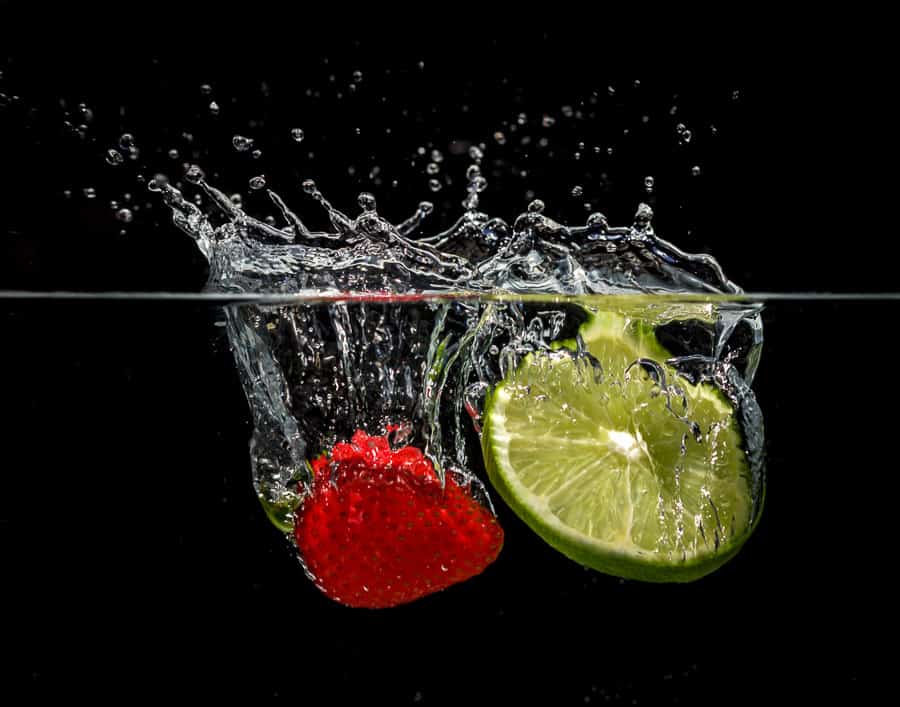
11. Try new techniques
Though we use the term “Still Life” for this genre of photography, there’s no requirement that the all objects in the scene be still. Perhaps you’d like to try effects with smoke, water splashes, flames or sparks, or other effects. When you are in control of the light, making long exposures for creative effect is quite possible as is making extremely short exposures to freeze action not normally seen. Use your imagination, decide what it is you want to depict or what story you want to tell and then figure out what photographic techniques you’ll need to use to realize that vision. A great part of the fun of still life photography is in using your creativity to make shots come alive.
12. Advertising and product shots will test your skills
Skilled product photographers make good money with their ability to make ordinary objects extraordinary. Take a look through a magazine with an eye to how objects are staged, lit, and photographed. See if you can figure out what was done. Here’s an example of how what seems a simple shot can be quite involved using multiple lights and modifiers.

If you don’t have a studio and a collection of professional lights, don’t dismay. You can make some nice shots with very modest gear and learn the techniques along the way.
Something else to consider is making shots for products you might want to sell on Ebay, Craigslist, or other online spots. You will be surprised how a nice photo will attract much more buyer attention than quicky shots made with existing lights and a cellphone. If you plan to do this kind of thing more often, and particularly if you are photographing shiny objects like jewelry, you may want to invest in a simple light tent or make your own. I’ve used a simple collapsible tent like this one with good results.

13. No Travel Required!
If you’ve not seen my previous article, Tips for the Non-Traveling Photographer, I encourage you to give that one a read. The point of the article is that even if you don’t have the time or budget to go photograph those exotic locations, there are still plenty of things to photograph. When doing still life photography, often your photo location is as close as the kitchen table! You’d be surprised at how many of the images in this article as well as many others in my collection were done right there.
14. It’s Like Exercise, but More Fun!
If you want to be more fit, an exercise routine is in order. If you want to be a better pianist, daily practice at the keyboard will help. It’s the same with becoming a better photographer. Getting better is a matter of routinely making photos and learning new techniques. If the only time you pick up your camera is when you go on a special trip, attend an event, or make family photos, you’re probably not getting enough “photographic exercise” to become better.
That’s a great reason for making more still life photos. Grab some interesting items, lay them out in a pleasing composition, decide how to creatively light them, work on your camera techniques, and make some nice shots. Then use your editing skills to polish them. Finally, study the results to learn what worked, perhaps what didn’t, and how you can do better next time. Shoot, review, repeat. Then, similar to exercise, make the next session more challenging. Try new lighting techniques, maybe do some food photography. Keep at it and do it often.
I have twice now done a Project 52, a photo session a week for an entire year. (Click here and check out this article). I have never grown as much as a photographer as I did during those two years. The weekly “photographic exercise” was the key, taking on new photo assignments weekly. Many times, my images were still life shots. I hope some of the readers of this article will decide to perhaps do a project like this with the goal of getting better. If you do, please post a comment below and better yet, a link to where we can see your work. Best of luck!
I will always agree that you need exercise (practice) to become a better photographer. The points you made early on about being in control are, in my mind, the most important. When you have tried / practiced again and again, a process or subject, on your kitchen counter, you take those lessons with you and apply them for the outside world.
Enjoyed the read.
The subjects you choose to write about, Rick, are as imaginative as the photos shown in your articles. It’s my opinion that still life photography is arguably at the top of creative photographic image making. It seems to me the photographer has to start out with a vision. Then they let that vision unfurl. It’s an artistic process that takes the image maker to a higher level of creativity. As you wrote, and Riddle amplified, still life photography and regular practice will fast-track the growth of a photographer in no time, no matter what the subject is.
Thanks Robert. I’m happy to have you as a regular reader of my articles.
Such a fantastic article!! Thank you for sharing. Still just scratching the surface of what there is to learn.
http://theupsidedowntree.com.au
If your camera lack GPS, use this. It’s the perfect solution short of a high-priced Nikon (or whatever) dongle. I had the previous version and since it was OK I didn’t understand the need for a new version. Now that I’ve used it I’m quite pleased with the automated tracking and the seamless encoding of GPS information.
Antony photographer at https://phonty.com/
I would like to say…I loved this article…I love still life photography and this has inspired me more and I have learnt from this as well
The 52 challenge is an awesome idea and is in my plan for my new year…