
If you are new to the world of photography this might be in for a surprise, but one of the hottest new printing styles is on metal. Metal prints are exactly what they sound like, in that your image is printed onto aluminum and is then mounted to some sort of float mount. From that point, your print is 100% ready to go. Due to their durability, archival quality, and convenience, they are quickly becoming the new standard for displaying and selling art.
There are actually two types of metal printing. The first is Sublimation, which is the process I will be talking about, the second is a light table process that uses UV light to harden the ink, but I don't know much more about it than that. The sublimation process is the hottest (pun intended) way to do things due to its quality.
Lets begin!
The Printer
The printer that they use is actually the same printer they use to print all other types of photos. I thought they used some sort of fancy special printer, but that's not so. It still is a professional printer that is massive though. Don't disregard the printer here, the printer probably cost him well over $1,500 dollars (probably closer to $3,000). The special part is the ink that is used for the printing itself. After looking around online I found out there are a few types of inks that are used, but I don't know the difference.
The Paper
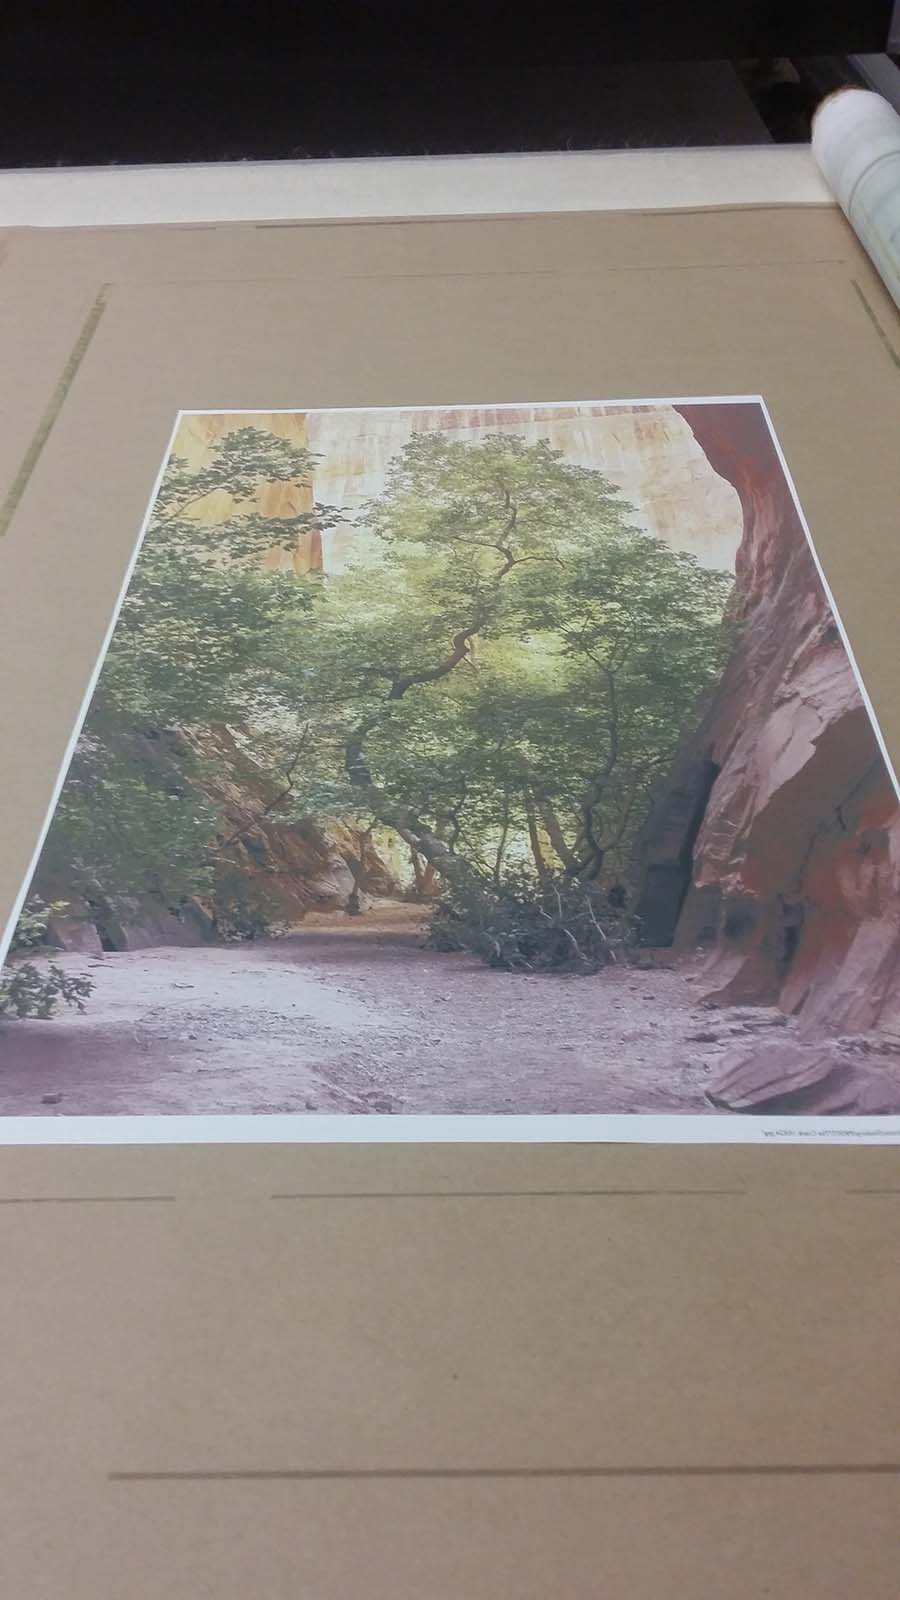
The paper according to my printer is not really used for anything else on earth. Its sole purpose is to be printed on, baked, and transferred onto something else. As I write this I have the very paper that was used to create one of my recent prints in hand. It is a strange paper. It is kind of dense feeling, but it feels like it would be absorbent. The absorbance factor is the important part of this process. When the paper goes through the printer it actually absorbs the ink instead of it being placed on the surface. If you look at your print as it comes out of the printer it looks absolutely terrible. The colors are way off and undersaturated. That is because all the ink is in the paper.
One other fun note about the paper print. The print when it is made is actually in reverse. That is because when it is placed on the metal it is flipped properly.
The Metal
The metal used for the printing is aluminum. I don't know the total reasons, but it probably boils down to weight and strength.
When it comes to the printing process the metal can get coated with a white base, I do believe it is plastic to allow a proper transfer and proper color display. My printer did not describe that detail, but after plunking around on the internet that is what I gathered from other printers. The second method is not to have anything on it but a treated silver side and have the ink transferred onto the metal itself. This method actually looks really cool, but anything that is white in your image will show up as silver and all your colors will be faded as straight silver has a tendency to desaturate the image.
The sizes of the sheets of metal are either pre-cut or my printer uses a fancy cutter to cut it so that the proper dimensions are produced with perfectly smooth edges.
The Heat Press
I get asked all the time if I do the printing. I respond by saying no, the printer that does the metal prints is about the size of my 10×10 booth. In all reality, I think it is bigger. The industrial size heat press has a 96×60 inch press surface (or something close to that, and about 2 feet of additional space on each side for its machinery. The table that the prints are placed on slides out from under the heat plate. When the paper prints are produced, they are aligned on the metal. The prints are actually printed just a bit larger than the metal, causing about 1/8 to 1/4 of an inch of your print to be lost on either side. Tape is then used to secure the print to the metal so that it does not move during the process.

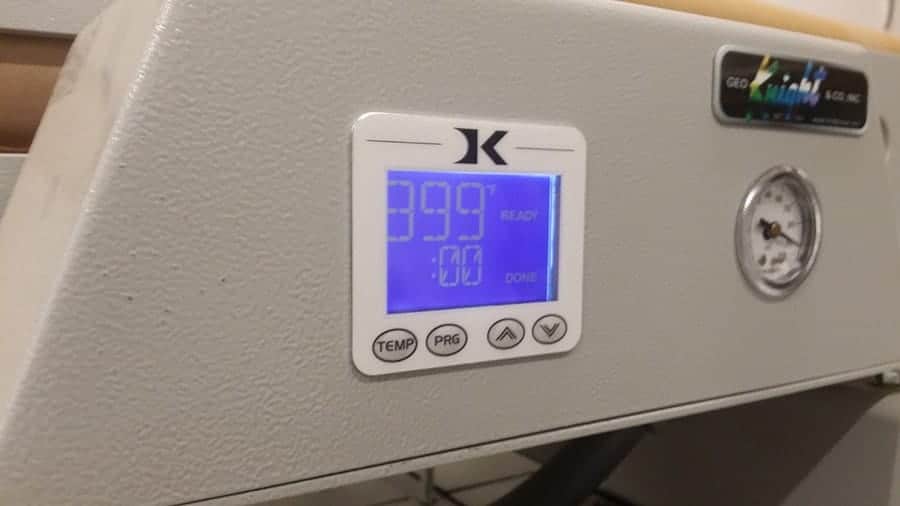
The prints are then covered to prevent any ink to be transferred to the heat plate and then they are moved into position. For the industrial heat press, eight pneumatic jacks simultaneously lift the table where the prints lie up to the heat plate. The heat plate is pre-heated by this point to 395-405 (Fahrenheit) degrees. The transfer process is a bit of an art at and based on ambient humidity the press time varies. If the press is not perfectly flat obvious lines and color gradients are present. If there is any dust on the metal it will also kill the print. Even after all measures are taken prints still come out bad. I had a print go through once and it had a small “smear.” (kind of sucked, but it was still good and I sold it at a discount.)
Fun things to note: Different inks transfer at different times and the longer they are heated, the more they are saturated. Apparently, blacks and reds are transferred first, causing them to be a bit more saturated. This is also the reason that metal prints have a tendency to be a bit warm. If the heat press is on for too long these colors can be “burned” and turn brown in color.
The Science
The process is called heat transfer sublimation. Sublimation is a natural process that happens all the time around us. Water is a good example of it. Sublimation is the process of going from a solid state to a gaseous state. This happens all the time with ice and snow. Have you ever put ice cubes in the freezer and forgot about them for too long and when you looked at them they have shrunk? This is because some of the water molecules were getting kicked off the ice for whatever reason and turning into gas.
Now that your print has heated up it actually does this. The inks begin to sublimate (turn to gas) and then reform on the metal print. This reformation is called deposition. This process only takes about 1 minute and varies for whatever reason.
The End Result
The end result of a metal print is very enjoyable. It has a couple properties that I love and a few that I don't like. The process of the heat transfer actually makes your images a bit warmer. I am not sure how it works on super cold looking images because I have never printed any of those. I can say heavy blue images still look really good. The shortcoming that comes from this process is that it produces a texture in smooth areas. I go to great lengths to make sure my sky is very smooth. This process produces a texture due to water vaporizing out of the surfaces during the transfer. This kills the smoothness of the sky. If I could change it I would, but I can't.
How about sharpness? I did a side by side comparison of a luster print and metal print and they are identical. Can't tell the difference in clarity and sharpness except in the smooth sections. So if you care about smoothness in the sky and water, you might have beef with this process. Your average buyer will not notice anything, but you will.
After the print is pulled out I had my image mounted on a float mount. My printer uses a fine art black wood core mount that has an adhesive “tape” that goes around it to secure the image to the frame. He previously used a hardening glue, but ran into issues where prints would expand and contract due to heat and since the glue was hardened, it did not expand with the fluctuations and the images would come off the frame. 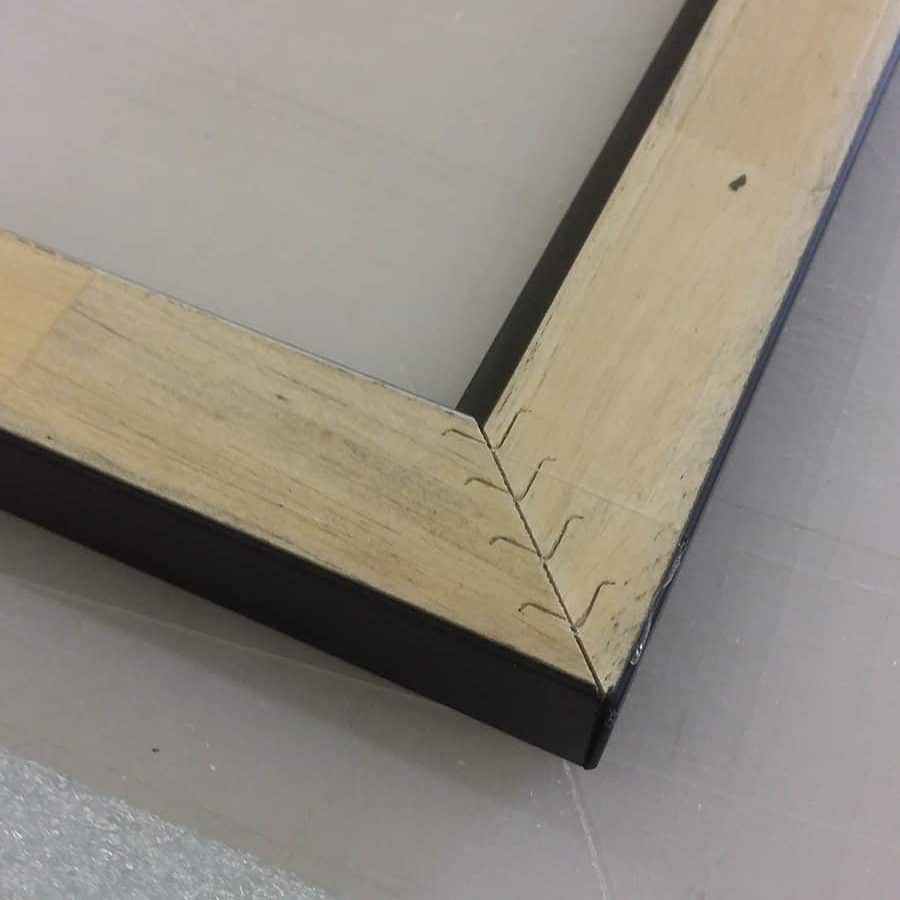 There you go, that's how a metal print is made. Sorry, I don't know all the fancy details of it like he does, but you now know in general. I hope that as you look for mediums to print on, I would seriously consider this as one of your options.
By the way, this is not a paid article for my printer. I like his work and figured I could share his process with all of you. Since it is an industry standard, it would be very similar experience across the board for whomever you choose. If you want to use him as a printer go to his website here: Pure Art Printer.
Hey Nathan! Thanks for sharing this information. Great!
—
My site: dieu tri vo sinh o dau hieu qua
We are in the printing business and want to expand our business. So we are installing 3d printers. Your article looks quite interesting. I used to visit Kodak Customer Service for my printer issues. They fix Us all printer issue. But the told me about the 3rd printer is not much. I am looking forward to more.
This is very bad information. I am a professional photographer in the Miami area and I am fortunate enough to have a metal print lab just an hour drive from me. They walked me through the entire facility and showed me every step of the process, which is important to know when selling your prints because customers do always ask how they are made and thanks to the folks at shiny prints, I know more than most people. Wood float mounts are terrible just so you know, they dont look good on the metal and the adhesive used always ends up degrading over time as there is no good adhesive that can join wood to aluminum.
Why on earth did they even charge you for a defective print? I never have this issue with shiny prints, they print my orders perfectly and when they do have an issue with one they will offer me a steep discount if I want it rather than them throwing it away.
Call the folks at shiny prints I am sure they will be more than happy to go over their process, it sounds like this lab you interviewed didn’t even want to tell you the metal they use (its chromaluxe FYI).
Thanks for sharing this information. Great!
Thanks for sharing this information. Great!
It’s a remarkable work. you did a side by side comparison of a luster print and metal print and they are identical. I have also tried this, It is not very much smooth, the buyer will not notice it but we can.
YAH!! These are very common issues that face by many users while using their printer, the way you are sharing these solutions is really good. Anyone can easily understand these solutions. And if you don’t have to read any article then you may call on the support team. Like if you using Hp printer then you can on Hp support team etc.
Awesome Information….. thanks for share…………….
Thanks for sharing.
Thanks for sharing.