
How to use motion blur to improve your photos.
My most recent article I discussed how to take sharp photos in low light situations because perfectly sharp images are the goal for most photos. As photographers, we are obsessed with sharpness and perfectly sharp images. We spend more money on lenses and cameras that promise sharpness, we argue and debate on online forums as to which lens is sharper, we increase our shutter speeds as fast as we can to freeze motion entirely; All in the effort to make our photos as sharp as possible. In our obsession with providing the sharpest images possible some of us have forgotten that our images should tell a story. Sometimes to tell a better story you don’t need perfectly sharp images that freeze all the movement in the frame.
Sometimes including some movement or blur in your images creates a more impactful story. For example, you may recall the viral photo of Usain Bolt running in the 100m semi-final at the 2016 Olympics by photographer Cameron Spencer. Bolt’s arms and legs a complete blur as he glances back at his competition with a smile on his face. Of all the images taken at the Olympics last year, this one stood out above the rest because it told a better story, you could feel the movement of the runner's arms and legs just by looking at the image. So while all the other photos had the runners frozen and perfectly sharp, the image of Bolt with the blurry legs defined the event for that year. This article will hopefully provide you with some tips on how and when you can use motion blur to show movement and create a better story with your own images.
What is motion blur?
Motion blur is the blur that happens to an image when the shutter stays open long enough that it captures movement within a scene. As something in the scene moves in relation to the camera sensor (or film), the light hitting the sensor changes, the sensor records all the light hitting the receptors while the shutter is open. So if something moves while the shutter is open then it shows as a blur in the direction of the movement. The amount of blur depends on how fast the subject is moving in relation to the camera and how long the shutter is open. The longer the shutter is open the more it can capture small movements. For example, if the shutter is open 1 minute it can capture the very slow movement of the stars in the night sky.
Types of motion blur
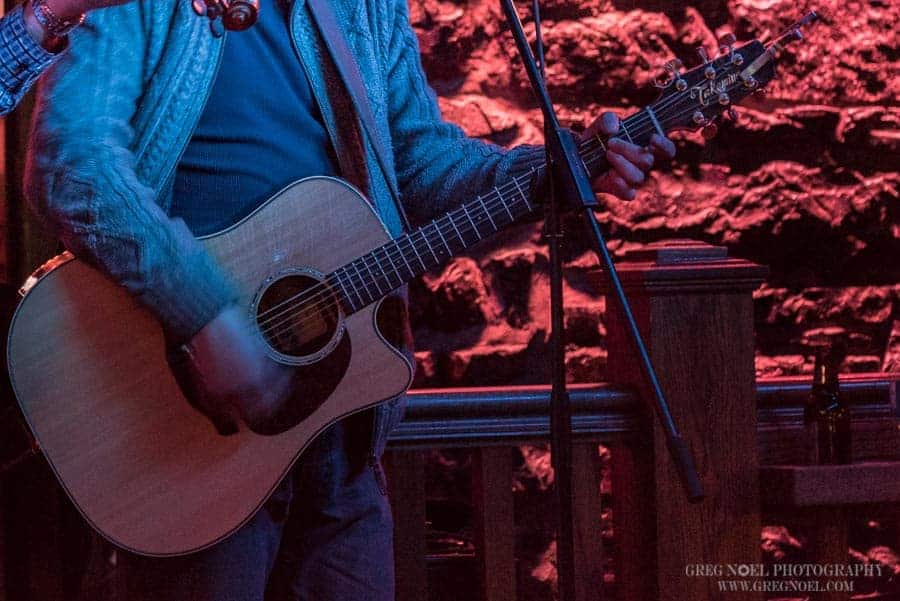
There are generally two types of motion blur. The first is when the camera stays in a stationary place and something moves across inside the frame. For example, a musician hand strumming a guitar. The guitar is sharp and you don’t move the camera but as the hand moves the camera captures that movement. The second type is when a subject is moving and you move the camera with the subject blurring the surrounding environment. This type of motion blur is often called panning because you normally pan the camera horizontally along with the subject as it captures the image but as you will see later, it's not just panning that can be used to show motion blur in your images.
Capturing motion with a stationary camera
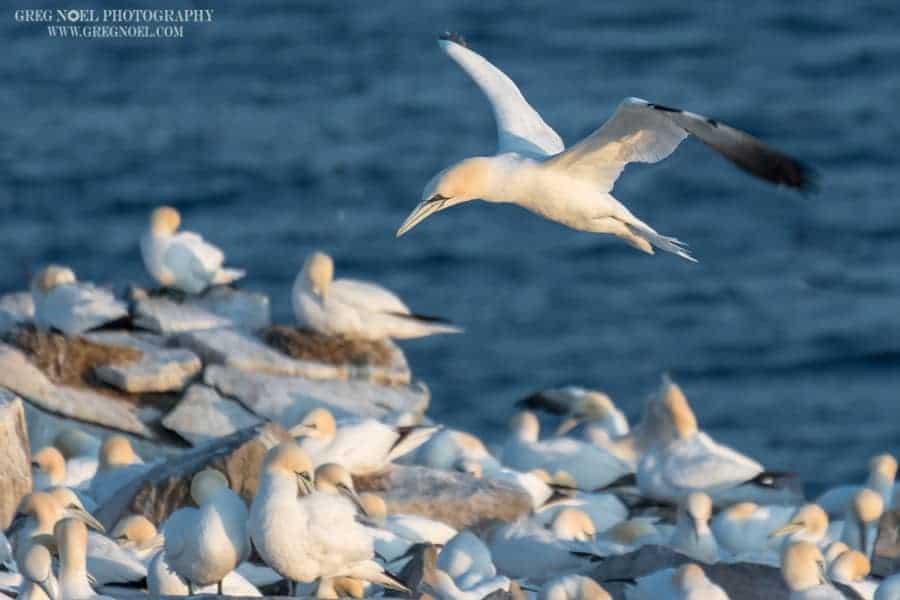
This is the easiest way to capture motion blur with your camera. You need to keep the camera perfectly still for the entire duration of the exposure. For shorter exposures to capture fast motion you can usually do this by handholding the camera as steady as possible, or by using a monopod. For example: if photographing a bird in flight, capturing a little motion of the wings can show that the bird is flapping its wings rather than just gliding. Shutter speeds in the 1/200s – 1/800s range work well for most birds to freeze most of the image but still capture some motion of the wings. At these shutter speeds, you should be able to hand hold the camera.
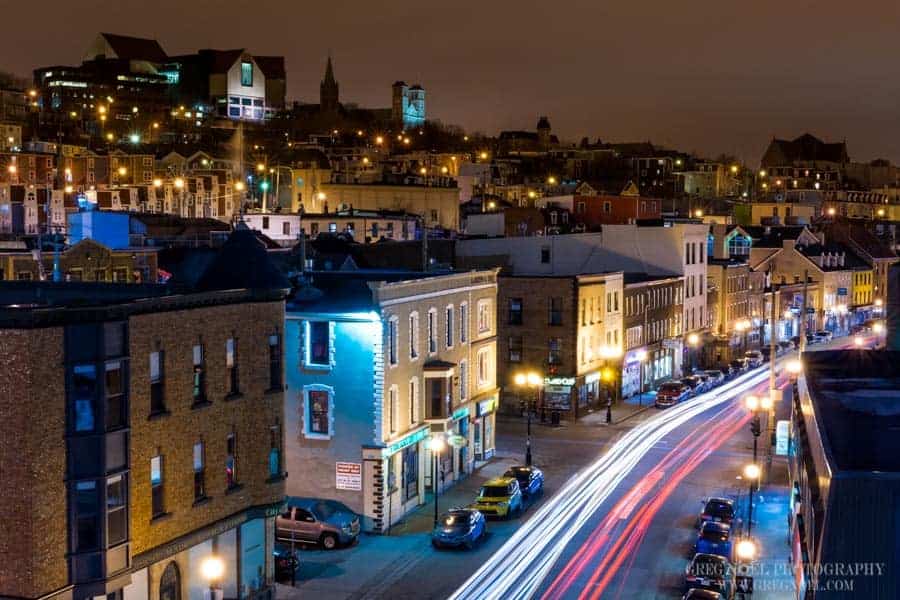
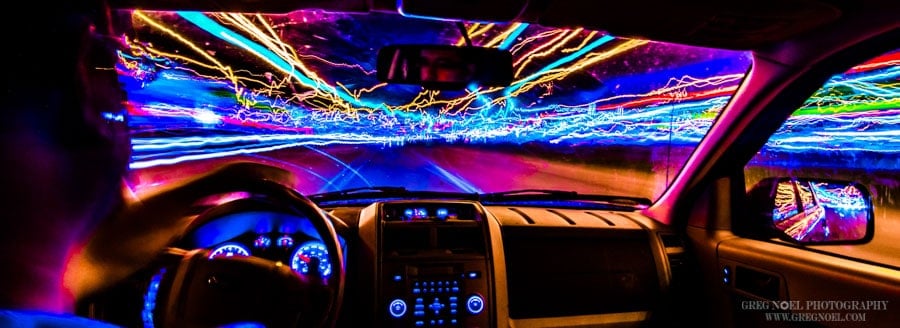
For slower moving objects you will almost certainly need a tripod. Compose your scene, and set the timer on your camera or use a shutter release to prevent the camera from shaking. This method is great for waterfalls, star trails, and traffic trails that show the movement of car lights at night.
Moving the camera with the subject
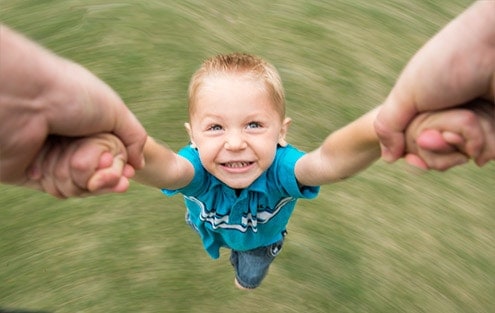
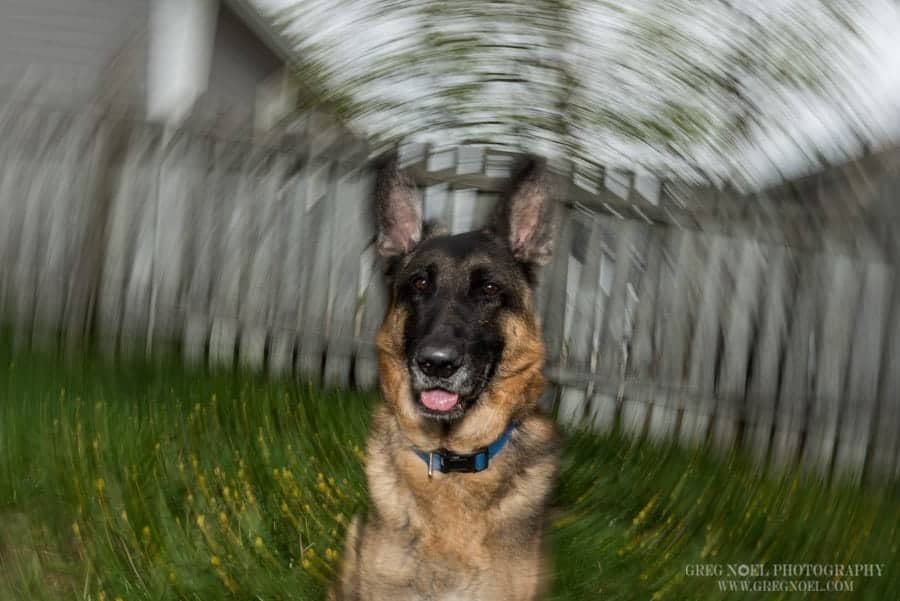
This method of capturing motion blur is a little trickier and takes some practice. The goal is to keep the speed of the camera the same as the subject you are photographing as it moves and thus blurring out the surrounding environment. Using a monopod and turning with the subject or a tripod with a panning head can make this a little easier. Handheld takes a steady hand and lots of practice to get perfect, turning your entire upper body, twisting at the hips helps, but once you are able to match the speed of the camera with the subject you can capture some amazing images. Of course, panning isn’t the only way to capture motion, a fun technique to try is turning the camera left and right while the shutter is open to create a circular blur. If you fire a flash at the right time you can freeze a subject in the frame and have a nice circular background behind them.
What shutter speed should you use?
Choosing the right shutter speed is an important aspect to capturing motion blur. If the shutter is too fast then you end up freezing the subject, or the blur is so minimal that it doesn’t tell the story well. If the shutter is too long you could completely lose all detail of the subject. The shutter speed will vary depending on how fast you or the subject are moving and how much blur you want to show. But for a starting point, I like these shutter speeds and then adjust accordingly.
Example shutter speeds for various types of motion blur:
Birds in flight to capture wing movement: 1/200s-1/800s
Panning for cars, cyclists: 1/60s-1/5s
People running, playing sports such as making a baseball bat blur: 1/30s – ½s
Traffic trails: 5 seconds -15 seconds
Star trails 30 seconds or longer
But won’t a slow shutter over expose my image?
If you are familiar with how an image is exposed then you already know that keeping the shutter open longer allows more light to enter the camera. This can cause an over exposed image. To prevent this shoot at the lowest ISO possible and you will have to close down your aperture. Sometimes though even this won’t be enough so you may need to use a Neutral Density Filter. For some great tips on using a neutral density filter check out his article If you don’t have a Neutral Density Filter, you could also shoot at twilight or at night.
A few other tips:
- Use VR/IS when shooting handheld– Vibration Reduction or Image Stabilization will help keep the subject sharp while you pan the camera
- Use flash to freeze a subject – Using flash in rear curtain sync can show movement and give a sharp image of a subject
- The further away a subject is moving the easier it will be to pan or follow it with your camera. For example, a bird in flight that is 50ft away that you are shooting with a 300mm lens will be easier to pan with than a bird that 10 feet away and a 50 mm lens. The same is true for cars or other fast moving subjects, the further away you are the easier to will be pan with.
- Practice, Practice, Practice – This is one of the areas of photography where practice really pays off, being able to handhold and pan with a subject takes practice. As well, knowing what shutter speed to use to create different effects takes practice.
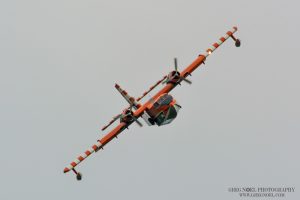
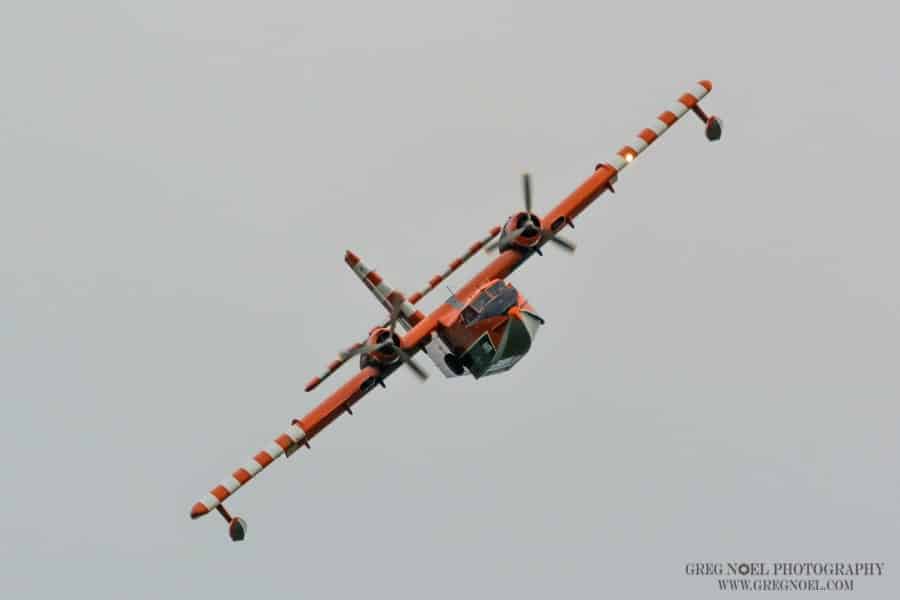
When photographing planes you want to show some propeller blur to enhance your photo. 1/640s
Summary
Using motion blur can give your photos more impact and tell more of a story than freezing a moment in time. When used effectively it can really make your images pop off the screen and stand out more. It takes a bit of practice, but this technique is also quite fun to experiment with. So go out, slow down your shutter and start introducing motion blur into your images.
Great article Greg! Using motion is a great way to challenge yourself and do something different besides simply capturing what your eyes can see.
Thanks Brent. I agree. When I am in a creative funk I will try using motion to change the way I’m seeing things.