
MagMod has done it again. The company that has provided thousands of photographers around the world with lightweight, portable, easy to use magnetic modifiers has created yet another modifier designed to make our lives as speedlight photographers easier. The MagBeam, MagMod's newest modifier, is designed to allow photographers to produce creative, designed light patterns in a quick, easy to use manner. But, does the MagBeam live up to the hype? Read my MagBeam review below.
The MagBeam Story
MagMod has developed a pretty solid fan base. So much so that when they announced the MagBeam Kickstarter campaign asking for $25,000 to begin producing this modifier, they reached their goal in just ONE HOUR. Yep, one hour. We MagModders love our MagMod products, apparently. In the end, their goal of $25,000 was completely destroyed. Instead, they raised $300,000 to go toward the development and production of the MagBeam.
Uses
The MagBeam can be used for a variety of light modification and projection, however the two basic uses are as telephoto light projection, similar to fresnel lenses, and creative light production, similar to gobo lenses.

The first use, as a telephoto light projector, focuses the light into a concentrated beam. Therefore, we can achieve the appearance of a brighter beam of light. Some critics have called b.s. on MagMod's claim that the MagBeam can produce greater light output, and while they're correct in saying that it's physically impossible to actually create more power, the MagBeam gives the appearance of creating more power by concentrating the existing light into a smaller beam. Think of what happens when you use a magnifying glass to magnify the power of the sun. The same thing is happening here with the MagBeam; the existing light is concentrated into a smaller area, therefore increasing the perceived power of the light.
This telephoto light projector is extremely useful for both portrait and wildlife photographers. For both types of photographers, it's quite beneficial to be able to supplement existing light or create defined light by using the telephoto lens to illuminate a specific subject. You can use this modifier with speedlights both on and off camera, so it's definitely a versatile product for a versatile market.
The second use is as a creative light tool, or as MagMod calls it, “a pattern projecting thing of wonder.” I prefer this description because the accuracy of it is on point…it is definitely a pattern projecting thing of wonder. By using the wide lens combined with a MagMask, you're allowing the light to spread through the MagMask, resulting in interesting designs and shapes. Unique, creative light almost immediately – it's a win for me.
How It Works
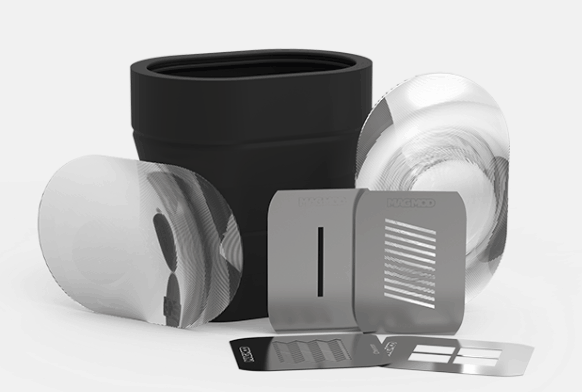
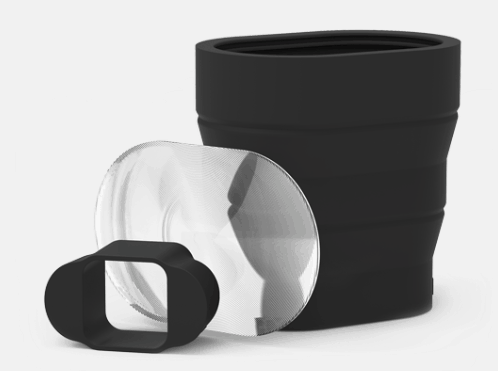
The MagBeam isn't like most modifiers where you just throw it on the light and go. This modifier has a bit of a learning curve. There are two lenses (both of which do different things and which have to be inserted correctly), three lengths, and multiple MagMasks to choose from.
In order to use the MagBeam as the pattern projecting thing of wonder, you have to ensure that you have the wide lens inserted into the MagBeam. MagMod has differentiated between the two lenses by cutting out a small round notch at the top of the wide lens. You also have to ensure that the lens is inserted with the grooves facing inward and the smooth side of the lens facing outward. Then, you have to insert your MagMask of choice. There are a variety of MagMasks to choose from, with designs ranging from simple lines to intricate patterns. When using the MagBeam as a pattern projecting thing of wonder, you must have the MagBeam fully collapsed.

When using the MagBeam as a magical light-concentrating device, you must ensure you're using the telephoto lens (the one without the round cutout), again with the grooves facing inward. You also cannot use the MagMasks with the telephoto lens and you must extend the MagBeam either halfway or fully. Because the telephoto lens concentrates the light into essentially a spotlight, you'll need to do multiple tests in order to get both the placement and the power of the light set correctly.
As a portrait photographer, I've used the MagBeam at one experimental shoot, one wedding, and one engagement session so far. The creative shoot was the first experiment with it. It was done in studio and was an excuse for me to explore the different looks and options that come with the kit. I focused primarily on the MagBeam as a gobo, experimenting with placement and pairing with other modifiers.
The image below was created with a MagBeam + MagMask + MagGel on one speedlight and a MagGrid on another speedlight. Both speedlights were positioned in front of the subject, resulting in some of the orange highlights on the subject.

For the following image, I combined 2 speeedlights with MagBeams + MagMasks + MagGels placed behind the subject and a third speedlight with a MagGrid as the key light.
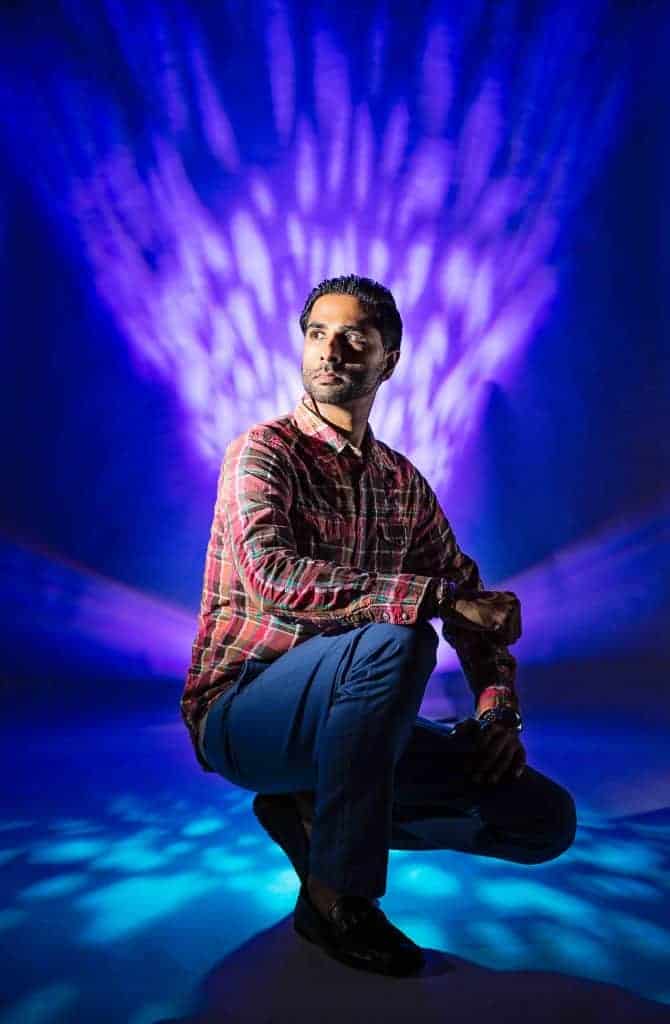
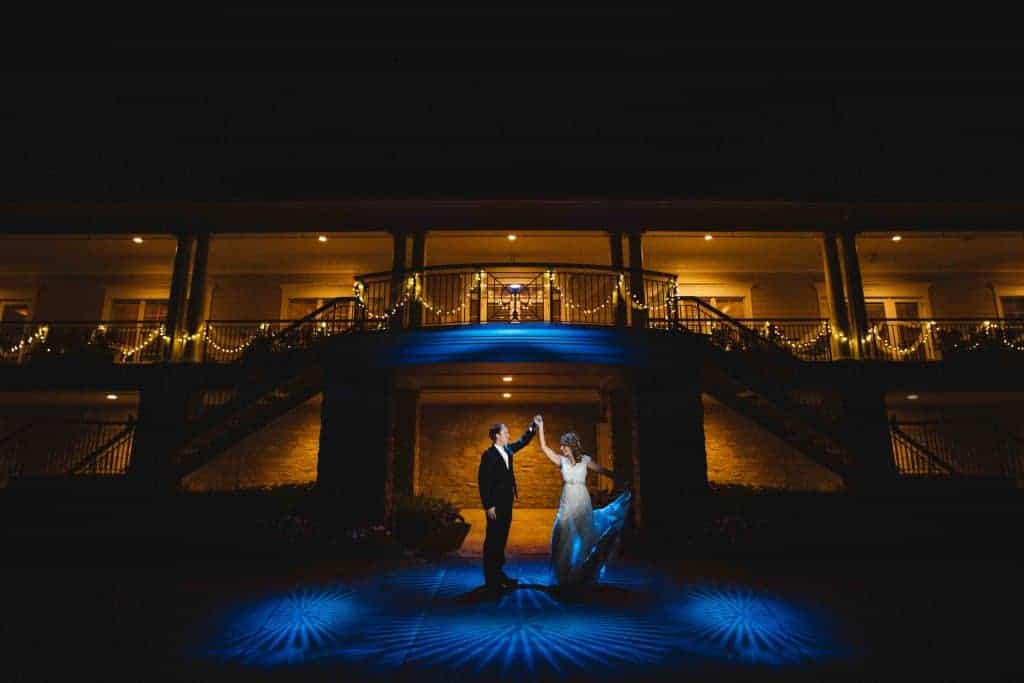
The next image was a bit more tricky considering I had only used the system once, I was in the middle of a wedding, and I had to get it done quickly. Using a few speedlights with MagBeams + MagMasks + MagGels and one speedlight as the key light, I was able to create this look with about 5 minutes of prep and 3 minutes of shooting.
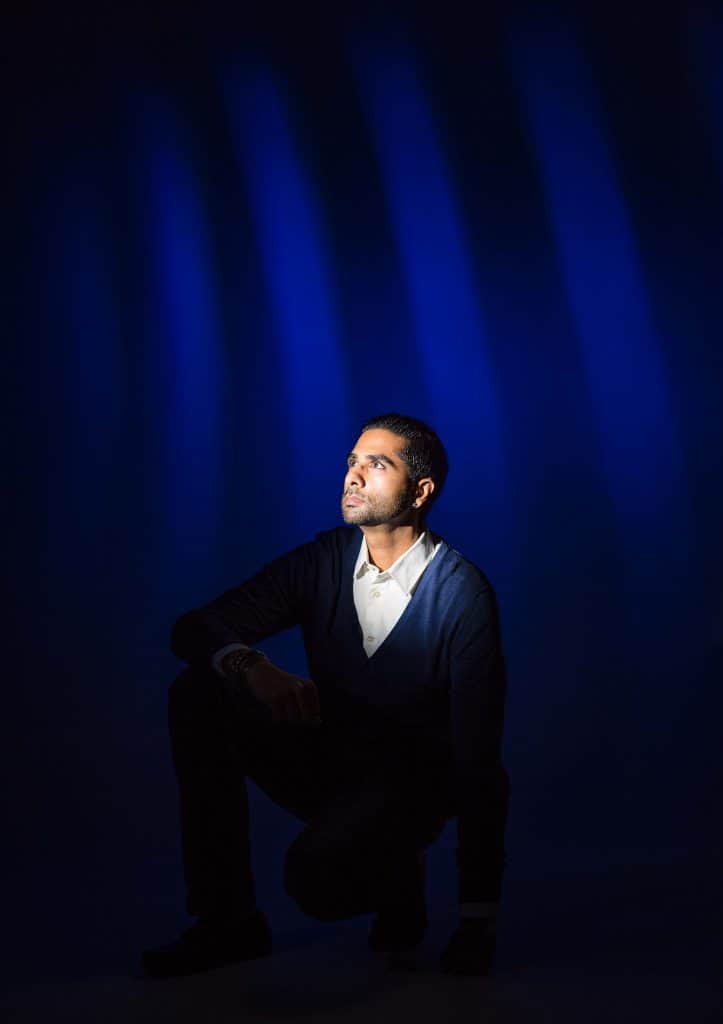
Here are a couple of examples of using the telephoto lens and the MagBeam fully extended to create a spotlight look. It produces a nice look, but it requires quite a bit of placement adjustment in order to get it in the correct spot AND it requires power adjustment since it concentrates the light so tightly. This isn't my favorite look, and in fact, I think I prefer the MagGrid over the MagBeam for this type of light set up. However, I do plan to continue experimenting and practicing with the telephoto version of the MagBeam.


Pros & Cons
Pros:
- Just like all other MagMod modifiers, it's lightweight, portable, takes up very little space, and is quick and easy to set up.
- Great magnetic bond (again, like all the other MagMod modifiers).
- The shape and design output from the MagMasks is sharp and crisp.
- The modifier works seamlessly with MagGrids and MagGels.
- Sturdy build.
Cons:
- Difficult to insert and remove the MagMasks.
- Has a bit of a learning curve (but, sometimes that's the best part!).
- Difficult to align light correctly when using as the telephoto beam.
Overall, I do think the pros outweigh the cons. I've enjoyed experimenting with the MagBeam as both a telephoto modifier and a creative light modifier and look forward to creating more with it in the future.
Other MagMod Products I Love
Just because I'm such a fan of my MagMod products, here are some of my favorite MagMod modifiers:
- The MagSphere: My go-to replacement for softboxes.
- The MagGrid: Another magical light beaming device.
- The MagGels: It's so fun to experiment with different colors and it's now so easy to balance ambient and artificial light.
- Their Facebook group: Obviously, this isn't a product. But, the group is such a great place to get inspiration for using your MagMod products. The photographers in there are killing it in the creative lighting game.
Great article about yet another great MagMod product!
Would you mind sharing your setup for the wedding photo?
I really dig that pattern on the floor!