
I’ve learned the hard way that photographing beer is not a simple task. There is a lot that goes into setting the scene and lighting for a quality photograph. Photographing beer really is an art. This article addresses the art of photographing beer through questions and answers with food and lifestyle photographer, Rob Andrew.
When I first saw Rob Andrew’s blog post with lighting and techniques here, I had to give it a try. Rob Andrew is an amazing photographer in California with a droolworthy portfolio! Rob was generous enough to take time answering questions on his process of photographing beer.
Studio Setup
Q: Setting the scene for your photograph, what is your go to setup, including table, background and lighting?
Rob: Well, I wouldn't say I have a “go to” setup exactly. Every product is different. I actually use a keyboard stand for my table that way I can adjust the height. I'm a big fan of black or white plexiglass surfaces for beer and other products, but I try to keep several surfaces around for variations. For backgrounds I prefer seamless paper which can be very versatile, but every product is different and we need to treat each one differently depending on the story we're trying to tell about it.
Lighting & Gear
Q: What lighting modifiers do you recommend using?
Rob: You definitely need some diffusion material such as Savage Translum, Rosco #3008 or Rosco #3026. Typically I use a combination of diffusion material and softboxes angled through that diffusion material to shape the highlights on glass. It's great to have an optical snoot if you can afford one- this is to light labels on bottles independently, you need a very small spotlight for this.
Q: For those that only have speedlights vs strobes, would the lighting setup be different?
Rob: Not really, just more hassle with batteries and recycle time, as we tend to take a lot of test shots in this kind of work. It can be done with speedlights just fine, however.

Q: I see that you like to use a polarizing filter. What are the benefits of using a polarizing filter?
Rob: A circular polarizer will help you control or sometimes eliminate reflections in unwanted areas. It’s not a magic bullet but in some cases it can be a lifesaver.
Q: Your article references a polarizing gel on your main light. Describe what is a polarizing gel for lights and how to incorporate into our shoot. Can those who shoot with speedlights also use these gels?
Rob: These can be used with both speedlights and monolights. When used in conjunction with a circular polarizing filter on your lens, its possible to make a highlight from your light source disappear or greatly reduce it in size. They look just like a regular lighting gel and can be attached with tape or clamps.
Q: In the above referenced article, I see that you used a macro lens. Do you always use a macro lens when shooting beer? If so, what tips would you recommend to our readers who do not have the money to invest in a macro lens at this time?
Rob: A macro isn't really necessary for all food and beverage shots but it does come in handy. Canon and Nikon both make a 24-70mm f/2.8 zoom lens, and those will focus surprisingly close. A lot of people already have that lens in their bag.
Q: How often do you need to focus stack? Is it always necessary to achieve great results?
Rob: I love shallow depth of field so, no, focus stacking is not always necessary. As a general rule, most cameras perform their best around f/5.6- f/11. If I am having to stop down much farther than that to achieve critical focus in all desired places, I might consider using a focus stacking technique. I do not do it very often for food and beverage shots.
Cans vs. Bottles
Q: Some beer enthusiasts love the flavor of canned beer over bottled beer. However, when it comes to photography which would you say is easier to photograph, can vs. bottled?
Rob: They are both tricky, but I would say it really depends on the size, shape and finish of the bottle or can. The prettier the vessel is, the easier time you will have making a nice image of it. Glass is more reflective but it can be tricky to get light to wrap around an entire can and showcase the graphics. Often they need to be shot in stages and comped together.
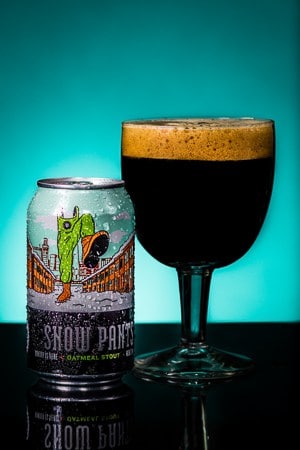
Q: I find that photographing cans isn’t that appealing. What can you do to set the scene and make your photograph more visually appealing with canned beer?
Rob: With cans, some condensation droplets or fake ice crystals can really make things more enticing. Also staging the can with a glass of beer or other items can really help. Play with dramatic camera angles and wide lenses as well.
Setting the Scene
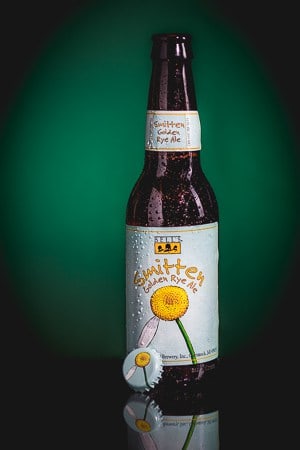
Q: What are some go to props that you like to use?
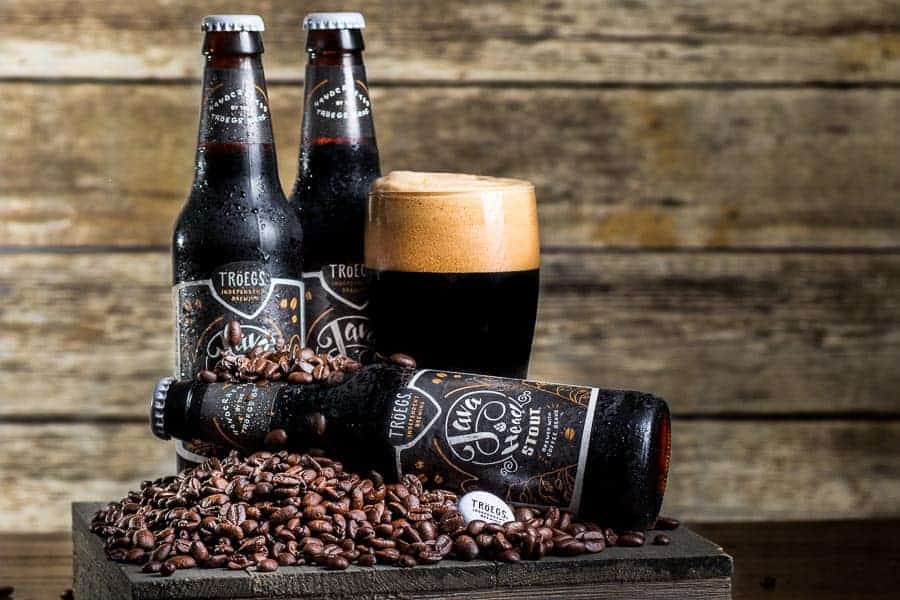
Rob: I love the look of wood surfaces and backgrounds, complimentary food items etc. Its always good to have a variety of different pint glasses on hand that can potentially match the size and shape of a can or bottle. Look for cues in the brand of bottle or can that may dictate how you stage it to go with the manufacturer's theme.
Q: Where can we get fresh hops vs. the dried flakes or pellets sold at brewing stores?
Rob: It really depends on your area. Here in San Diego, we have a number of local hop farms and it pays to ask around with local farms and growing associations.
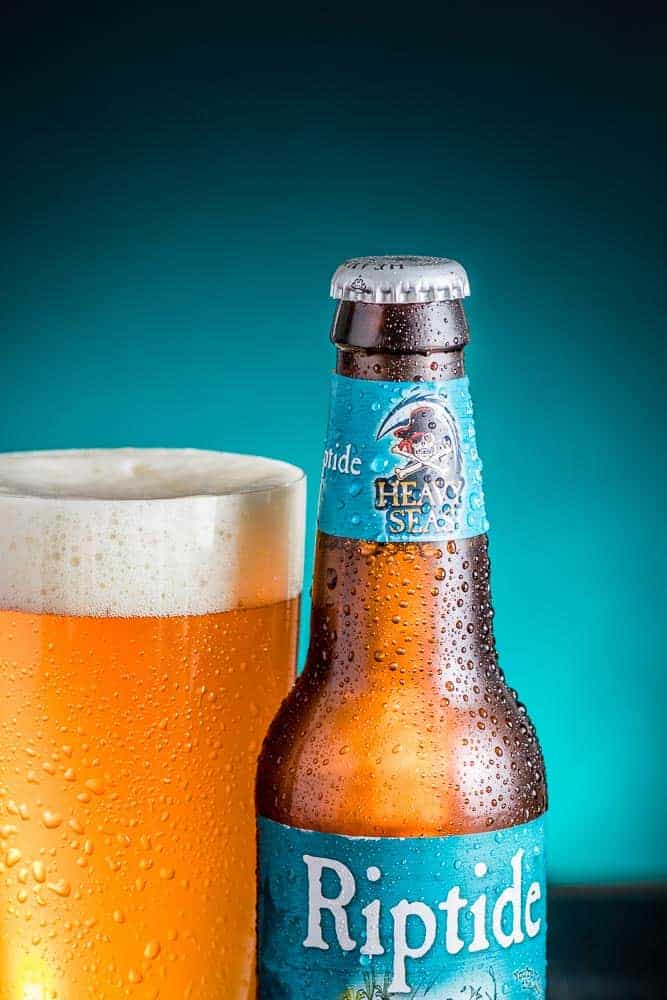
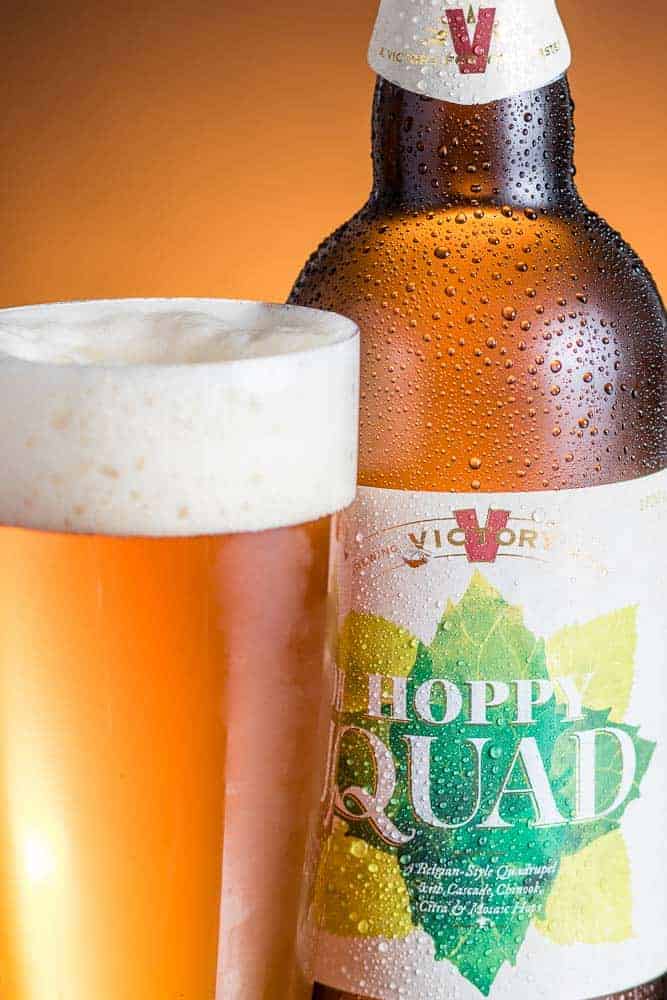
Q: Do you add fake condensation to your bottle and/or glass? If so, is it done on the set or in post processing? If on the set, please explain your process.
Rob: This is done on set using a simple spray bottle and a mixture of 50/50 vegetable glycerin and water. It will stay on the bottle for hours without running.
Q: Do you prep your bottles in any way? I have heard of some people using matte spray paint and clear krylon spray paint on bottles for a certain look.
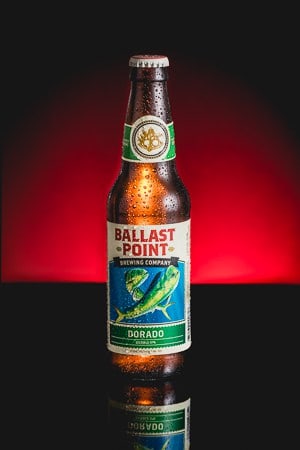
Rob: It’s important to scrape off any labels on the rear of the bottle so they don't show in the photograph. If you have a bottle with a paper label, you definitely want to clear coat it with some Krylon Crystal Clear before shooting or putting water or glycerin on it so the label doesn't get ruined. The clear coat will also help condensation stick when sprayed on.
Final Thoughts
Q: Finally, what tips or words of wisdom would you give beginning photographers who are just starting out in the world of beer photography?
Rob: Study the photographs you see in advertisements and keep a little scrapbook of the ones you like. It's great to practice your lighting technique with straight on bottle shots with plain backgrounds but clients want to see creativity in propping and composition too. Never stop learning. There's some great tutorials on Photigy, RGG, Karl Taylor, Kelbyone and other sites at your disposal. Always invest in education before investing in equipment.
Thank you to Rob Andrew for all of these amazing tips. I can already see improvement in my own beer photography after incorporating his tips. I still have plenty of room for improvement and will continue keep practicing. Please share some of your beer photos on Instagram with #improvebeertography.
Added bonus, you get to drink the beer after photographing it. Bottoms up!
one word…awesome shots…!erika sneeringer great job…!
This was exactly what I was looking for. It is not easy to photograph a beer. Great work!