
One of the most commonly asked questions by Photoshop beginners is how to perform a head swap. In this lesson you will learn the 3 simple steps: copy, paste, mask.
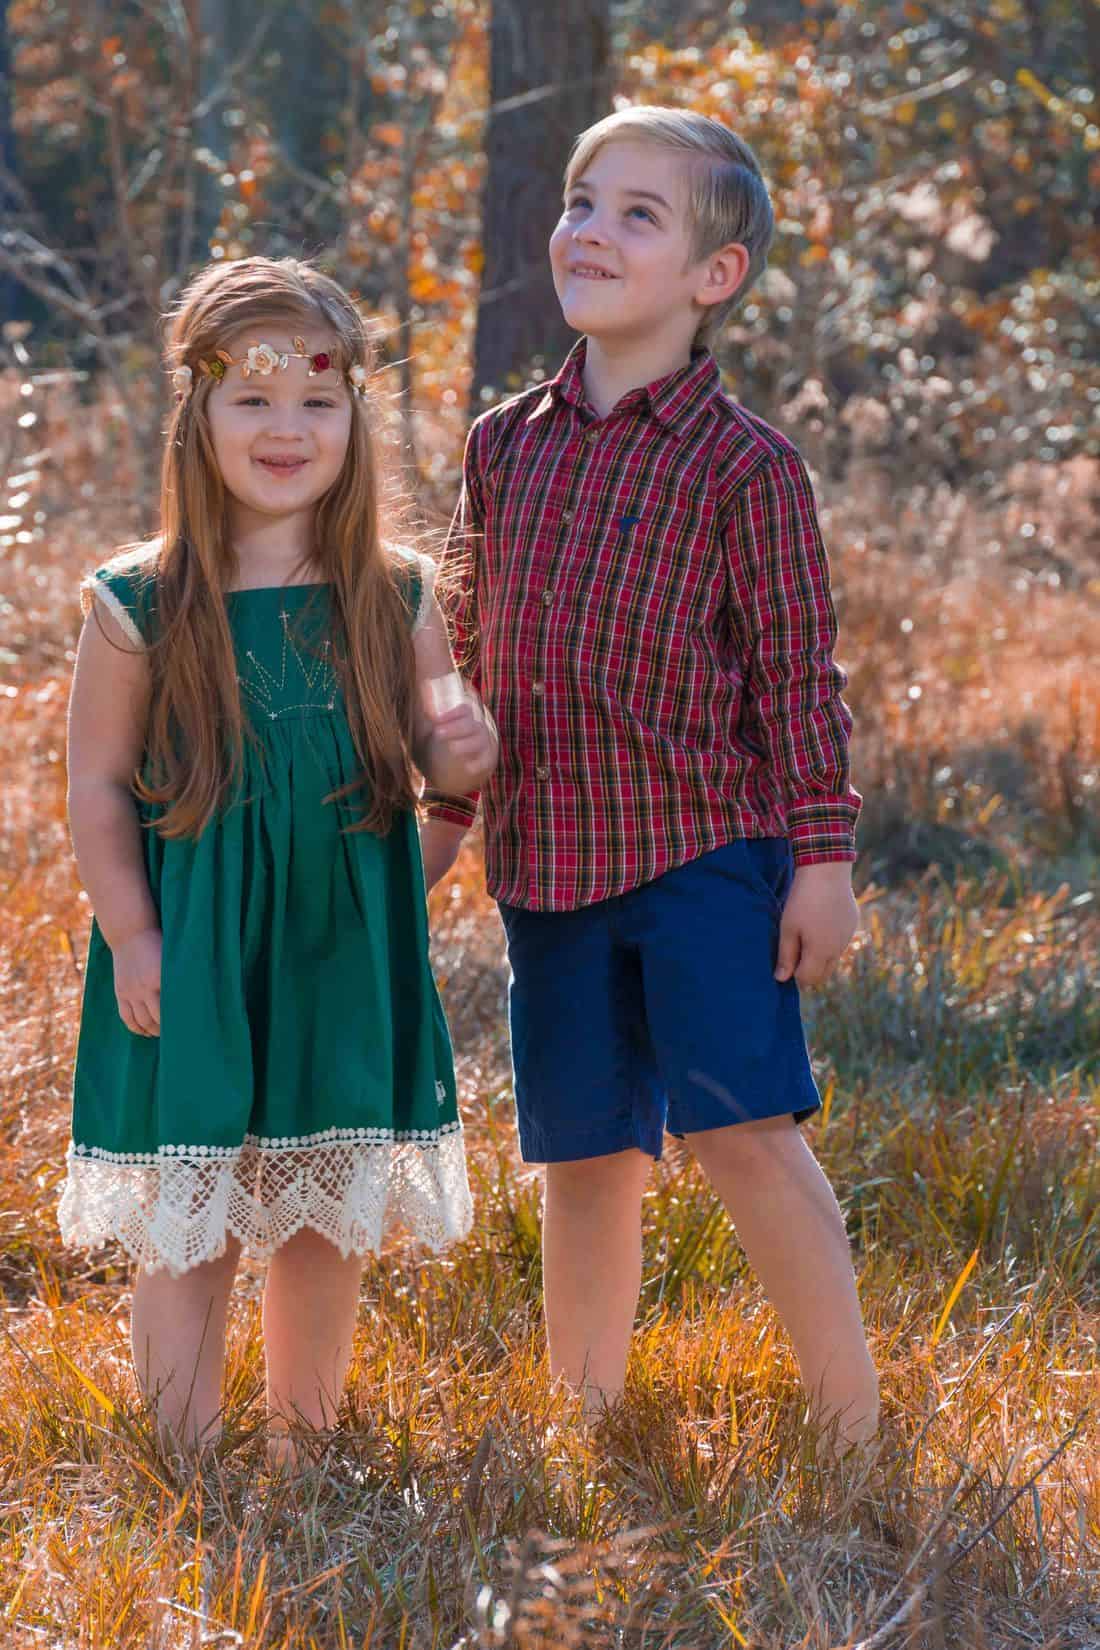
You just got home from a family portrait shoot and upload the photos only to find your favorite shot is ruined because one of your subjects blinked or maybe their smile was off in this frame. You pull your hair in frustration, but before you call to set up a re-shoot, take a look at your other shots. You’ll be happy to know the solution to your problem may be much simpler.
(Neither of my subjects would look straight at the camera in the same picture)

Here are the steps to performing a head swap in Adobe Photoshop.
COPY
Look through your other shots, preferably the same pose and lighting, and find a shot you like. Perform your basic edits to both photos (white balance, exposure, contrast, etc.) then open both files in Photoshop (from Lightroom the shortcut is Command E). Get your favorite selection tool – for this job I like the Lasso tool (shortcut L) – and select the person’s head (see screenshot below). Be sure to include a little extra in case you need it later. Once your selection is made hit Command C to copy it.

PASTE
Now switch to your keeper-shot and hit Command V to paste your selection. Use the Move tool (shortcut V) to move your selection to approximately the correct location over the person’s face. It helps to temporarily change the opacity of this new layer to 50% to assist you in lining up key facial features.
You may need to re-size or rotate the selection using Free Transform (Command T) in case you zoomed or moved position between shots. I pay very close attention to the eyes and mouth, trying to keep them at the same size and in the same position. Don’t forget to change the opacity back to 100% once you line everything up.
MASK
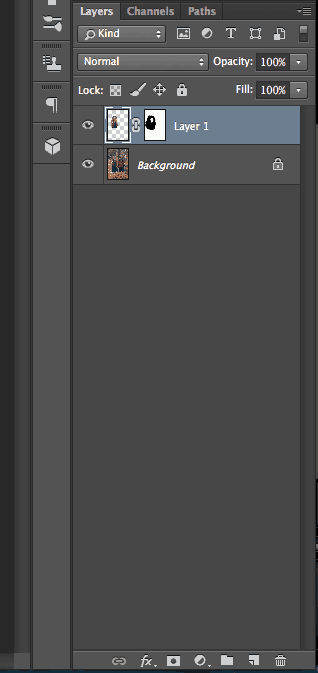
Now add a layer mask to this new layer. At the bottom of the layers panel you will see a white rectangle icon with a black circle in the middle (see screenshot below). This is the layer mask icon. The default mask will be white (the entire layer is visible). Get your Brush Tool (B), hit F5 to bring up the brush menu, select a soft brush, and select the color black. Begin to blend the images together by painting with black (hides current layer) working your way from outside of selection to inside. If you get a little overeager and conceal too much of the current layer, then simply hit X on your keyboard which swaps the brush color from black to white, and brush your layer back. Remember this about layer masks: black conceals and white reveals.
You may find in the middle of fine-tuning your layer mask you need to adjust the positioning of the new face a bit. You can switch back to the Move Tool (V) or the Free Transform (Command T) at any time to make changes. Once you're finished simply hit Command S to save the file and the new composited shot will be automatically added to your Lightroom library.
That’s pretty much it, but here are a few final takeaways:
- Always take several shots of each pose when on location. It’s not always easy to tell for sure if you got THE perfect shot when looking at your image on a tiny LCD screen, and having the extra faces can save your shot.
- You don’t have to replace the entire face if your subject only closed their eyes. Instead just copy and paste a set of open eyes.
- I’m working on a Mac, but if you’re working on a PC simply replace Control for Command.
- I see a lot of people changing their brush size using either the tool menu bar at the top of the screen or using the bracket keys ([ for smaller and ] for bigger). I find it much easier to simply hold both the control and option keys (MAC) and drag your mouse pointer left or right for size and up or down for hardness.
- The reason I always select a little more than just the head is sometimes the collar of the shirt moved between poses, or the wind blew the subjects hair. Having a little extra selection allows you to blend the images a little better.

Now that you’re a head-swapping pro you’ll find other ways to incorporate this technique into your work since this concept works for other projects like adding props and fixing other misplaced body parts. Have fun with it!
Great way of explaining steps!